When you fill an object with a mesh fill, you can create unique effects. For example, you can create smooth color transitions in any direction without having to create blends or contours. When you apply a mesh fill, you specify the number of columns and rows in the grid, and you specify the grid’s intersecting points.
After you have created a mesh object, you can edit the mesh fill grid by adding and removing nodes or intersections. You can also remove the mesh.
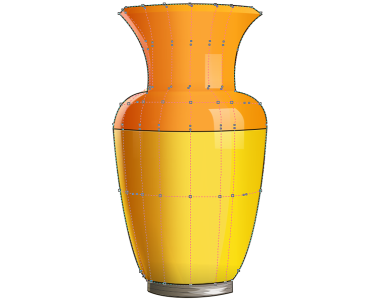
A mesh fill is applied to the vase.
The Mesh tool can be used to create smooth color transitions.
A mesh fill can be applied only to closed objects or a single path. If you want to apply a mesh fill to a complex object, you must first create a mesh-filled object and combine it with the complex object to form a PowerClip object. For more information about working with PowerClip objects, see PowerClip objects.
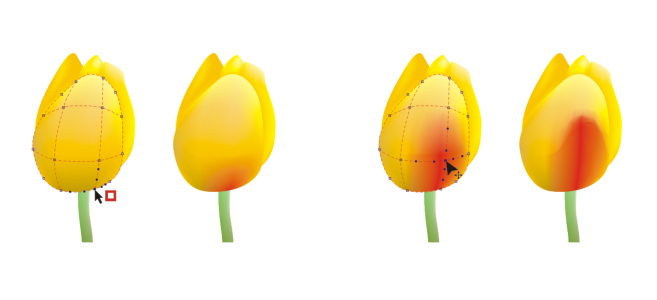
You can add color to a patch of a mesh fill and to the individual intersection nodes. You can also choose to mix colors for a more blended appearance.
Left: Adding a color to a mesh fill. Right: Moving an intersection node in a mesh fill lets you adjust the progression of colors.
In addition, you can smooth the color in a mesh fill to reduce the appearance of hard edges. You can also reveal objects underneath a selected area by applying transparency to the mesh fill.
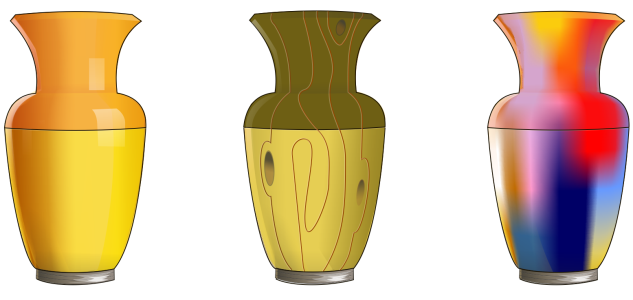
Mesh fills were used in this artwork by Ariel Garaza Díaz, based on photography by Rikk Flohr.
You can set the default properties of all new mesh fills by specifying the number of rows and columns in the mesh grid.

If the mesh object contains color, adjusting the intersection nodes of the mesh affects how the colors blend together.

You can also marquee select or freehand marquee select nodes to shape an entire area of the mesh. To marquee select nodes, choose Rectangular from the Selection mode list box on the property bar, and drag around the nodes that you want to select. To freehand select nodes, choose Freehand from the Selection mode list box, and drag around the nodes that you want to select. Holding down Alt while dragging lets you toggle between the Rectangular and Freehand selection modes.
You can add an intersection or a node by double-clicking in a space, or you can add a single line by double-clicking a line.
You can also marquee select or freehand marquee select nodes to apply a color to an entire area of the mesh. To marquee select nodes, choose Rectangular from the Selection mode list box on the property bar, and drag around the nodes that you want to select. To freehand select nodes, choose Freehand from the Selection mode list box on the property bar, and drag around the nodes that you want to select. Holding down Alt while dragging lets you toggle between the Rectangular and Freehand selection modes.
| 1 . |
Click Tools  Options Tools. Options Tools. |

The features documented in the Help are available in the full version of CorelDRAW Graphics Suite 2019. Some features may not be available in this version of the product.