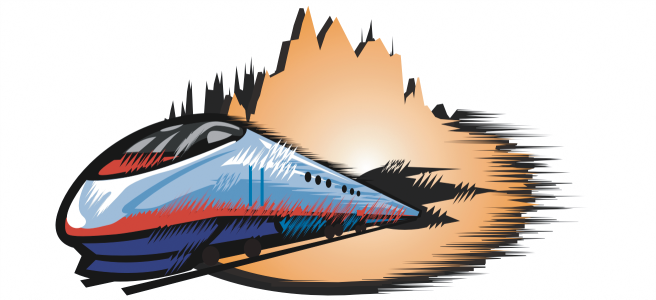
The roughening effect lets you apply a jagged or spiked edge to objects, including lines, curves, and text. You can control the size, angle, direction, and number of the indentations whether you activate the graphics tablet stylus or apply settings to a mouse.
You can also change the brush nib size.
Roughening allows you to apply jags or spikes to part of an outline or path.
| To roughen an object |
|
| 1 . | Select an object using the Pick tool |
| 2 . | In the toolbox, click the Roughen tool |
| 3 . | Point to the area on the outline you want to roughen, and drag the outline to distort it. |
|
Type a value from 0.01 to 2.0 in the Nib size box
 on the property bar. on the property bar. |
|
|
Type a value between 1 and 10 in the Frequency of spikes box
 on the property bar. on the property bar. |
|
|
Click the Pen pressure button
|
|
|
Type a value between 0 and 90 in the Pen tilt box on the property bar.
|
|
|
Type a value between -10 and 10 in the Dryout box on the property bar.
|
|
|
Click the Use pen tilt button
|
|
|
Choose Fixed direction from the Spike direction list box. Type a value between 0 and 359 in the Bearing box on the property bar.
|
|
|
Choose Stylus setting from the Spike direction list box on the property bar.
|
|
|
Choose Auto from the Spike direction list box on the property bar.
|
Objects with distortions, envelopes, and perspective applied to them are converted to curve objects before the roughening effect is applied.
To make the tilt angle and bearing angle responsive to the graphics tablet stylus, right-click the roughened object, and select a command from the submenu.
To get the minimum and maximum values for the roughening controls, right-click the control on the property bar, and click Settings.
The features documented in the Help are available in the full version of CorelDRAW Graphics Suite 2019. Some features may not be available in this version of the product.