To create a bulleted or numbered list
To customize a bulleted or numbered list
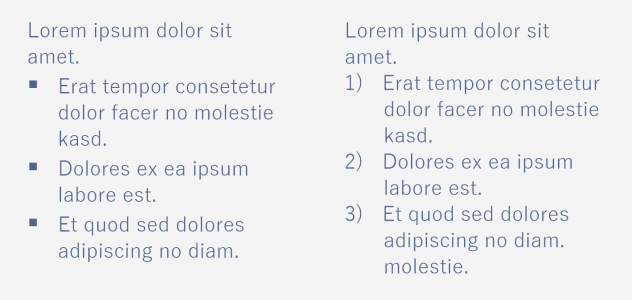
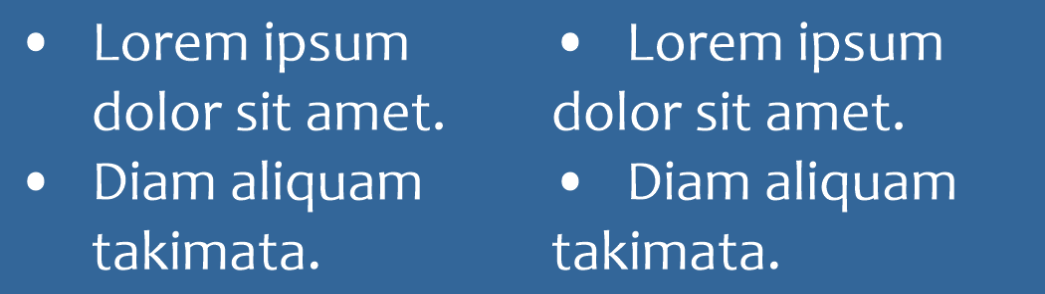
Three paragraphs were converted into a bulleted list (left) and a numbered list (right).
In addition, you can customize lists, and you can customize one or more levels in multilevel lists. CorelDRAW lets you edit bullets and numbers by changing their size, position, and distance from the text and text frame. By default, the first level in lists inherits the font properties of the paragraph text. However, you can change the font of bullets and numbers, and you can choose from a wide array of glyphs to use as bullets. To customize the number formatting, you can choose from numerous preset styles, and you can specify a suffix and a prefix for the numbers.

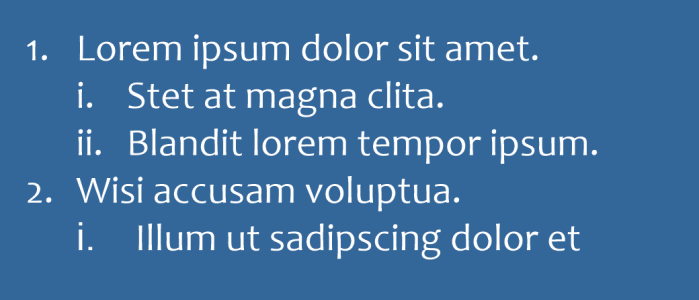
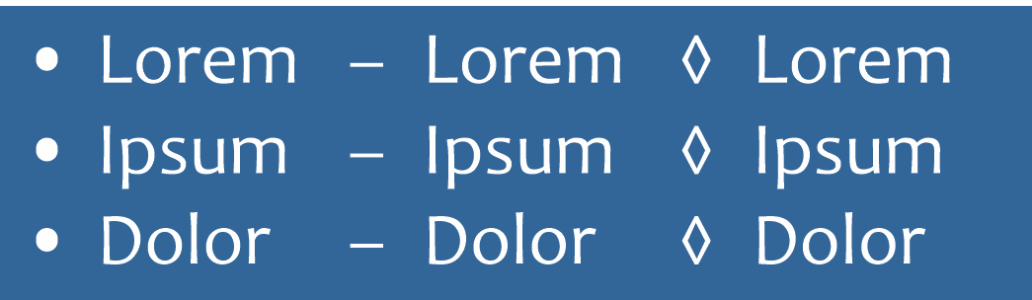
A customized bulleted list (left) and numbered list (right)
You can also change the spacing between items in a list. For more information, see To adjust interline spacing.
| To create a bulleted or numbered list |
|
| 1 . | Using the Text tool |
| 2 . | Click one of the following buttons on the property bar: |
| • | Bulleted list |
| • | Numbered list |
|
To indent a list item, click the item with the Text tool
To decrease the indentation of a list item, click the Decrease indent
To change the indentation of multiple list items simultaneously, drag across them with the Text tool, and click an indent button.
 |
|
You can also access the Bulleted list ![]() and Numbered list
and Numbered list ![]() buttons from the Paragraph section in the Properties docker, Text docker, and the Edit Text dialog box.
buttons from the Paragraph section in the Properties docker, Text docker, and the Edit Text dialog box.
You can also start a bulleted or numbered list from scratch by creating a paragraph text frame and clicking the Bulleted list ![]() or Numbered list
or Numbered list ![]() button on the property bar.
button on the property bar.
| To customize a bulleted or numbered list |
|
| 1 . | Using the Text tool |
| 2 . | Click Text |
| The Level box in the Bullets and Numbering dialog box shows the list level you are about to edit. The top-most level of a list is 1. To customize two or more list levels at the same time, hold down Ctrl, and click the levels in the Level box to select them. |
| 3 . | Perform a task from the following table. |
|
Disable the Use paragraph font check box, and choose a font from the Font list box.
|
|
|
Open the Glyph picker, and click a glyph.
 |
|
|
Choose a preset numbering style from the Style list.
To add a character before the number, type a prefix in the Prefix box. To add a character after the number, type a prefix in the Suffix box.
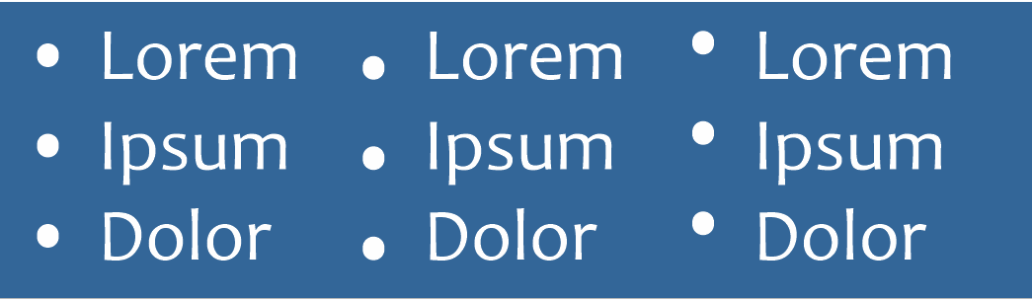
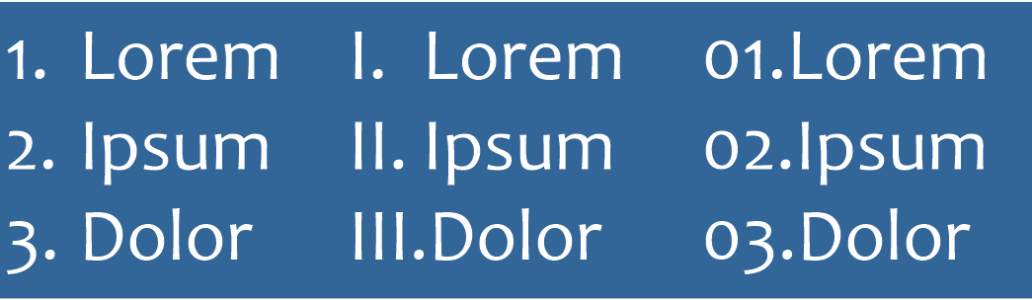 Examples of number styles. A prefix and a suffix were added to the numbers of the third list. |
|
|
Specify a value in the Size box.
Note: This control is not available when the Use paragraph font check box is enabled. In this case, the bullet or number matches the font and size of the paragraph text.
|
|
|
Specify a value in the Baseline shift box.
 Baseline shift values in points from left to right: 0, -3, 3 |
|
|
Specify a value in the Glyph to list text box.
 |
|
|
Enable the Align lines in a list item check box.
 Left: The Align lines in a list item check box is enabled. Right: The same check box is disabled. |
|
|
Specify a value in the Text frame to list box, which is located in the upper-right corner of the dialog box.
|
|
|
Make sure the Preview check box is enabled.
|
|
|
Enable the Bullets or Numbers option.
|
Bullets or numbers are inserted at the beginning of each new line that is preceded by a return.
You can also create a custom list from paragraph text that has not been formatted as a list yet. Select the paragraph text, enable the List check box in the Bullets and Numbering dialog box, and then enable the Bullets or Numbers option. Perform any of the steps from the preceding table.
You can adjust the spacing in between bullets by increasing or decreasing the space before and after a paragraph. For more information, see To adjust the spacing between paragraphs.
| To save a list as a paragraph style |
|
| 1 . | Using the Text tool, drag across an item in a bulleted or numbered list to select it. |
| 2 . | Right-click, and click Object Styles |
| 3 . | In the dialog box that appears, type a style name in the New Style Name box. |
| To remove bulleted-list or numbered-list formatting |
|
| 1 . | Using the Text tool |
| 2 . | Click one of the following buttons on the property bar: |
| • | Bulleted list |
| • | Numbered list |
![]()
The features documented in the Help are available in the full version of CorelDRAW Graphics Suite 2020. Some features may not be available in this version of the product.