Copy objects at a specified position
| To cut or copy an object |
|
| 1 . | Select an object. |
| 2 . | Click Edit, and click one of the following: |
| • | Cut |
| • | Copy |
You can also cut or copy an object by right-clicking the object and clicking Cut or Copy.
| To paste an object into a drawing |
|
| • | Click Edit |
| To paste an object in the center of the visible area |
|
| • | Click Edit |
You can also paste an object in the visible area by pressing Ctrl+Shift+V.
| To duplicate an object |
|
| 1 . | Select an object. |
| 2 . | Click Edit |
| The duplicate is placed at an offset from the original object. |
If you’ve set the Ctrl and Shift keys to the Windows standard (Ctrl=Duplicate/Leave original, Shift=Constrain), you can duplicate an object as you place the duplicate where you want in the drawing window. To do this, first select the object using the Pick tool ![]() . Holding down Ctrl, drag the object to where you want to create a duplicate, and release the mouse button. For information about setting the Ctrl and Shift keys to the Windows standard, see To change the constrain key.
. Holding down Ctrl, drag the object to where you want to create a duplicate, and release the mouse button. For information about setting the Ctrl and Shift keys to the Windows standard, see To change the constrain key.
You can also duplicate a selected object by pressing Ctrl + D.
You can change the offset at which duplicates are created. Click Layout ![]() Document Options. Click General, and type values in the Horizontal and Vertical boxes in the Duplicate offset area.
Document Options. Click General, and type values in the Horizontal and Vertical boxes in the Duplicate offset area.
| • | Offset values of 0 place the duplicate on top of the original. |
| • | Positive offset values place the duplicate up and to the right of the original. |
| • | Negative offset values place the duplicate down and to the left of the original. |
| To delete an object |
|
| 1 . | Select an object. |
| 2 . | Click Edit |
You can also delete an object by clicking the object and pressing Delete.
| To create copies of an object at a specified position |
|
| 1 . | Select an object. |
| 2 . | Click Edit |
| 3 . | In the Step and repeat docker, type a value in the Number of copies box. |
|
In the Vertical settings area, choose No offset from the Mode list box. In the Horizontal offset area, choose Spacing between objects from the Mode list box. To specify the spacing between object copies, type a value in the Distance box. To place the object copies to the right or left of the original, choose Right or Left from the Direction list box.
|
|
|
In the Horizontal settings area, choose No offset from the Mode list box. In the Vertical offset area, choose Spacing between objects from the Mode list box. To specify the spacing between copies of objects, type a value in the Distance box. To place the copies above or below the original, choose Up or Down from the Direction list box.
|
|
|
In the Horizontal offset and Vertical offset areas, choose Offset from the Mode list box, and type values in the Distance boxes.
|

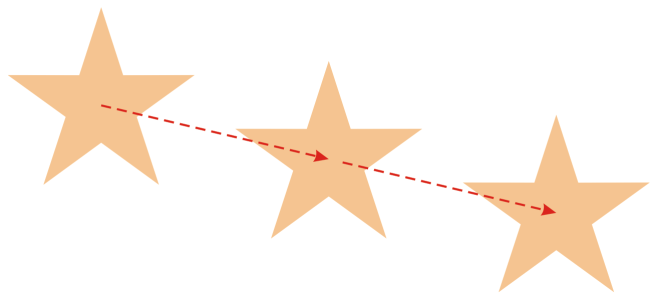
Multiple copies of an object are offset by a specified distance.