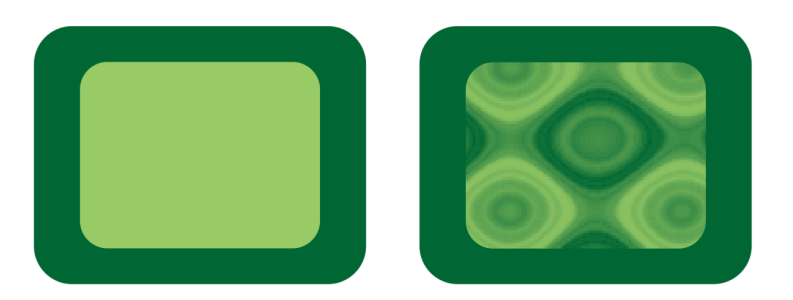
A texture transparency is applied to the object filled with light green.
| To apply a texture transparency |
|
| 1 . | Select an object. |
| 2 . | In the toolbox, click the Object Transparency tool |
| 3 . | On the property bar, click the Texture transparency button |
| 4 . | On the property bar, click the Edit transparency button |
| 5 . | In the Edit transparency dialog box, choose a texture library from the Texture library list box. |
| 6 . | Choose a texture from the Fill picker. |
| 7 . | Perform an action from the following table. |
|
Move the Foreground transparency slider.
|
|
|
Move the Background transparency slider.
|
|
|
Click Randomize. Each time the button is clicked, random changes are made to unlocked parameters, and the modified texture is displayed in the Preview window.
|
|
|
Click Transformations, and click the Mirror tiles horizontally
|
|
|
Click Transformations, and type values in the Transparency width and Transparency height boxes.
|
|
|
Click Transformations, and type values in the X and Y boxes.
|
|
|
Click Transformations, and type a value in the Rotate box.
|
|
|
Click Transformations, and type a value in the Skew box.
|
|
|
Click Transformations, and click the Row offset
|
|
|
Scroll to the Texture resolution and size area, click to expand it, and type a value in the Bitmap resolution box.
|
|
|
Click the Save texture button
|
The features documented in the Help are available in the full version of CorelDRAW Graphics Suite 2019. Some features may not be available in this version of the product.