Corel Painter Help :
Image hose : Creating a nozzle from a movie
Quick links to procedures on this page:
(Windows only)
On the Windows operating system, Corel Painter lets you create an Image hose nozzle from a movie. This allows you to transform each frame of a Corel Painter movie into Image hose imagery. The frame size describes the item size. If you’re creating a movie just to turn it into a nozzle, set the frame size just large enough to hold your largest image element. You can use the selection in each frame to control the shape of the images.
The Make Nozzle From Movie command automatically creates a 1-Rank nozzle. If you want, you can use this technique to create a 2-Rank nozzle.
|
2
|
Choose Window  Media Library Panels Media Library Panels  Nozzles. Nozzles. |
|
3
|
In the Nozzle Libraries panel, click the Nozzle options button  , and choose Make Nozzle From Movie. , and choose Make Nozzle From Movie. |
|
1
|
Choose Movie  New Movie, and start a movie. New Movie, and start a movie. |
|
3
|
In the Layers panel, click the Layer options button  , and choose Drop and Select. , and choose Drop and Select. |

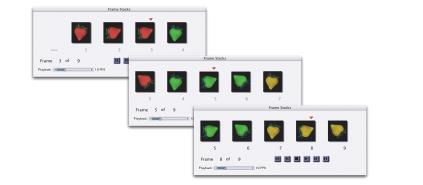
The image elements in this movie are arranged in color sets according to the second rank.
|
6
|
In the Frame Stacks panel, click the Rewind button  to return to the first frame of the movie. to return to the first frame of the movie. |
|
7
|
Choose Window  Media Library Panels Media Library Panels  Nozzles. Nozzles. |
|
8
|
In the Nozzle Libraries panel, click the Nozzle options button  , and choose Make Nozzle From Movie. , and choose Make Nozzle From Movie. |

The resulting nozzle file from the movie in the previous example.
|
The File Information dialog box holds the information Corel Painter uses to index in this file. |

Do not allow empty frames at the end of the movie.
Copyright 2014 Corel Corporation. All rights reserved.