Applying weaves
You can choose a weave from the Weaves panel, or from one of the Weave libraries that are included with Corel Painter, and apply it as a fill. For more information, see Working with libraries.
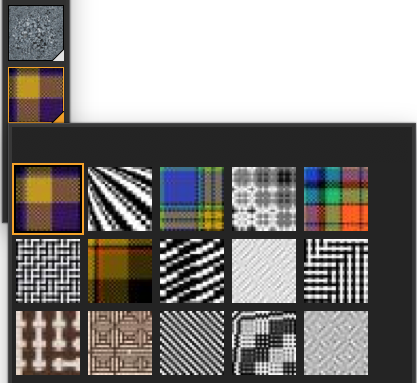
The Weave Library is accessible from the Media Selector bar.
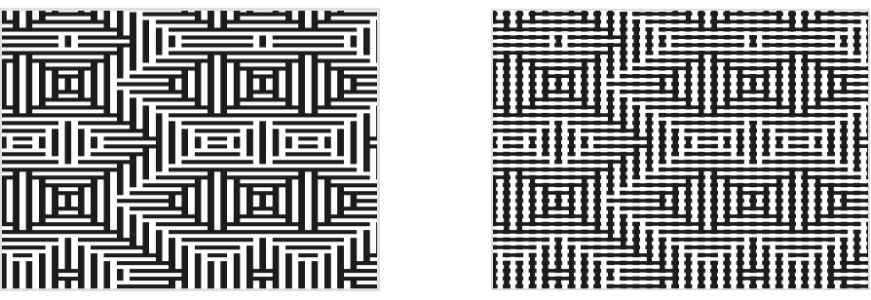
You can also display a weave as two-dimensional or show the interwoven threads three-dimensionally, complete with shadows.
Left: A weave displayed as two-dimensional. Right: The same weave displayed as three-dimensional produces a more jagged effect.
To apply a weave as a fill

1
Choose
Window  Media Panels Weaves Control Panel
.
2
Click the
Weave selector, and click a weave in the
Painter Weaves library panel.
3
Click one of the following buttons:
•
Two-Dimensional Weave 
— produces a weave that looks like blocks
•
Three-Dimensional Weave 
— produces a weave that looks like textured fabric
•
The canvas — Click the
Canvas in the
Layers panel.
•
A selection — Click a selection tool from the toolbox, and drag in the document window to select an area.
•
A layer — Click a layer in the
Layers panel.
5
Choose the
Paint Bucket tool

from the toolbox.
6
In the document window, click the canvas, selection, or layer.