Audio Expression
The Audio Expression feature lets you use audio from your computer’s microphone, or internal audio to modify the look and feel of any brush. For example, your brushstrokes may change their appearance in synch with streaming music. Audio Expression can also help you capture the ambient sounds and the atmosphere of the surroundings while working on a project.
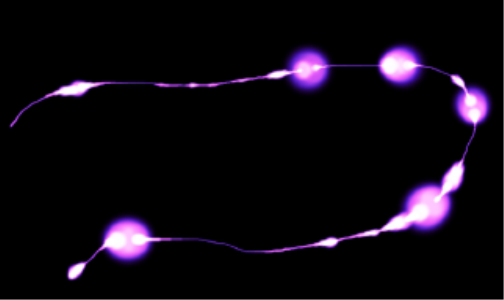
The width (size) of the brushstroke changes in synch with the audio signal.
Audio Expression allows you to link audio input to controls on any of the following brush panels: Size, Opacity, Angle, Stroke Jitter, Color Expression, Color Variability, Dynamic Speckles, Grain, Airbrush, Liquid Ink, Particles - Common, Flow Particles, Gravity Particles, and Spring Particles. You can link one or more brush attributes to audio. For example, if you link audio to brush size, angle, and color variability, brushstrokes will change their width, angle and color in synch with the audio input.

Left: A steady audio signal does not change the opacity of the brushstroke. Right: Opacity changes in synch with the audio signal.
In addition, you can adjust the strength of an audio signal, controlling its impact on a brush. For example, if you link brush size to quiet audio, increasing the strength will result in wider brushstrokes. Conversely, if the audio is loud, decreasing the strength will result in narrower brushstrokes. In addition, you can set the range of the audio expression to achieve a wider range of brushstroke variation (for example, minimum to maximum brushstroke width) regardless of whether the audio is consistently strong, low, or varies.
Audio Expression can be used together with other expressions to control brush attributes. For example, you can apply both pressure and audio expression to control how brush size varies. For more information about expressions, see Expression settings.
For a list of sample brushstrokes using Audio Expression, see Audio Expression.
To link brush attributes and effects to audio
(macOS) The volume level of the Internal Audio Driver (Corel Painter) is disabled so that audio expression strength is maintained. To adjust the sound level, go to the application that is playing the audio.
You can also enable audio input by choosing Window ![]() Audio
Audio ![]() Enable Audio Input.
Enable Audio Input.
You can also select an audio source by choosing Window ![]() Audio
Audio ![]() Input, and choosing an audio source.
Input, and choosing an audio source.