Creating 3D tiles
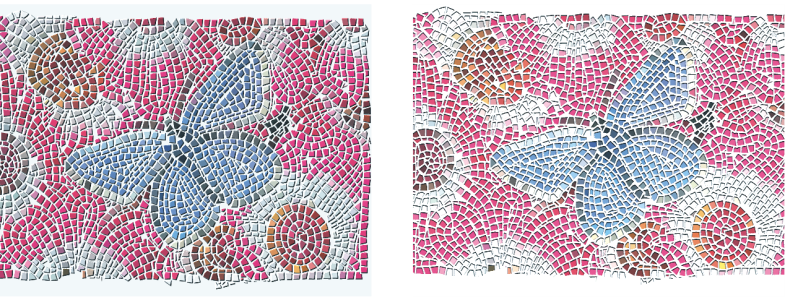
You can create mosaics with a 3D appearance by rendering tiles into a mask. This technique places the tile shapes in a new channel named Mosaic Mask (in the Channels panel), which allows you to add depth to the tiles by using surface texture to create a 3D appearance.
You can render tiles to a mask to create a look of 3D tiles.
With the tiles in a channel, you can also load the mosaic pattern as a selection or you can invert the channel to use the grout as a selection. The result can be particularly interesting when you work with a tessellated mosaic.
To give mosaic tiles a 3D look
In most cases, the best results are obtained with the Picture slider set at 100%. For more information, see Using 3D brushstrokes to create texture.
