Applying the Liquid Lens dynamic plug-in
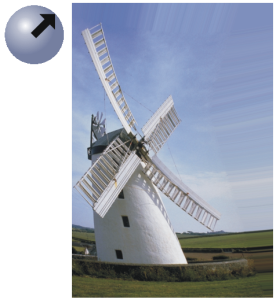
Liquid Lens creates a dynamic layer that lets you distort and smear the underlying image. You can create "fun house" mirror effects, melting images, and more. You can also erase any of the changes that you make.
Liquid Lens tools
You can apply different distortion effects by using any of the following tools:
|
|
|
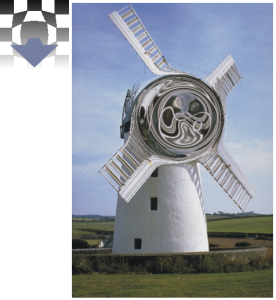
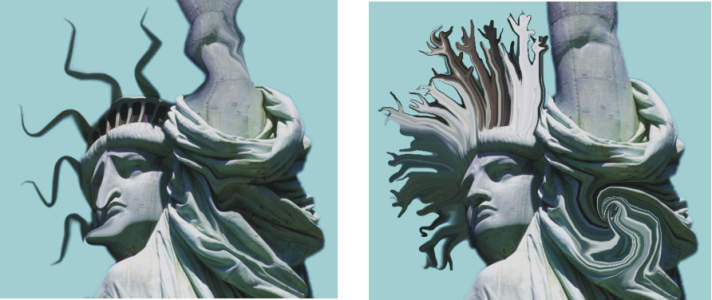
The Circular Distortion tool creates circular rings of distortion. Drag in the direction you want the distortion to move. Size and Spacing have no effect on the Circular Distortion tool. |
|
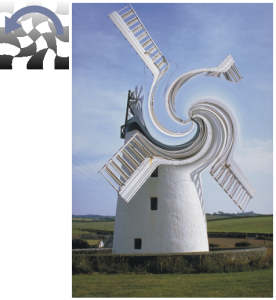
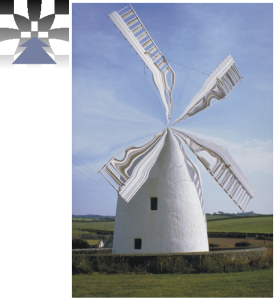
The Left Twirl tool distorts in counterclockwise spirals. |
|
The Right Twirl tool distorts in clockwise spirals. |
|
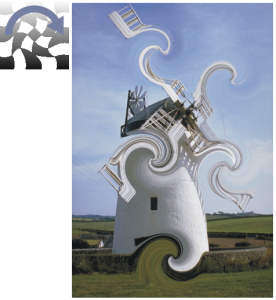
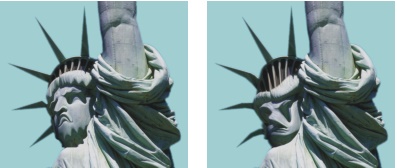
The Bulge tool distorts outward, pushing images out. |
|
The Pinch tool distorts inward, drawing images closer. |
|
The Brush tool distorts in the direction you drag. |
|
To create a Liquid Lens dynamic layer

1
In the
Layers panel, choose the
Canvas.
2
Click the
Dynamic Plug-ins button

, and choose
Liquid Lens.
3
In the
Liquid Lens dialog box, choose a Liquid lens tool.
4
Adjust any of the following sliders:
•
Size — changes the diameter of the distortion tool and the size of rain, which scatters distortion droplets in the layer
Examples of how the Size slider affects distortion
•
Spacing — changes the distance between distortion dabs
Low spacing makes a smooth, continuous stroke (left); high spacing lets the dabs appear individually (right).
•
Amount — controls the degree of distortion applied
•
Smooth — changes the blending between the distortion stroke and the unaffected images
Higher values create a smooth, continuous distortion (right). Lower values create individual dabs of distortion (left).
5
Drag in the document window to create distortion.
If you don’t like the distortion, click
Clear.
|
|
|
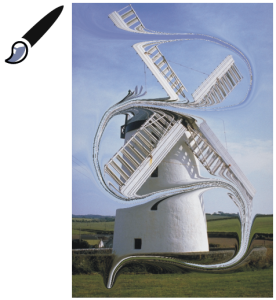
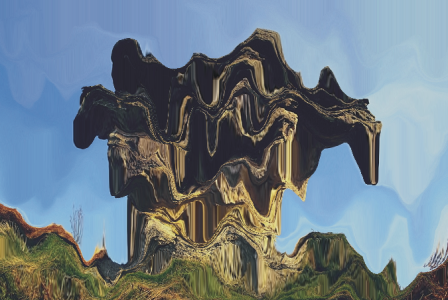
Simulate a melting image by scattering distortion droplets downwards in the layer |
In the Liquid Lens dialog box, click Rain, then click anywhere in the image to stop the rain. If Smooth and Size settings are very high, the rain might continue for a moment after you click. |
Restore the default settings |
|

You cannot use Undo to restore the image to its previous state, however, you can use the Eraser tool in the Liquid Lens dialog box.

You can move the Liquid Lens layer to different regions of the document to distort other images.
Rain melts the image.
To erase Liquid Lens distortion
1
In the
Liquid Lens dialog box, choose the Eraser tool

.
2
Adjust the
Size,
Spacing, and
Smooth sliders to modify the
Eraser tool settings.
Higher settings on the
Smooth slider create softer transitions from the erased area to the remaining distortion.
3
Drag in the document window.
The original underlying image returns.
Remove distortion by using the Eraser tool.