Opening and placing files
You can open files that were created in Corel Painter or in other applications. For example, you can open a file from another graphics application and use Corel Painter to add brushstrokes, tints, or paper textures.
You can also place a file in an existing Corel Painter document. The placed image becomes a new reference layer in the document — you can transform (resize, rotate, or slant) it on-screen by dragging its handles. A placed file maintains its link to the source file until you commit it to the standard layer format.
You can scale a file before placing it in a document.
For more information, see Working with reference layers.
Supported file formats
Corel Painter lets you open the following file formats:
•
RIFF (RIF) — native Corel Painter format
•
CMYK TIF (TIF) — Because Corel Painter works with RGB colors, the CMYK TIF files that you open or import in the application are converted to an RGB color profile.
•
Adobe Photoshop formats (PSD) — Corel Painter preserves layers, layer masks, alpha channels, and composite methods. Layer effects and adjustment layers are not supported and should be merged or flattened in Adobe Photoshop.
•
GIF — Corel Painter does not convert GIF animations to frame stacks.
Windows only
•
Frame stacks (FRM) — Corel Painter animation files

Corel Painter does not support LZW compressed TIFF file format. Only uncompressed TIFF files can be opened in Corel Painter.
To open a document

1
Choose
File  Open
Open.
Corel Painter displays the folder of the last file you opened.
2
In the
Open dialog box, locate the file that you want to open.
For each image, Corel Painter lists the dimensions (in pixels), file size, and file format. Files saved in Corel Painter include thumbnails for browsing.

The File menu also offers you a shortcut to previously opened documents. You can find your file in the recently opened files list by choosing File  Recent, and clicking the filename to open the file.
To browse for a document (macOS)

1
Choose
File  Open
Open.
The
Browse dialog box shows thumbnails for all the RIFF files in a folder.
3
Double-click the filename, or select a file, and click
Open.
To place a file

1
Choose
File  Place
Place.
2
Select an image file, and click
Open.
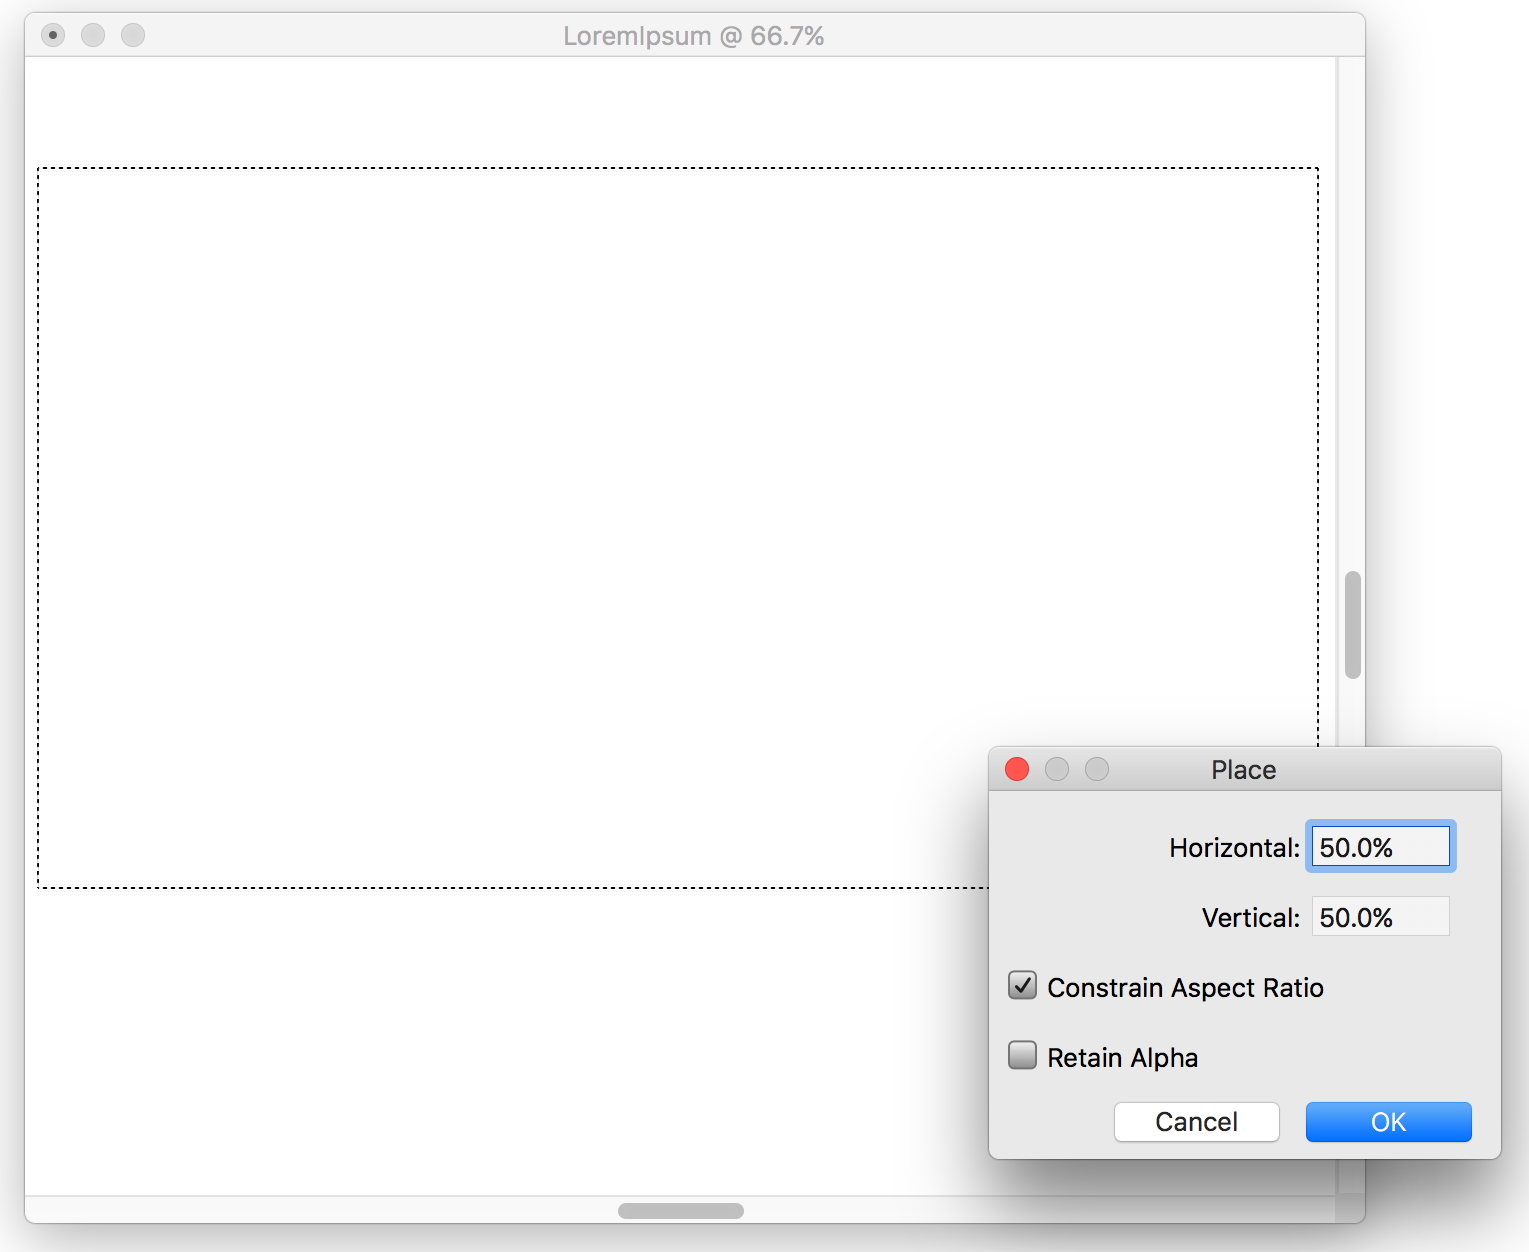
The
Place dialog box appears.
3
Perform a task from the following table.
|
|
|
Place the image in a specific location in the document window |
Click the area in the document window where you want to place the image. |
Place the image in the center of the document window |
|
Scale the image before placing |
In the Scaling area, type a value in both the Horizontal and Vertical boxes. |
Maintain the image proportions when scaling |
In the Scaling area, enable the Constrain Aspect Ratio check box. |
|
|
Enable the Retain Alpha check box. The image mask becomes a layer mask. |

If the placed image contains a mask and you do not enable the Retain Alpha check box when placing, the image mask is discarded.
![]() Recent, and clicking the filename to open the file.
Recent, and clicking the filename to open the file.