Applying the Sketch effect
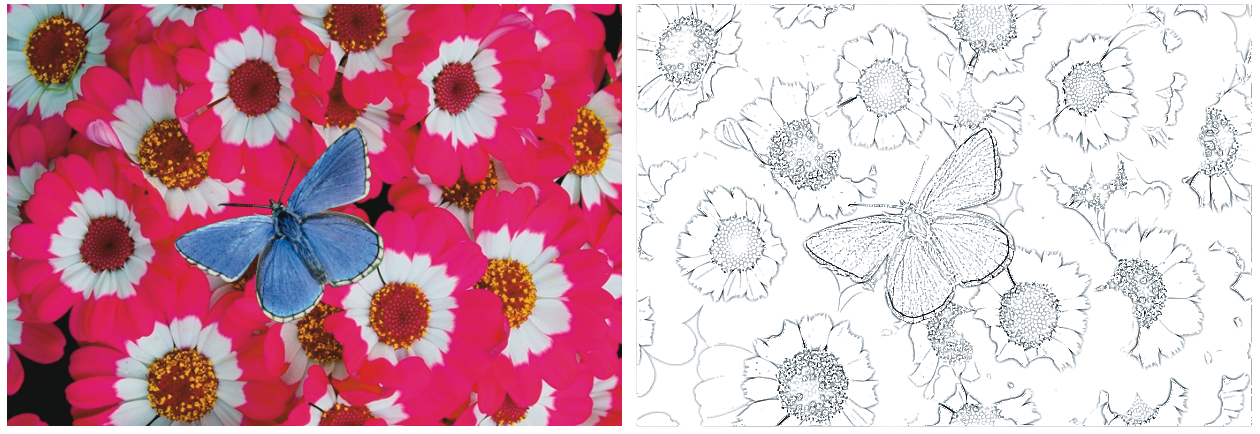
You can use the Sketch effect to generate a black and white pencil outline of a photograph. You can then use the outline as a guide for applying color, which is a useful technique for starting a painting. For more information, see Choosing a painting workflow.
To store the settings for the effect, you can create a preset. This allows you to quickly apply the settings to another image.
Before (left) and after (right) applying the Sketch effect
To apply the Sketch effect
• A selection — Click a selection tool from the toolbox, and drag in the document window to select an area.
• Sensitivity — determines sensitivity to detail. Low values detect only the main edges. High values detect the main edges as well as thin lines, such as the lines around a person’s eyes.
• Smoothing — determines how much noise is filtered out. Higher values result in wider, lighter, and blurrier lines.
• Grain — determines how much of the paper grain is revealed in the sketch marks. Move this slider to the right to show more of the paper grain.
• Threshold High and Threshold Low — removes noise after edge detection. Threshold High is used to flag light pixels which may be just noise in the image. Threshold Low is used to test surrounding pixels.
You can also apply a preset sketch effect by choosing a preset from the Preset list box.
To save a sketch effect as a preset
You can delete a preset sketch effect by choosing it from the Preset list box and clicking the Delete button.
