| • | To adjust Glazing properties |
There are multiple ways to control the opacity of the paint deposited with a brush. Glazing (Window ![]() Brush Control Panels
Brush Control Panels ![]() Glazing) lets you specify the maximum level of opacity in a brushstroke.
Glazing) lets you specify the maximum level of opacity in a brushstroke.
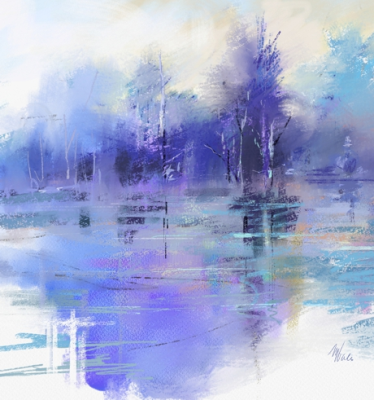
Glazing brushes were used in this painting by Melissa Gallo.
Glazing is different from Brush opacity (Window ![]() Brush Control Panels
Brush Control Panels ![]() Opacity), which controls the opacity of each dab (or bristle for other brush types.) If you set Glazing to 20%, the opacity in a single brushstroke will never exceed 20%. Within that 20% range, you can specify the opacity of each dab from 1% to 100%. For example, if you set dab opacity to 100%, the paint that a brushstroke will deposit will still be only 20% of the selected color. Brush opacity allows you to gradually build up to the selected color and Glazing determines what that color is. The lower the Brush opacity, the slower you build up to the color specified by Glazing in a single brushstroke.
Opacity), which controls the opacity of each dab (or bristle for other brush types.) If you set Glazing to 20%, the opacity in a single brushstroke will never exceed 20%. Within that 20% range, you can specify the opacity of each dab from 1% to 100%. For example, if you set dab opacity to 100%, the paint that a brushstroke will deposit will still be only 20% of the selected color. Brush opacity allows you to gradually build up to the selected color and Glazing determines what that color is. The lower the Brush opacity, the slower you build up to the color specified by Glazing in a single brushstroke.

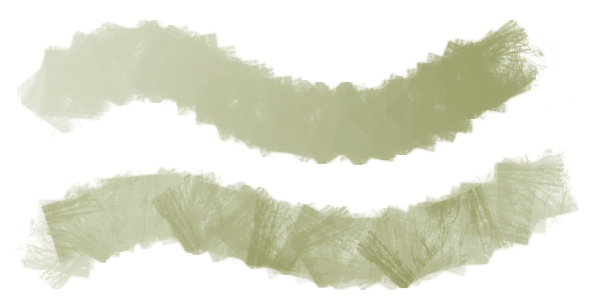
You can add grain to Glazing brushes, however, you will see overlaps.

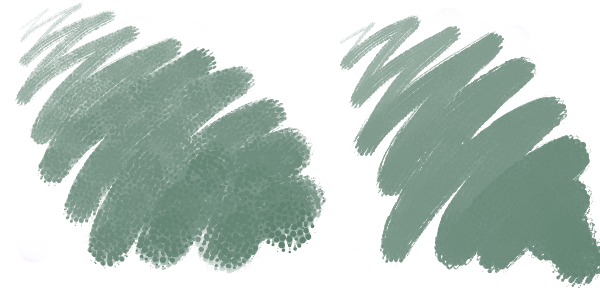
A single brushstroke with 100% Glazing and (top) 100% Grain, (bottom) 50% Grain
Glazing is available to all stamp-based brushes and can be linked to specific stylus or mouse movements. For more information, see Expression settings.


| To adjust Glazing properties |
|
| 1 | Choose Window |
| 2 | From the Merge Mode list box, choose a merge mode. |
| For a detailed description of each merge mode, see To apply a merge mode. |
| 3 | Move the Glazing slider to set the maximum level of opacity in a brushstroke. |
|
Choose an option from the Expression list box.
|
|
|
Click the Invert Glazing Expression button
 . . |
|
|
Click the Audio Expression button
 |
|
|
Move the Min Glazing slider.
The Min Glazing setting represents a percentage of the Glazing setting and it must be linked to an expression to have an effect. For example, if you choose the Pressure expression, set Glazing to 100%, and set the Min Glazing to 10%, the opacity will vary from 10% to 100% every time you apply pressure in a brushstroke.
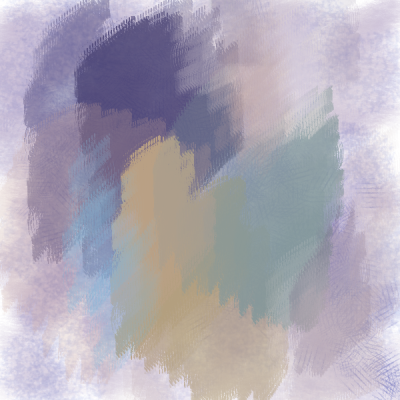
 A brushstroke with Glazing set to 100%, (top) Min Glazing set to 80%, and (bottom) Min Glazing set to 20% |
|
|
Move the Glazing Jitter slider.
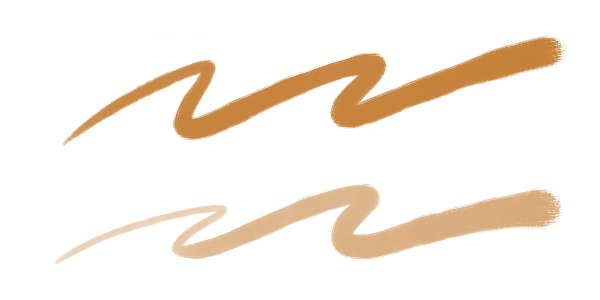
 A brushstroke with (left) Glazing Jitter set to 95%, and (right) Glazing Jitter set to 20% |
|
|
Move the Smoothness slider.
 A brushstroke with Glazing Jitter set to 100%, (top) Smoothness set to 100%, and (bottom) Smoothness set to 10% |
|
|
Move the Direction slider.
|
Glazing brushes work only with the Glazing stroke type. For more information, see General controls: Stroke types. The controls on the Glazing panel are grayed out when you select a stroke type that is not supported, such as Single, Multi, Rake, and Hose.
If there are unwanted overlaps in your Glazing brush, try the following:
| • | Set Opacity (Window |
| • | Set Grain (Window |
| • | Set Dab Opacity (Window |
Copyright 2016 Corel Corporation. All rights reserved.