| • | To link brush attributes and effects to audio |
| • | To choose audio expression settings |
The Audio Expression feature lets you use audio from your computer’s microphone, or internal audio to modify the look and feel of any brush. For example, your brushstrokes may change their appearance in synch with streaming music. Audio Expression can also help you capture the ambient sounds and the atmosphere of the surroundings while working on a project.
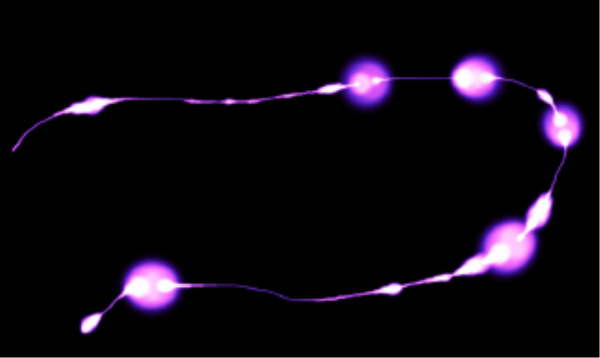
The width (size) of the brushstroke changes in synch with the audio signal.
Audio Expression allows you to link audio input to controls on any of the following brush panels: Size, Opacity, Angle, Stroke Jitter, Color Expression, Color Variability, Dynamic Speckles, Grain, Airbrush, Liquid Ink, Particles - Common, Flow Particles, Gravity Particles, and Spring Particles. You can link one or more brush attributes to audio. For example, if you link audio to brush size, angle, and color variability, brushstrokes will change their width, angle and color in synch with the audio input.
Audio Expression can be used together with other expressions to control brush attributes. For example, you can apply both pressure and audio expression to control how brush size varies. For more information about expressions, see Expression settings.
For a list of sample brushstrokes using Audio Expression, see Audio Expression.
| To link brush attributes and effects to audio |
|
| 1 . | Choose Window |
| 2 . | Enable the Enable Audio Input check box. |
| 3 . | Choose an audio source from the Input list box. |
| 4 . | Choose Window |
| 5 . | Click the Audio Expression button |
You can also enable audio input by choosing Window ![]() Audio
Audio ![]() Enable Audio Input.
Enable Audio Input.
You can also select an audio source by choosing Choose Window ![]() Audio
Audio ![]() Input, and choosing an audio source.
Input, and choosing an audio source.
| To choose audio expression settings |
|
| 1 . | Choose Window |
| 2 . | Perform a task from the following table. |
|
Move the Strength slider.
While observing the input level indicator below the Input list box, adjust the Strength slider according to the sound. Red indicates that the maximum strength has been achieved.
|
|
|
Move the Range slider.
While observing the input level indicator below the Input list box, adjust the Range slider according to the sound. Red indicates that the maximum range has been achieved.
|