Quick links to procedures on this page:
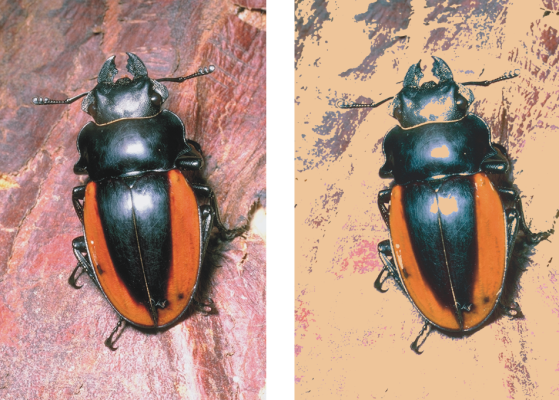
With the Serigraphy effect, you can use photographs to generate images that appear silk-screened or look like woodblock cuts. When applying the effect, Corel Painter saves each color reduction as a separate layer, so you can edit each layer individually.
Before (left) and after (right) applying the Serigraphy effect
| 2 . |
Choose Effects  Surface Control Surface Control  Serigraphy. Serigraphy. |
| 3 . |
Click the Match to color chip, and choose a color from the color picker. |
| 4 . |
Click the Fill with color chip, and choose a color from the color picker. |
| 5 . |
In the Serigraphy color dialog box, adjust any of the following sliders: |
|
• |
Smoothing — determines the smoothness of the black edge |
|
• |
Threshold — determines the total amount of color difference from the center color |
|
• |
Hue Weighting — determines how much hue contributes to the effect |
|
• |
Sat Weighting — determines how much saturation contributes to the effect |
|
• |
Lum Weighting — determines how much luminance contributes to the effect |
| 6 . |
Click Create Serigraphy Layer. |

You can also specify Match and Fill colors by clicking a color in the image.
