Corel Painter Help :
Web : Creating transparent GIFs
Quick links to procedures on this page:
Corel Painter lets you create web-ready transparent GIFs. If designed correctly, GIFs with transparent areas are very effective when displayed over background colors or tiles.
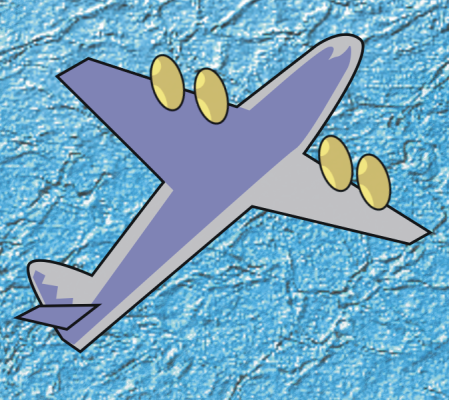
A GIF with a transparent background (the airplane) is displayed over a blue background image.
In Corel Painter, the method of defining transparency during GIF export is to define the transparent areas based on the content of the selected layers. The edges of the floating elements on the layers help define the transparent areas. For more information, see Layers.
When saving to the GIF file format, you can reduce the number of colors, which translates into smaller files.
| 1 . |
From the Layers panel, select a layer or group of layers. |
| 2 . |
Choose Select  Select Layer Content. Select Layer Content. |
| 4 . |
Choose GIF from the Save As Type list box. |
| 6 . |
In the Save As GIF Options dialog box, enable the Output Transparency check box to make the selected area the only part of the canvas displayed on your web page. |
|
• |
Background is BG Color — sets the transparent color using the additional color specified in the Color panel. Note that this setting does not refer to the background color of the HTML page. |
| 8 . |
In the Preview window, verify that the selected area is correctly masked and that the transparent area is correctly positioned. Transparent areas appear as a grid. |
|
• |
Quantize to Nearest Color — causes Corel Painter to look at each pixel and pick the nearest color. This is useful when the image you are saving has broad areas of a single color. |
|
• |
Dither Colors — causes Corel Painter to apply a stippled effect to the chosen colors to generate a more accurate, less banded result. Dither Colors can reduce the effectiveness of GIF file compression. |

The RIFF format contains image data that is lost when saving to GIF or JPEG. To edit the file later, save a RIFF copy before saving to the GIF or JPEG file format.
