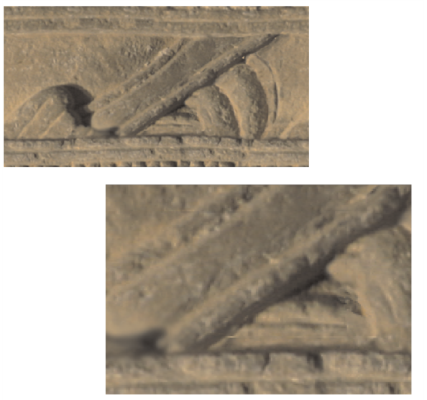
By default, images are displayed at 100% magnification; however, you can zoom in to get a closer look at image detail or zoom out to view a larger portion of the image. You can change the level of magnification by zooming in and out with the Magnifier tool, resetting magnification, or zooming to fit the screen.
The Magnifier tool lets you zoom in and out by clicking in the document window.
The zoom mode you choose determines how the modifier Shift key affects the function of the Magnifier tool. For example, to zoom over an area in the default Drag to Zoom mode, you simply need to drag to the left or right; however, to perform the same task in the Select Zoom Area mode, you need to hold down Shift while dragging. Choose the mode that best fits your workflow. If you often zoom quickly in and out, but you rarely need to select specific areas, you may choose the Drag to Zoom mode. However, if your workflow requires that you often select specific areas to get a closer look at image detail, you can choose the Select Zoom Area mode; in this mode, you zoom in to a specific area by simply dragging across the area.
| To zoom in preset increments |
|
| 1 . | Click the Magnifier tool |
| 2 . | Perform a task from the following table. |
|
The Magnifier cursor
|
|
|
Hold down Option (macOS) or Alt (Windows) and click the image.
A minus sign (–) appears on the Magnifier cursor
|
Each click increases or decreases the magnification to the next level, as defined in the Zoom Level box on the property bar.
You can also zoom in using the following keyboard shortcuts:
| • | (macOS) Hold down Command, and press + (plus sign). |
| • | (Windows) Hold down Ctrl, and press + (plus sign). |
You can also zoom out using the following keyboard shortcuts:
| • | (macOS) Hold down Command, and press – (minus sign). |
| • | Hold down Ctrl, and press – (minus sign). |
When using a mouse, you can zoom in to or out from the image by using the mouse wheel.
| To set the zoom mode |
|
| 1 . | Click the Magnifier tool |
| 2 . | On the property bar, choose an option from the Zoom Mode list box: |
| • | Drag to Zoom |
| • | Select Zoom Area |
Corel Painter keeps the zoom mode setting from one session to the next.
| To zoom by dragging |
|
| 1 . | Click the Magnifier tool |
| 2 . | Perform a task from the following table. |
|
||||||||
|
| To zoom by selecting an area |
|
| 1 . | Click the Magnifier tool |
| 2 . | Perform a task from the following table. |
|
Hold down Shift and drag across the area you want to magnify.
|
|
| To zoom to a specific magnification level |
|
| • | Choose Window |
| If you prefer, open the Zoom Canvas slider, and adjust the zoom level. |
| To reset magnification to 100% |
|
| • | Double-click the Magnifier tool |
You can also reset magnification to 100% by clicking the Reset tool on the property bar or the Reset Zoom to 100% button
in the Navigator panel.
| To zoom to fit the screen |
|
| • | Choose Window |
| Corel Painter generates a view of the entire document to fit your document window. |
You can also zoom to fit the screen by clicking the Fit Screen button on the property bar.
| To set zooming performance preferences |
|
| 1 . | Click the Magnifier tool |
| 2 . | Click one of the following buttons on the property bar: |
| • | High Quality Display — smooths objects to minimize pixelation when zooming |
| • | Area Averaging — increases the speed at which the screen is drawn when you are viewing an image at less than 100% magnification. Enabling this option may decrease accuracy. |
You can also specify zooming preferences by clicking Edit ![]() Preferences
Preferences ![]() Performance, and enabling options in the View Options area.
Performance, and enabling options in the View Options area.