| • | To prepare a banner design for printing |
You can create a banner from the active page or from selected objects on the page.
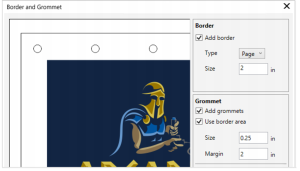
The Border and Grommet dialog box
| To prepare a banner design for printing |
|
| 1 . | Click Tools |
| To use the Border and Grommet dialog box, you must first download the Border and Grommet extension. For more information, see To acquire an extension. |
| 2 . | Perform a task from the following table. |
|
In the Border area, enable the Add border check box.
|
|||||||||||
|
In the Source area, enable the Page option.
|
|||||||||||
|
In the Source area, enable the Selection option.
|
|||||||||||
|
In the Border area, choose an option from the Type list box:
|
|||||||||||
|
In the Border area, type a value in the Size box.
|
|||||||||||
|
Enable the Add grommets check box.
If you want CorelDRAW to take into account the border area when placing grommet markers, enable the Use border area check box. Disabling this option places grommet markers within the boundaries of the original page.
|
|||||||||||
|
In the Grommet area, type a value in the Size box.
|
|||||||||||
|
In the Grommet area, type a value in the Margin box.
|
|||||||||||
|
In the Placement and Distribution area, enable the Number of grommets option, and type values in the Vertical and Horizontal boxes.
|
|||||||||||
|
In the Placement and Distribution area, enable the Spacing option, and type values in the Vertical and Horizontal boxes.
|
Copyright 2016 Corel Corporation. All rights reserved.