Customize the pixel brush marks of Painterly brushes
Once you select a brush that resonates with your creative vision, you can change properties like brush color, size, transparency, texture, and more to achieve the desired effect. You can adjust brush settings on the Painterly Brush tool property bar or in the Painterly Brush tab of the Properties inspector.
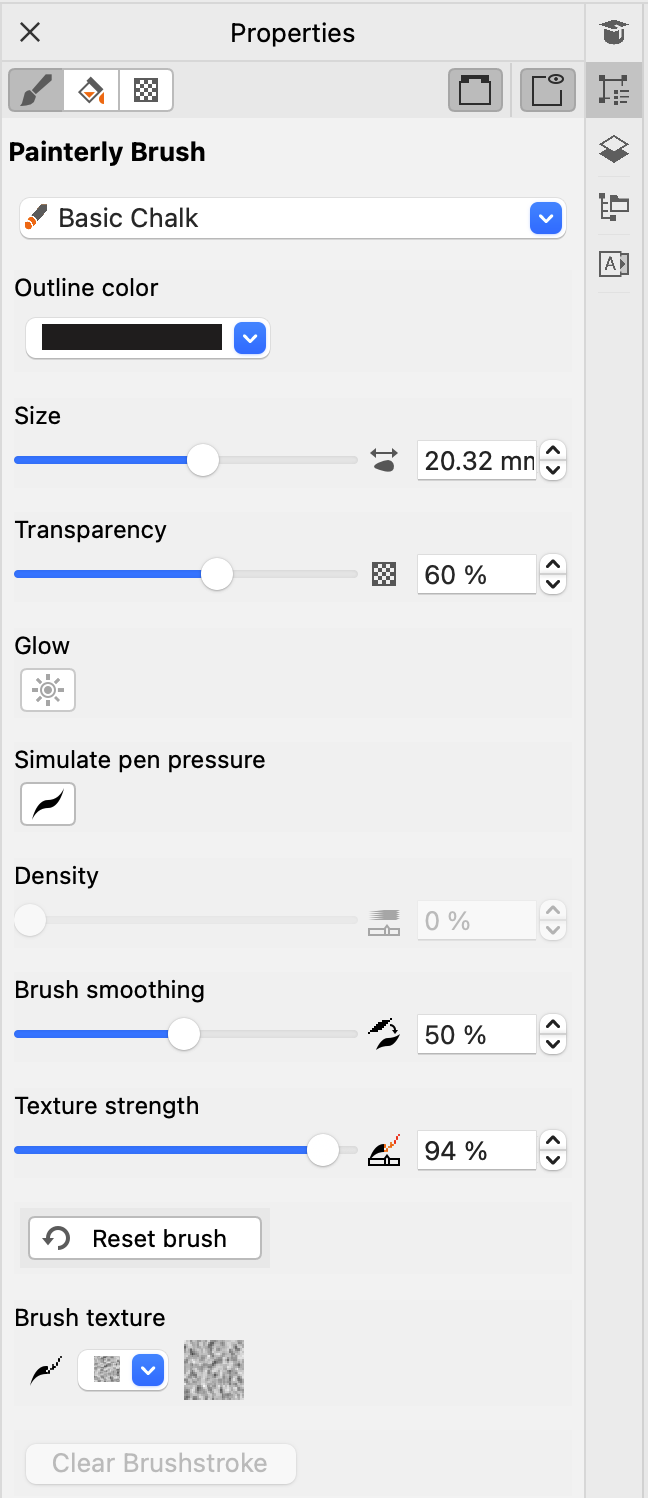
The Painterly Brush tab of the Properties inspector
When you modify brush settings without selecting a brushstroke, CorelDRAW saves the changes as the default settings for new documents. You can reset brushes to the factory defaults. Note that color and texture are global settings; therefore, any changes to stroke color and texture are retained when you reset brushes to factory defaults.
You can change the color of a selected brushstroke by choosing an outline color from the Default color palette, Document palette, Color inspector, Painterly Brush tab of the Properties inspector, and Outline Pen dialog box. For more information about choosing colors, see Color. You can also set the default color for brushstrokes. To enhance the Natural-Media appearance of strokes, some brushes draw with more than one color. Color variability is achieved through a progression of colors, transitioning from the main color to darker or lighter tones within the primary hue.
Whether you seek bold and pronounced lines or delicate, intricate details, adjusting brush size can dictate the breadth and impact of your strokes. Before you create or select a brushstroke, the Brush size control on the property bar shows the default size for a selected brush. Drawing a new brushstroke will use this brush size. If you adjust the brush size when no brushstroke is selected, the chosen size becomes the new default for the brush.
When you select a brushstroke, the Brush size control shows the size of the selected brushstroke. Changing the size in the control changes the brush size of the selected brushstroke, but does not affect the default for new brushstrokes. Selecting multiple brushstrokes with different brush sizes and adjusting the brush size on the property bar uniformly resizes all strokes.

Changing the size of a selected brushstroke
Brush size is measured in the units of measurement (for example, pixels or millimeters) specified in your document settings. Changing the size of a brushstroke is different from resizing the brushstroke with the selection handles. Proportional resizing of a brushstroke by using the corner handles of the bounding box leads to a 100% change in the brush size. For example, scaling the brushstroke to 200% doubles the brush size, while reducing it to 25% shrinks the brush size to 1/4 of the original. When resizing a brushstroke non-proportionally by using the middle handles, the brush size changes by half of the applied percentage. For instance, resizing the brushstroke by 50% results in a 25% change in the brush size. The resizing range of an object is constrained by a brush's minimum and maximum size. Rotating and skewing brushstrokes does not affect the brush size.
Transparency lets you control the opacity of paint applied with a brush. Experimenting with transparency can enhance your design by adding an extra layer of depth, creating subtle transitions between overlapping elements, incorporating overlays, or infusing ethereal effects into your artwork.
Decrease transparency for enhanced solid color coverage (left) or increase it to unveil underlying image areas (right).
You can set the transparency level before creating a brushstroke; this transparency level then becomes the default for new brushstrokes made with this specific brush in any document. Alternatively, you can modify the transparency after creating a brushstroke. Brush transparency is distinct from the transparency you apply to objects by using the Transparency tool ![]() . The two types of transparency are adjusted separately, and changes to one do not affect the other.
. The two types of transparency are adjusted separately, and changes to one do not affect the other.
In traditional art, texture refers to the visual and tactile roughness or coarseness of a surface. The marks made with a tool vary depending on the texture of the surface on which you draw. In CorelDRAW, however, texture is a brush attribute, not a property of the drawing surface.
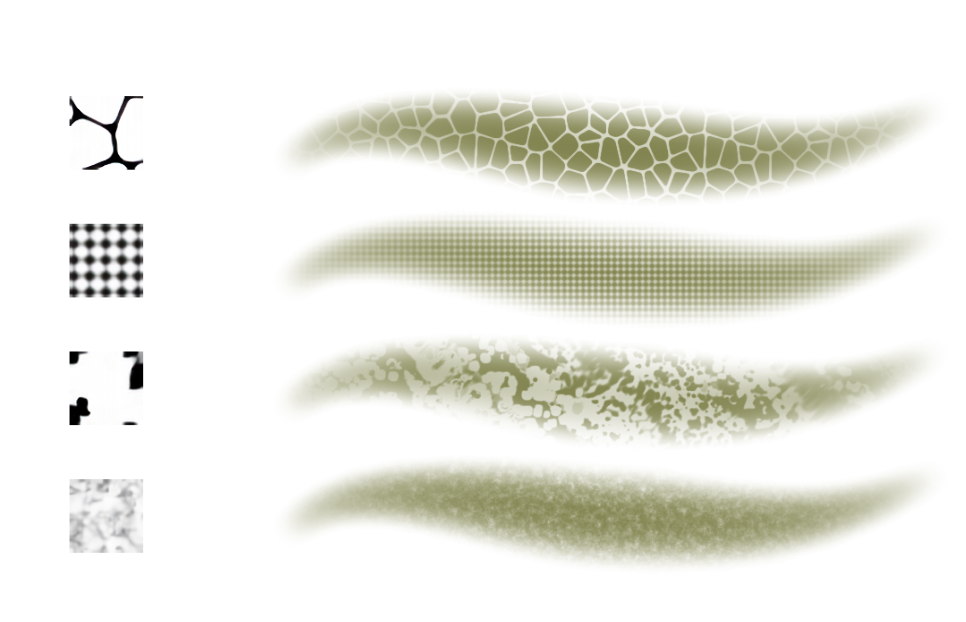
Texture influences the visual aspect of brush marks, creating the illusion of surface roughness. Furthermore, it can interact to transform the appearance of brushstrokes subtly or dramatically. Experiment with different textures to produce the effect you like.
Brushes that support texture come with a default texture, but you can choose a different one to match your preferences. You can choose a texture before applying a brushstroke; this texture then becomes the default for new brushstrokes made with this specific brush in any document. Alternatively, you can change the texture of an existing brushstroke. As a global setting, brush texture is retained when you reset a brush to the factory defaults.
Furthermore, you can adjust the intensity of the texture effect. Whether you prefer a subtle grain or a bold, textured appearance, CorelDRAW lets you refine your brushstrokes.
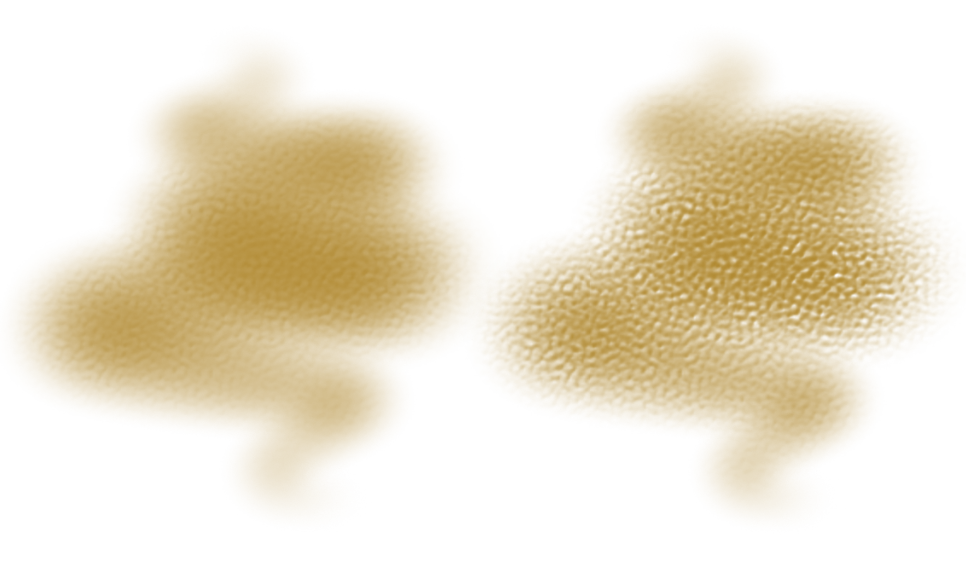
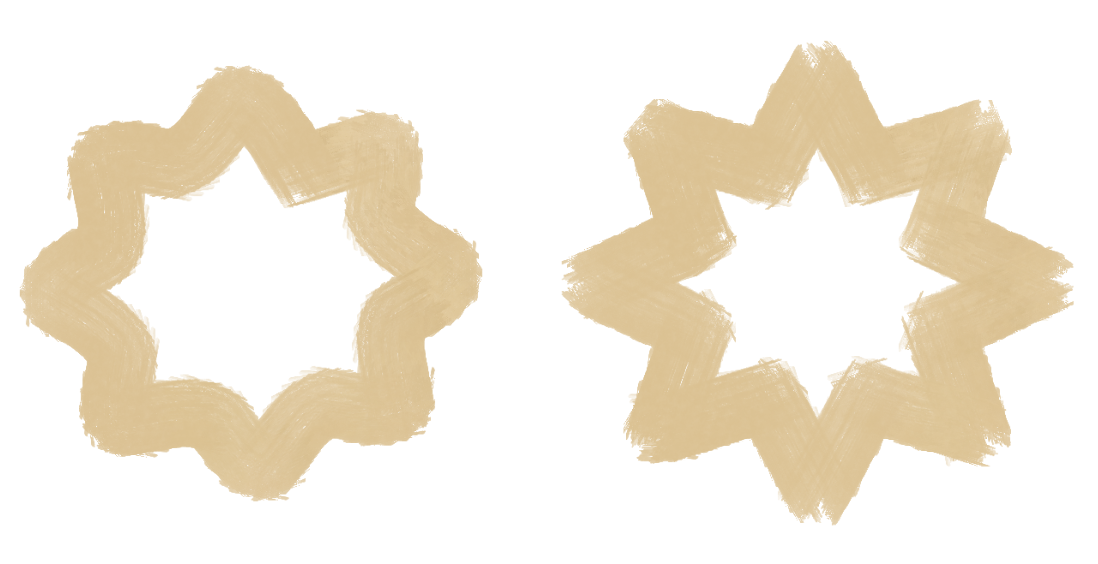
Modify the strength of the texture effect, from a delicate grain (left) to a more pronounced textured finish (right), to suit your artistic needs.
You can modify the appearance of Airbrush and Particle brushes by adjusting the density of droplets or particles in a brushstroke, respectively. The higher the setting, the greater the number of droplets or particles a brush releases, which in turn results in more paint and a denser spray of particles.

A brushstroke with low density (left) and high density (right)
Glow lets you create vibrant brushstrokes by gradually increasing brightness until colors build up to a luminous white.
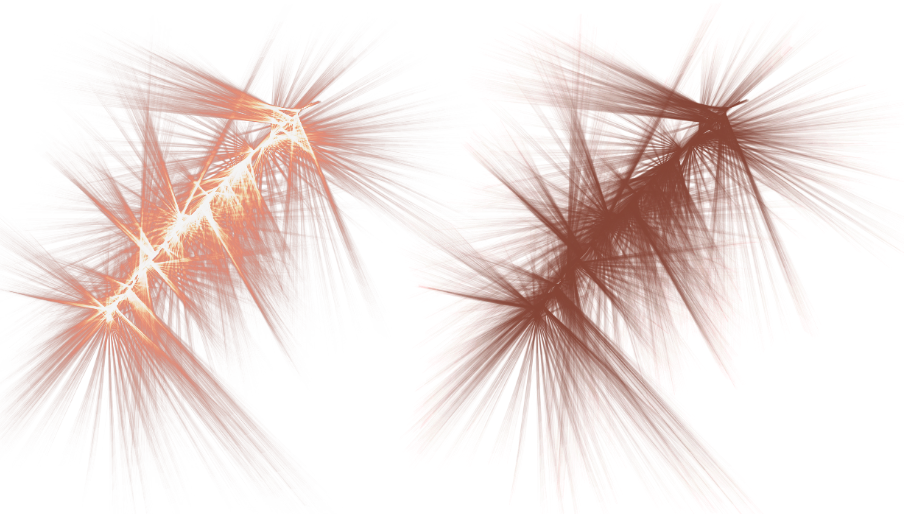
A brushstroke with (left) and without (right) glow
Smoothing helps you refine brushstrokes, reducing jitter and creating smoother, more fluid lines. It effectively minimizes small-scale jitter while maintaining the overall shape of the stroke. By adjusting the smoothing level, you can soften the appearance of brushstrokes, making them look more polished. This feature is especially beneficial when drawing with a jittery input device like a mouse, where higher smoothing values can be essential for achieving clean, smooth strokes.
A stroke with (left) and without (right) smoothing
Simulate pressure when drawing with a mouse
CorelDRAW lets you simulate stylus-like brushstroke dynamics like changing size, varying transparency, and tapering the ends with mouse movement. This feature is especially beneficial for users working with a mouse or other non-pressure-sensitive devices, as it emulates the nuanced effects typically achieved with a stylus. It also provides support for those aiming for smooth ends and consistent brushstrokes in terms of size, opacity, color, and tapering.
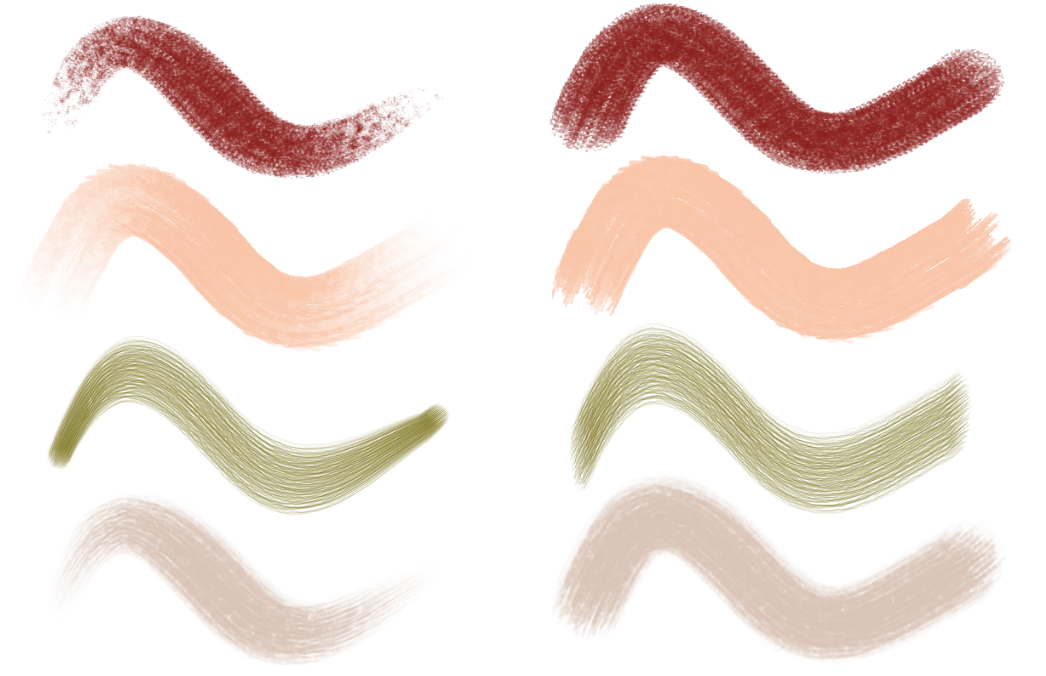
Strokes with (left) and without (right) pen pressure simulation
Just as brushstrokes drawn with a stylus respond diversely to pressure, brushstrokes that simulate stylus-like dynamics exhibit the same behavior — some change size and transparency, some show variations in color, and others produce strokes that fade in and out.
To set brushstroke color
|
Click a blank area on the drawing page to deselect all objects, Control-click a color on the default color palette, and click Set Outline Color. In the Change Document Defaults dialog box, enable Painterly Brushstroke, and click OK.
For more information about managing default object properties, see Manage and apply default object properties.
|
If you select a brushstroke with a specific color, and then start drawing, each new stroke will use that color, regardless of the default brush color.
Color is a global setting; any changes to brush color are retained when you reset brushes to factory defaults.
You can also change the color of a brushstroke by selecting the brushstroke with the Painterly Brush tool and doing one of the following:
To set brush size
CorelDRAW may need to rebuild the brush after you resize it; therefore, you can expect a short delay.
To set brush transparency
To choose a brush texture
After selecting a brushstroke with a specific texture, every new stroke you draw will use that texture.
Setting a default texture affects only new brushstrokes in the active document; the textures of existing brushstrokes remain unchanged.
Texture is a global setting; therefore, any changes to brush texture are retained when you reset brushes to factory defaults.
If you change the texture of a brush style but later want to restore the original look of the brush, select Basic Paper, which is the first texture in the library.
To set texture strength
To set brush density
The number of droplets or particles scales proportionally as you change the brush size.
To add a glow effect
The Glow button is grayed out for brushes that do not support glow.
While glow effects are noticeable on a light background with a darker stroke color, they appear much more prominent on a dark background.
You can also modify the brushstroke transparency to control the intensity of the glow. The lower the transparency, the stronger the glow.
To adjust brush smoothing
The Brush smoothing control is grayed out for brushes that do not support smoothing.
To simulate pen pressure when drawing with a mouse
To reset brushes to the factory defaults
Resetting brushes to the factory defaults also restores the default application, document and tool preferences.