Group objects
When you group two or more objects, they are treated as a single unit but retain their individual attributes. Grouping lets you apply the same formatting, properties, and other changes to all the objects within the group at the same time. In addition, grouping helps prevent accidental changes to the position of an object in relation to other objects. You can also create nested groups by grouping together existing groups.
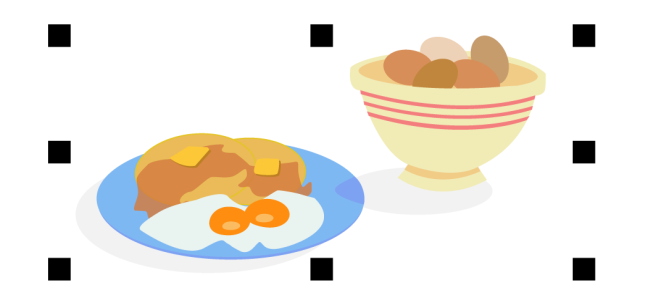
Individual objects retain their attributes when they are grouped.
You can add objects to or remove objects from a group, and you can delete objects that are members of a group. You can also select and edit a single object in a group without ungrouping the objects. For information on selecting objects in groups, see Select an object in a group. If you want to edit multiple objects in a group at the same time, you must first ungroup the objects. If a group contains nested groups, you can ungroup all objects in the nested groups simultaneously.
To group objects
The status bar indicates that a group of objects is selected.
You can select objects from different layers and group them; however, after objects are grouped, they reside on the same layer and are stacked on top of one another.
You can create a nested group by selecting two or more groups of objects and clicking Object ![]() Group
Group ![]() Group.
Group.
You can also group objects by dragging an object in the Objects inspector over another object. If the Objects inspector is not open, click Window ![]() Inspectors
Inspectors ![]() Objects.
Objects.
You can also group objects by clicking the Group objects button on the property bar.
To add an object to a group
To remove an object from a group
You can also remove an object from a group by clicking the Pick tool , holding down Command, clicking the object in the drawing window, and then pressing Delete.
To delete an object in a group, select the object in the object list, and click Edit ![]() Delete.
Delete.
To edit an object in a group
You can also select an object in a group by clicking the object in the Objects inspector. If the Objects inspector is not open, click Window ![]() Inspectors
Inspectors ![]() Objects.
Objects.
You can use Focus mode to facilitate the selection and editing of a specific object within an object group. When you bring an object into focus, it is temporarily brought to the front of the stacking order. For more information, see Edit objects in Focus mode.
To ungroup objects
Choosing Ungroup All also ungroups all nested groups. To preserve nested groups, select Ungroup.
You can also ungroup objects by clicking the Ungroup button on the property bar.
You can also ungroup all nested groups within a group by clicking the Ungroup all button on the property bar.
