Modify objects with the Properties inspector
The Properties inspector presents object-dependent formatting options and properties, letting you modify object settings from one location. For example, if you create a rectangle, the Properties inspector automatically presents outline, fill, transparency, and corner formatting options, as well as the rectangle’s properties. If you create a text frame, the inspector instantly displays character, paragraph, and frame formatting options, as well as the text frame’s properties.
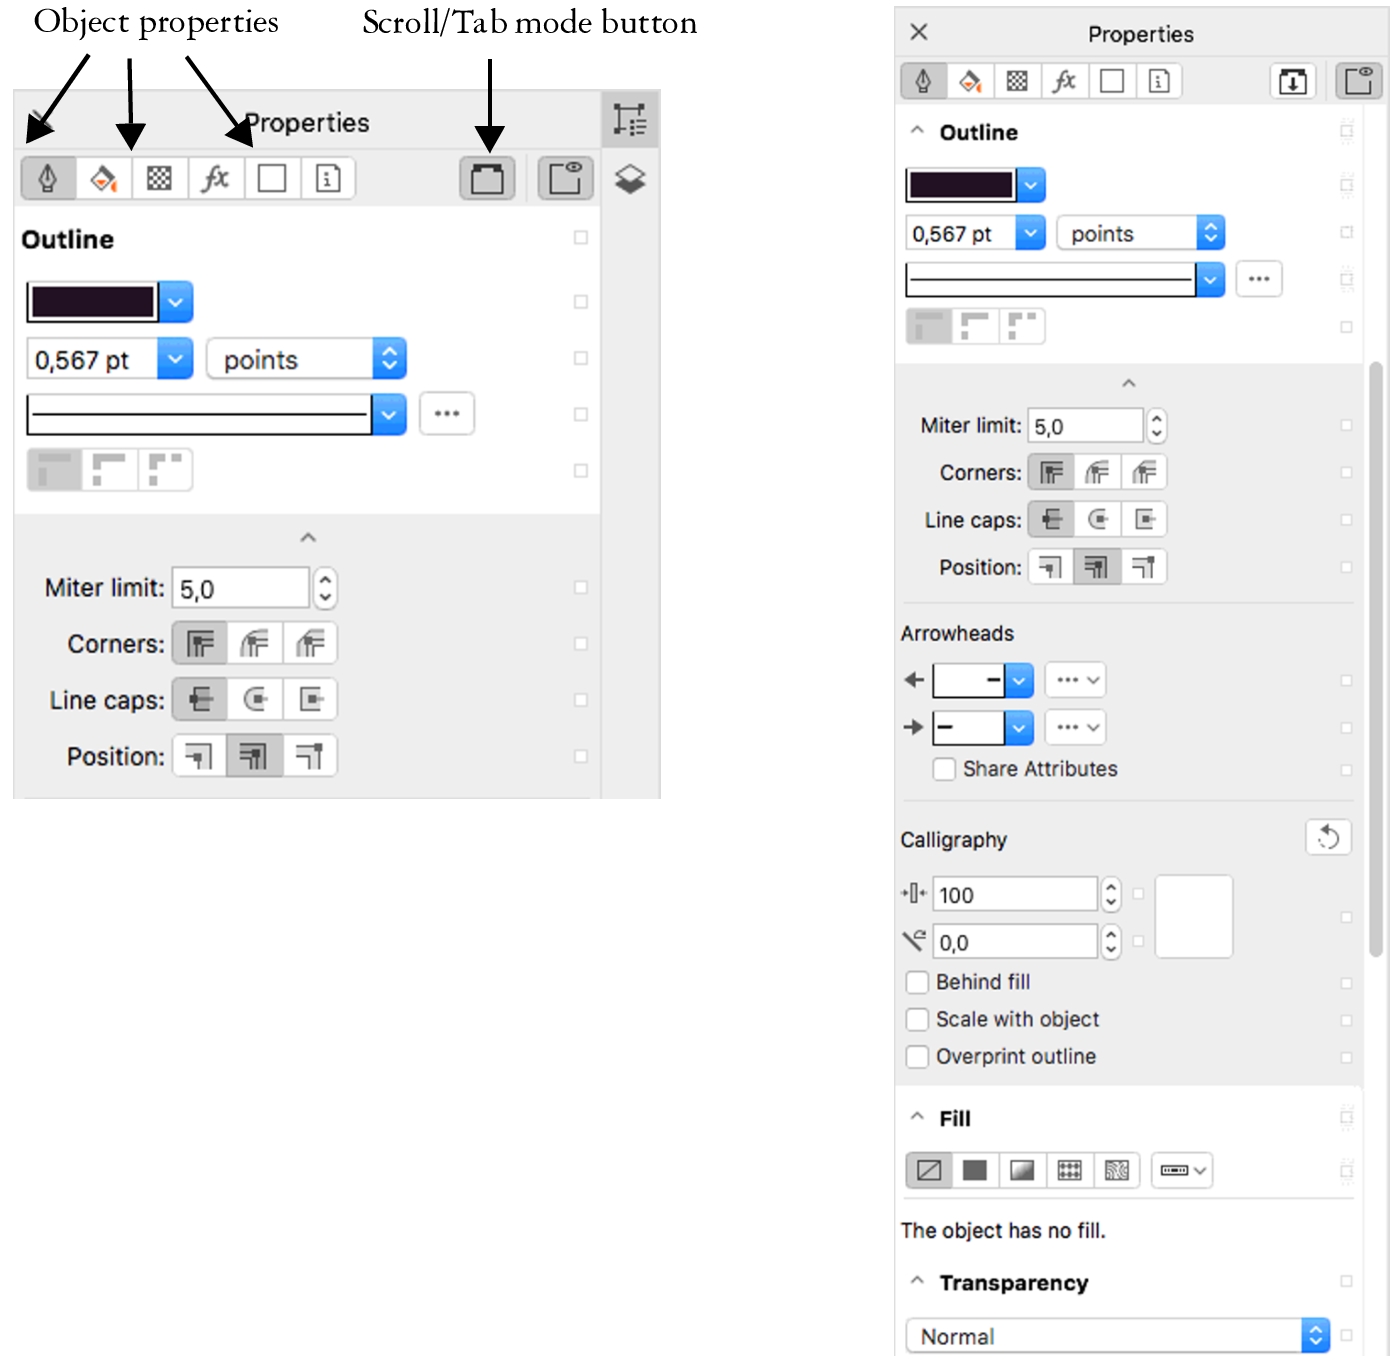
You can navigate quickly to the properties that you want to modify by using the controls at the top of the Properties inspector. In addition, two view modes are available: Scroll and Tab. Scroll mode displays all relevant object properties, letting you scroll to the options you want. Tab mode displays only one group of object properties at a time, hiding the other options. For example, you can view only fill options, and then click the Outline button to view only outline options.
In this example, the Properties inspector displays the editable properties of a selected rectangle in Tab mode (left) and Scroll mode (right).
If objects have outline, fill, or other styles applied to them, style indicators appear beside the property in the Properties inspector. You can hide the style indicators to save space.
