Add tables
With CorelDRAW, you can add a table to a drawing to create a structured layout for text and images. You can draw a table, or you can create a table from existing text.
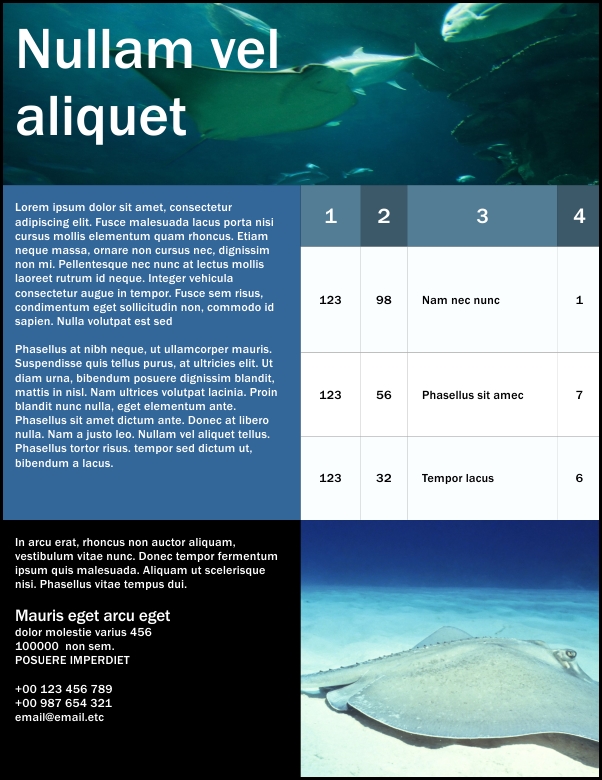
In this example, a table was used to organize the content.
To add a table to a drawing
The value that you type in the top portion specifies the number of rows; the value that you type in the bottom portion specifies the number of columns.
You can also create a table by clicking Table ![]() Create new table, and then typing values in the Number of rows, Number of columns, Height, and Width boxes.
Create new table, and then typing values in the Number of rows, Number of columns, Height, and Width boxes.
To create a table from text
• User defined — creates a column where a specified marker appears and a row where a paragraph marker appears
If you do not type a character in the User defined box, only one column is created, and each paragraph of text creates a table row.
You can also convert a table to text. For more information, see To convert a table to text.