Apply lenses
Lenses change how the object area beneath the lens appears, not the actual properties and attributes of the objects. You can apply lenses to any vector object, such as a rectangle, ellipse, closed path, or polygon. You can also change the appearance of artistic text and bitmaps.When you apply a lens over a vector object, the lens itself becomes a vector image. Likewise, if the lens is placed over a bitmap, the lens also becomes a bitmap. You can use a lens to apply bitmap effects to image areas. For more information, see To apply a bitmap effect to an image area.
After you apply a lens, you can copy it and use it with another object.
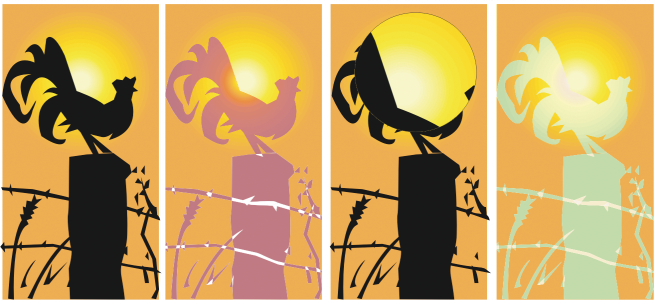
The lens types applied to the original (far left): (left to right) Heat map, Magnify, and Custom color map
The following are the types of lenses that you can apply to objects.
|
|
|
|
|
Lets you apply special effects to image areas |
|
|
Lets you brighten and darken object areas and set the rate of the brightness and darkness |
|
|
Lets you simulate an additive light model. The colors of the objects beneath the lens are added to the color of the lens as if you were mixing colors of light. You can choose the color and the amount of color you want to add. |
|
|
Lets you view an object area with only black and the lens color showing through. For example, if you place a green color limit lens over a bitmap, all colors except green and black are filtered out in the lens area. |
|
|
Lets you change all the colors of the object area beneath the lens to a color ranging between two colors you specify. You can choose the range’s start and end colors and the progression between the two colors. The progression can follow a direct, forward, or reverse route through the color spectrum. |
|
|
Lets you distort, magnify, or shrink the objects beneath the lens, according to the percentage value you specify |
|
|
Lets you create the effect of an infrared image by mimicking the heat levels of colors in object areas beneath the lens |
|
|
Lets you change the colors beneath the lens to their complementary CMYK colors. Complementary colors are colors that are opposite each other on the color wheel. |
|
|
Lets you magnify an area on an object by an amount that you specify. The magnify lens overrides the original object’s fill, making the object look transparent. |
|
|
Lets you change the colors of object areas beneath the lens to their grayscale equivalents. Tinted grayscale lenses are particularly effective for creating sepia-tone effects. |
|
|
Lets you make an object look like a piece of tinted film or colored glass |
|
|
Lets you display the object area beneath the lens with the outline or fill color of your choice. For example, if you set red for the outline and blue for the fill, all areas beneath the lens appear to have red outlines and blue fills. |
To apply a lens

2
Click
Effects  Lens
Lens.
3
Choose a lens type from the list box in the
Lens docker.
4
Specify the settings you want.

You cannot apply the lens effect directly to linked groups such as contoured objects, beveled objects, extruded objects, drop shadows, paragraph text, or objects created with the Artistic media tool  .
.
To copy a lens
1
Select the
object to which you want to copy the lens.
2
Click
Object Copy effect Lens from.
3
Click the object from which you want to copy the lens.