Move objects
You can move objects by dragging, by specifying distance and direction, or by nudging. You can also move an object while you are drawing it.
Super nudging and micro nudging let you move objects into place by increments. By default, you can nudge objects in 0.01-inch increments, but you can change the nudge values to suit your needs.
To move an object

2
Click
Object  Transform Position
.
The
Transform docker appears.
By default, the
Relative position check box in the
Transform docker is enabled, and the position of the center anchor point of the object is used as a reference point. It is identified as 0,0 in the
H and
V boxes. When you specify a different position in the
H and
V boxes, the values represent a change from the current position as measured from the center anchor point of the object.
3
Use one of the following methods:
•
Enable the
Distance option. In the
Horizontal and
Vertical boxes, type the horizontal and vertical values by which to move the object. Alternatively, in the
Specify position box, type a value to position the object along the selected axis, and specify the angle of the selected axis in the
Angle axis box.
•
Enable the
Gap and direction option.Type a value for the gap, and choose the direction to move the object. This option moves the object in the selected direction at a distance equal to the height or width of its bounding box plus the specified gap.
If you want to leave the original object unchanged and apply the transformation to copies that are created, type a number in the
Copies box.

When you disable the Relative position check box, the point of origin (0,0) is at the lower-left corner of the drawing page.

When you use the Distance option to move an object, you can also set the position interactively. Click the Set position interactively button  , and drag the pointer in the drawing window to specify the distance and angle by which to move the object.
You can also move a selected object by dragging it to another position in the drawing.
You can set a precise location for the object by clicking the Geometric properties button  on the property bar and typing values in the Properties docker.
You can use snapping to move an object with precision. For more information, see Work with precision.
To move an object while drawing
1
Start drawing an object.
2
Hold down the right mouse button without releasing the left mouse button, and drag the unfinished object to its new position.
3
Release the right mouse button, and continue drawing.
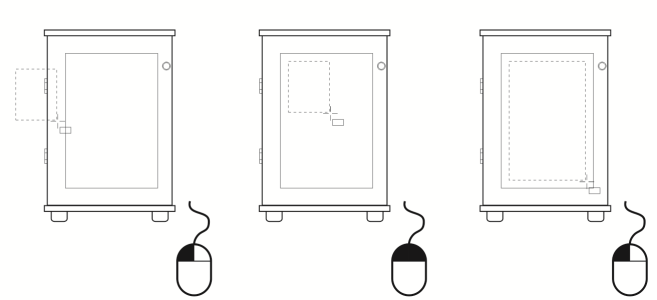
Moving an object while drawing
To nudge an object
•
Perform a task from the following table.
|
|
|
Nudge a selected object by the nudge distance |
|
Nudge a selected object by a fraction of the nudge distance (Micro nudge) |
Hold down Ctrl, and press an Arrow key. |
Nudge a selected object by a multiple of the nudge distance (Super nudge) |
Hold down Shift, and press an Arrow key. |
To set nudge distances
1
Click
Layout Document Options.
3
Type a value in the
Nudge box.
4
Type a value in one of the following boxes:
You can also set the nudge distance by deselecting all objects and typing a value in the Nudge distance box on the property bar.
To save the new nudge distances to use in new drawings, click Tools Save settings as default.