Auto adjustments
The Adjust menu offers quick access to the following automatic adjustments: Auto Levels (formerly known as Auto-adjust), Auto Tone Curve (formerly known as Auto-Balance Tone), and Desaturate. When you apply either of those adjustments, the Adjustments inspector appears with adjusted values in the corresponding section.
Auto Levels
The Auto Levels filter adjusts the tone, color, and contrast of an image while preserving shadow and highlight detail that is lost when you adjust the brightness, contrast, and intensity of an image. This adjustment is performed on each color channel of the image, resulting in changes to the color and tone of the image.
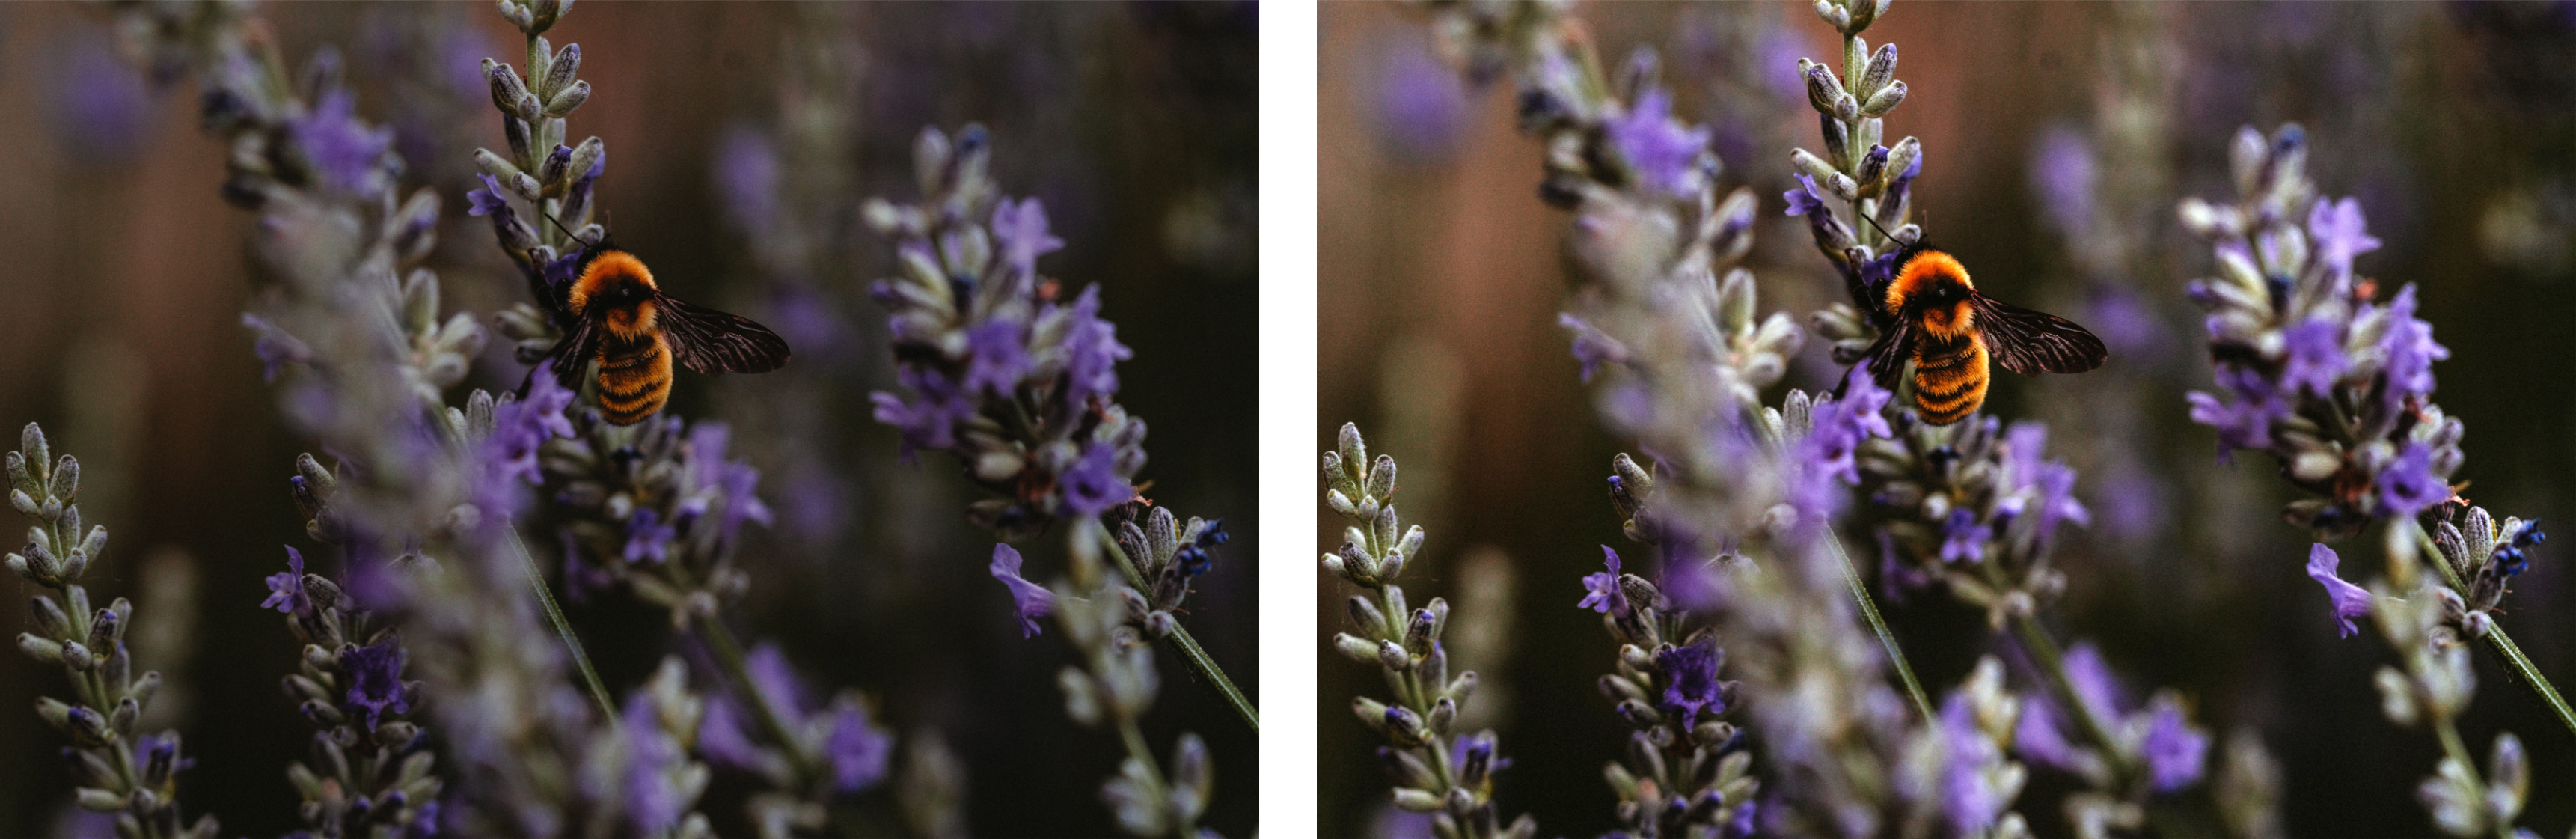
Original image (left); the image with Auto Levels applied (right)
You can apply this adjustment from the Adjust menu, and from the Levels section of the Adjustments inspector.
Auto Tone Curve
The Auto Tone Curve filter equalizes shadows, midtones, and highlights in an image by automatically redistributing the pixel values throughout the tonal range.
You can apply this adjustment from the Adjust menu, and from the Tone Curve section of the Adjustments inspector.
Auto Desaturate
The Desaturate filter creates a grayscale image without changing the color mode. For example, you can apply the Desaturate filter to a color photo to create a black-and-white photo effect. It automatically reduces the saturation of each color to zero, removes the hue component, and converts each color to its grayscale equivalent.
You can apply this adjustment from the Adjust menu.
In the HSL (Hue, Saturation, and Lightness) section of the Adjustments inspector, you can use the Channel buttons and the Hue, Saturation, and Lightness sliders to fine-tune the result.