Adjust the edges of editable areas
You can customize the transition between a protected area and an editable area by adjusting the edges of these areas.
You can use anti-aliasing to avoid the appearance of jagged edges of editable areas that have curved and diagonal lines. Anti-aliasing makes some of the pixels located on the inside edge of an editable area semitransparent, creating a smoother outline.
Feathering gradually increases the transparency of the pixels along the edge of an editable area to soften the edge between the protected and editable areas. You can specify the width of the feathered area as well as the feathering direction, which determines where the feathering is located relative to the mask marquee. From the mask marquee, the feathering direction can go into the protected areas, into the editable areas, or into both areas for an equal distance.
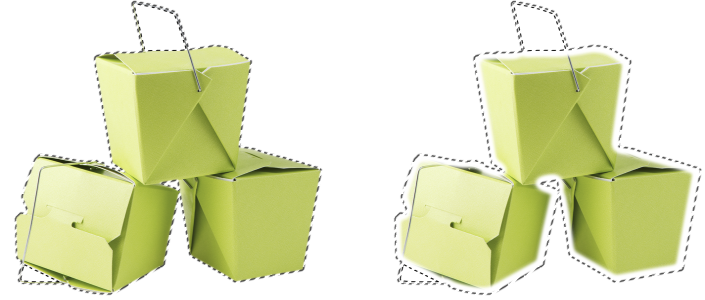
Left to right: Before and after feathering the edges of an editable area
While feathering lets you soften the edge between protected and editable areas, you can also control how rapidly the softness at the edge of the mask marquee falls off.
You can remove the feathering from the edges of an editable area and create a new, sharper edge by setting a threshold value. Pixels in the feathered editable area have a grayscale value ranging from 0 (black and fully protected) to 255 (white and fully editable). The threshold value you specify determines where along the feathered edge you want the new, unfeathered edge to be created. For example, if you set a threshold value of 110, all pixels within the editable area that have a grayscale value of less than 110 are protected, and all pixels within the area that have a grayscale value of more than 110 are editable.
You can smooth the edges of an editable area to remove sharp angles. Smoothing averages the grayscale values of a specified number of pixels at the edge of an editable area. For example, if you specify 10 as the radius value, 10 pixels to the left and 10 pixels to the right of the edge are checked. If the editable pixels outnumber the protected pixels, the editable area is expanded; if the protected pixels outnumber the editable pixels, the protected area is expanded.
Smoothing is useful when you work with complex color masks. For example, when you smooth the edges of an editable area, protected areas that are isolated within the editable areas are often removed.
Applying color or a paint effect
You can apply color or a paint effect along the edges of an editable area to emphasize or blend the boundary between the editable and protected areas. You can also reapply color or a paint effect along the edges of an editable area. Repeating a brushstroke lets you enhance the effect.
To prevent jagged edges in an editable area
Anti-aliasing is enabled by default when you use the Ellipse, Freehand, Lasso, Magic Wand, and Smart Selection Mask tools to define an editable area.
Anti-aliasing is not available for the Rectangle Mask tool.
To feather the edges of an editable area
You can also feather the edges of an editable area by clicking the Feather mask button ![]() on the property bar.
on the property bar.
To adjust the edge transparency of an editable area
To apply a sharp edge to a feathered editable area
To smooth the edges of an editable area
To apply color or an effect along the edges of an editable area
You can reapply color or an effect along the edges of an editable area by clicking Edit ![]() Repeat brushstroke, and clicking the Repeat stroke on mask button
Repeat brushstroke, and clicking the Repeat stroke on mask button ![]() in the Repeat stroke dialog box.
in the Repeat stroke dialog box.