View images
Images can be viewed in a number of different ways. You can hide windows, the toolbox and the toolbars, leaving only the menu bar and the image windows visible. You can view a large representation of an image in a full-screen preview. The image is editable when the windows are hidden, but you cannot change the image while using the full-screen preview. You can also maximize or restore the work area.
You can view image areas that fall outside the image window. For example, when you are working at a high magnification level or with large images, you can pan or jump to a different image area without having to adjust the magnification level. You can use the Quick Pan mode to switch from any active tool to the Pan tool.
You can select the image area to be displayed in the image window by using the Navigator pop-up.
To hide windows, the toolbox, and toolbars
To maximize or restore the work area
To restore the work area, click Window ![]() Maximize work area again.
Maximize work area again.
To view a full-screen preview of an image
To view an image area that falls outside the image window
You can pan around an image by clicking the Pan tool and pressing the Arrow keys.
You can also pan around an image using the scroll bars in the image window.
While moving the wheel on a mouse or another input device, you can scroll vertically by pressing Alt or horizontally by pressing Ctrl.
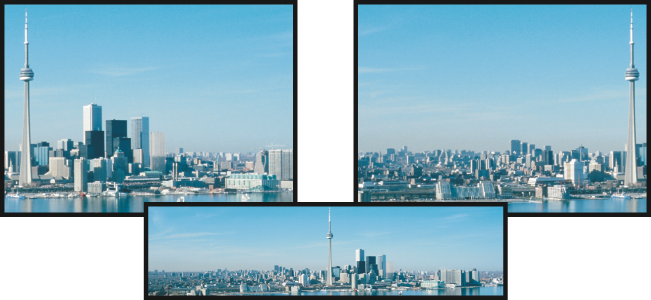
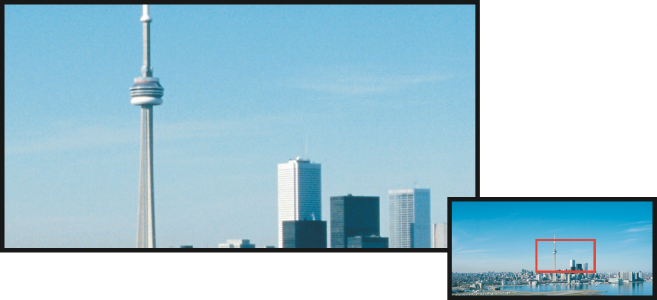
Image areas that fall outside the image window can be dragged into view by using the Pan tool. This photo has been dragged from its original position (top left) toward the right (top right). The inset (bottom) shows the entire image.