Blending layers by using composite methods
Composite methods control how layers interact with the underlying image. You can change composite methods to create special effects without changing the actual images that make up a document.
Corel Painter provides two types of composite settings:
•
Composite Method sets the standard composite method.
•
Composite Depth controls how a layer’s image data interacts with depth information on the canvas and other layers.
For example, if the canvas contains Impasto brushstrokes, the Composite Depth setting determines what happens when these brushstrokes intersect with brushstrokes on the layer. For more information, see Blending impasto with other layers.
You can set a different composite method for every layer in a document. Keep in mind the role of the underlying image in creating an effect — you might achieve an unexpected result if the underlying image is solid black or white.
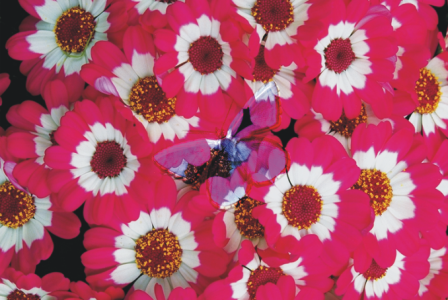
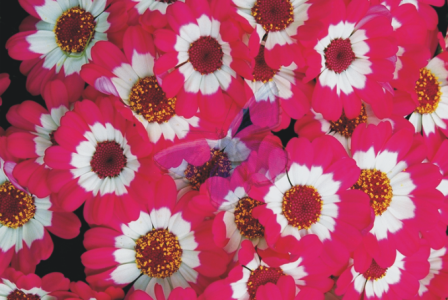
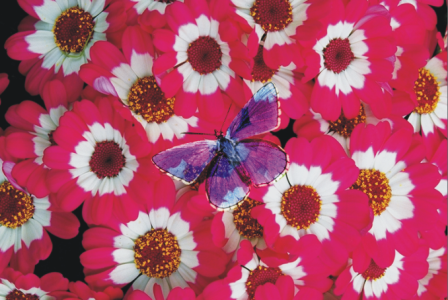
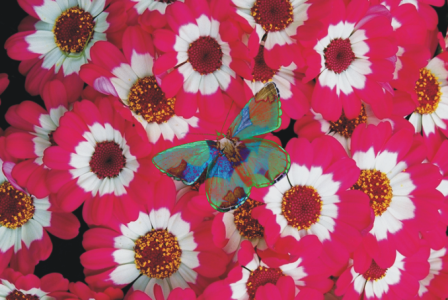
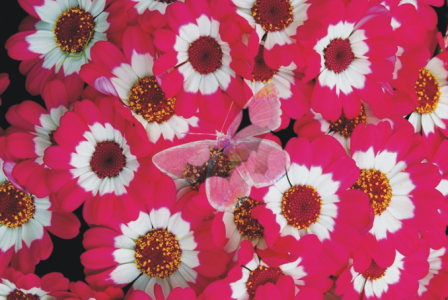
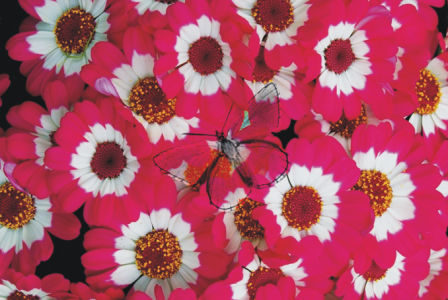
The best way to understand the different composite methods is by seeing them in action. Quickly cycle through a layer’s composite methods to create new and interesting versions of your image. For a comparison of Corel Painter composite methods and Adobe Photoshop blend modes, see Importing and exporting layers.
The available composite methods are described in the following table:
|
|
|
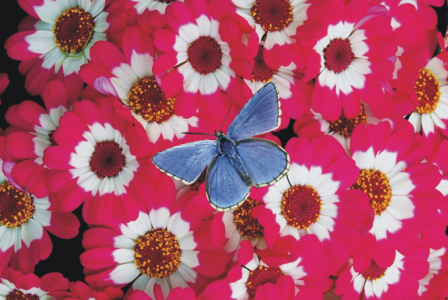
Allows the layer to cover and hide the underlying image |
|
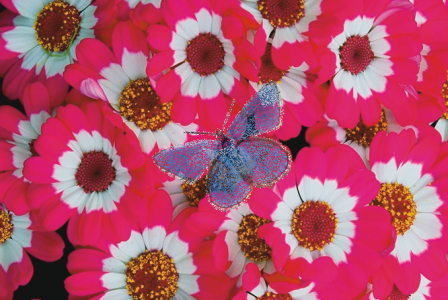
Tints the underlying image with the layer’s color. For example, a yellow layer gives the underlying image a yellow cast. Corel Painter automatically sets a layer’s composite method to Gel if you paint on it with a brush that uses the Buildup method. |
|
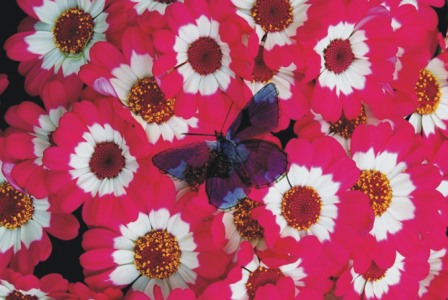
Uses a combination of the Default method and the Gel method. The edges of the layer’s content tint the underlying image with their color (the Gel method). The rest of the layer covers the underlying image ( Default method). If you save a file that uses a GelCover composite method layer to the PSD file format, the GelCover information will be lost. |
|
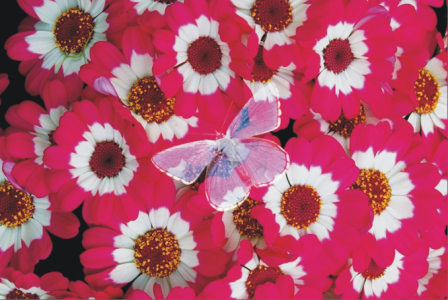
Replaces the hue and saturation of the canvas pixels with the hue and saturation of the layer pixels. You can use this feature to convert a color image to grayscale, or a grayscale image to color. A black layer turns the underlying color image into a grayscale image. A colored layer adds color to an underlying grayscale image. |
|
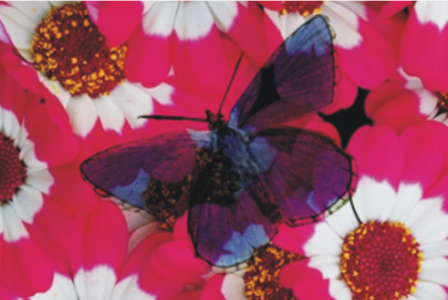
Allows the layer to invert the colors beneath it. This method is a great way to remove text. Place a layer over black text to turn it white. A color’s inverse, also known as its complementary color, is the color on the opposite side of the color wheel. With Reverse-Out, the colors in the layer are ignored; the layer content becomes transparent and reveals the inverse of the colors beneath it. |
|
Blocks light, letting you create shadows without changing the image |
|
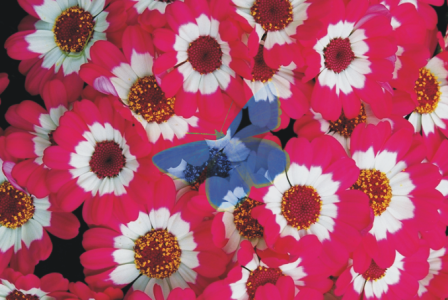
Combines the layer with the underlying image based on luminance. The parts of the layer that are lighter than the underlying image are visible. The parts that are darker are replaced by the lighter area of the underlying image. One way to use this method is to fill text. With a photograph as the top layer and black text as the underlying image, choosing Magic Combine fills the text with the image. |
|
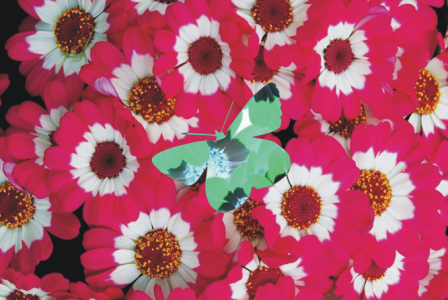
Translates the layer’s luminance into hue. You can use this method to turn a grayscale layer into a spectrum of color. |
|
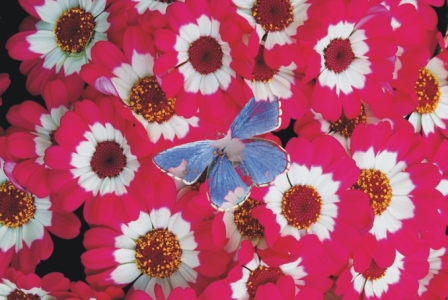
Works like the Default method; the layer covers the underlying image. The Normal method is the default mode in Photoshop. |
|
Combines the image color with the layer color based on opacity |
|
Combines colors to create a darker color |
|
Combines colors to create a lighter color |
|
Combines colors while preserving the highlights and shadows of the image color |
|
Darkens or lightens colors depending on the luminance of the layer color |
|
Multiplies or screens colors, depending on the luminance of the layer color |
|
Simulates the photographic technique called burning, which darkens image areas by increasing the exposure |
|
Colors with the image color or the layer color — whichever is darker |
|
Simulates the photographic technique called dodging, which lightens image areas by decreasing the exposure |
|
Colors with the image color or the layer color — whichever is lighter |
|
Subtracts one color from the other, depending on which color has a greater brightness value |
|
Creates a color by combining the luminance and saturation of the image color with the hue of the layer color |
|
Creates a color by combining the luminance and hue of the image color with the saturation of the layer color |
|
Creates a new color by combining the luminance of the image color with the hue and saturation of the layer color. This method is the opposite of Luminosity. |
|
Creates a new color from the hue and saturation of the image color and the luminance of the layer color. This method is the opposite of Color. |
|
To change a layer’s composite method

2
In the
Layers panel, choose a composite method from the
Composite Method list box.

You can also choose a composite depth method from the Composite Depth list box. For more information, see Blending impasto with other layers.