Fluid Paint controls
Fluid paint lets you control the level of opacity for all brushstrokes applied to a layer. With fluid paint, you can produce brush marks that accumulate gently and predictably, with heightened control of opacity, grain, and blending. By enhancing the range of opacity for brushstrokes, Fluid paint gives you more control over its expression so you can paint and blend more naturally.
The Fluid Paint panel lets you adjust grain behavior, opacity levels, paint accumulation, and expression settings of fluid paint brushstrokes.
You can add fluid paint to any brush that uses Enhanced Cover methods by enabling the Use Fluid Paint check box in the Paint Opacity flyout on the property bar, or you can choose a fluid brush variant from the Build and Sculpt and Paint and Blend fluid brush categories.
Fluid paper textures
Fluid brushes provide a bolder, more revealing grain that produces visible paper texture across the entire brushstroke. You can also toggle legacy grain behavior, which produces visible paper texture at the edges of the brushstrokes by enabling the Fill In Paper Grain check box in the Paint Opacity flyout. The Fluid Papers library includes 15 paper textures designed specifically to take advantage of the expressive grain behavior of fluid paint.
A brushstroke on the Standard Artist Canvas from the Fluid Papers library with default fluid paint grain (left), and with Fill In Paper Grain enabled (right).
To adjust Fluid Paint properties

1
Choose
Window  Brush Control Panels Brush Media Fluid Paint
.
2
In the
Fluid Paint panel, enable the
Use Fluid Paint check box.
3
Perform an action from the following table.
|
|
|
Use legacy grain behavior |
Enable the Fill In Paper Grain check box. |
Set the maximum amount of opacity for all brushstrokes applied to the layer |
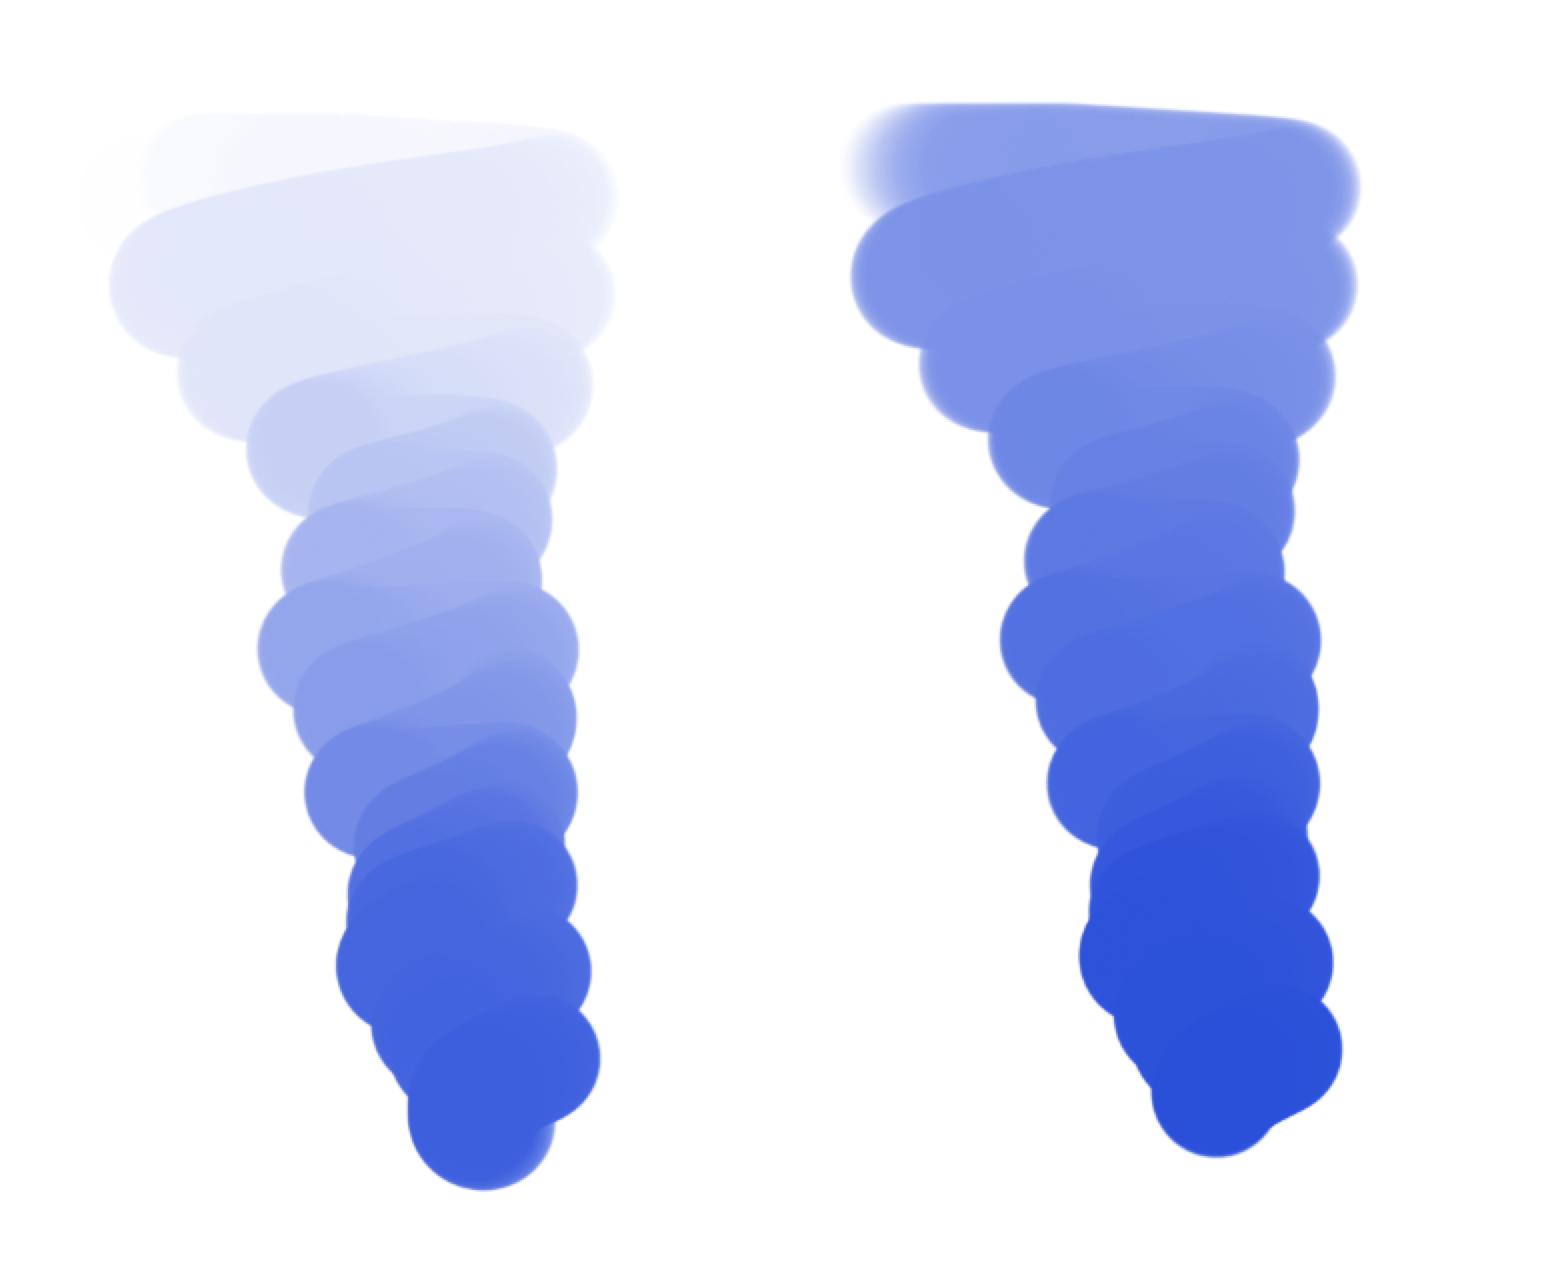
Drag the Fluid Opacity slider. Higher values produce more opaque brushstrokes. A brushstroke with Fluid Opacity set to 50%, (top), and a brushstroke with Fluid Opacity set to 100% (bottom).
The Expression is set to Pressure for both brushstrokes, and a stylus is needed to control pressure.
|
Set the minimum amount of opacity for all brushstrokes applied to the layer |
Drag the Min Fluid Opacity slider. Use an expression, such as pressure, for more control of opacity. A brushstroke with Fluid Opacity set to 100% and Min Fluid Opacity set to 50% (left); a brushstroke with Fluid Opacity set to 50% and Min Fluid Opacity set to 50% (right).
The Expression is set to Pressure for both brushstrokes, and a stylus is needed to control pressure.
|
Set the range of opacity variability |
Drag the Fluid Opacity Jitter slider. Higher values produce brushstrokes with varying levels of opacity. A brushstroke with Fluid Opacity Jitter set to 10% (left), and set to 95% (right).
The Expression is set to Pressure for both brushstrokes, and a stylus is needed to control pressure.
|
Smooth the opacity variability within the brushstrokes |
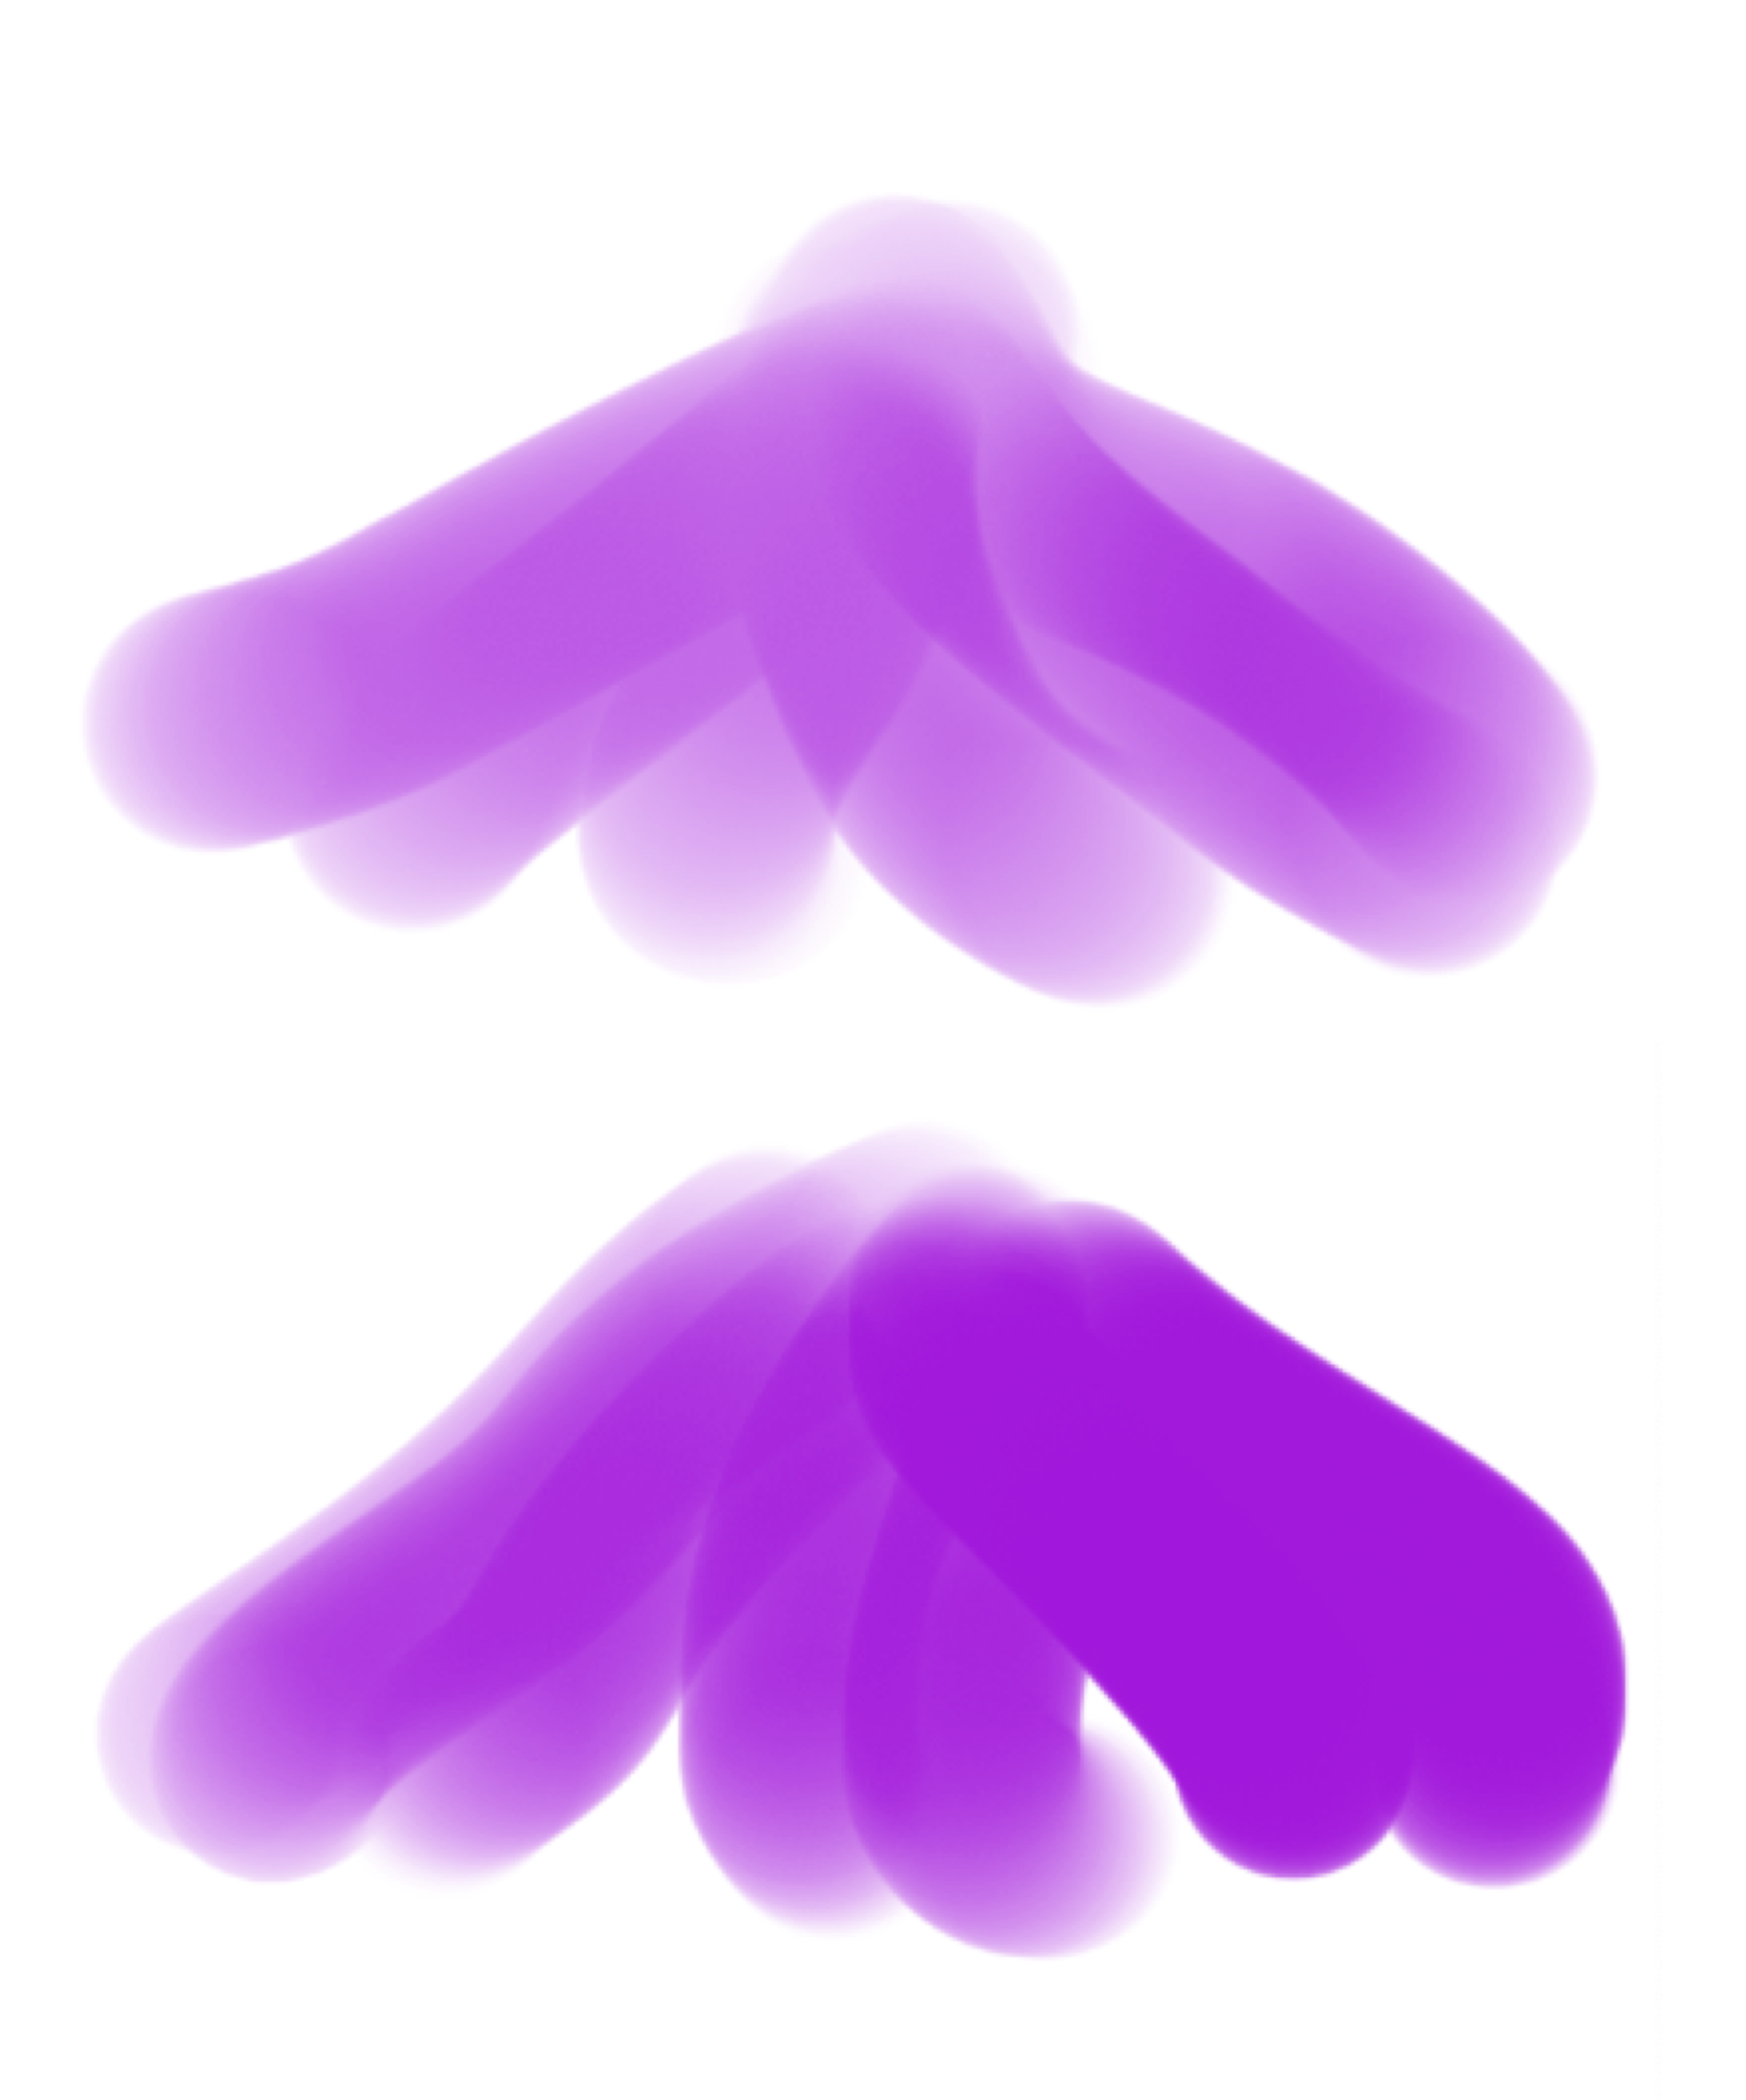
Drag the Fluid Opacity Smoothness slider. Higher values produce brushstrokes with smoother transitions between opacity levels. A brushstroke with Fluid Opacity Smoothness set to 20% (top), and set to 100% (bottom).
|
Use an expression to control fluid opacity |
Choose an option from the Expression list box. You can also reverse the effect of the expression by clicking the Invert Fluid Opacity Expression button  . You can also link expression to audio by clicking the Audio Expression button  . |
Set the rate of accumulation toward the fluid opacity level |
Drag the Accumulation slider. Higher values will produce more accumulation with each brushstroke, but will not exceed fluid opacity. A brushstroke with Accumulation set to 30% (top); a brushstroke with Accumulation set to 30% and Min Accumulation set to 50% (bottom). The Expression is set to Pressure for both brushstrokes, and a stylus is needed to control pressure.
|
Set the minimum rate of accumulation toward the fluid opacity level |
Drag the Min Accumulation slider. Use an expression for more control of accumulation. |
Use an expression to control accumulation |
Choose an option from the Expression list box. You can also reverse the effect of the expression by clicking the Invert Accumulation Expression button . You can also link expression to audio by clicking the Audio Expression button . |