Resizing images and the canvas
You can change the physical dimensions of an image by resizing the canvas and the image together, or by resizing the canvas area only. It is important to understand the distinction between the two resizing techniques.
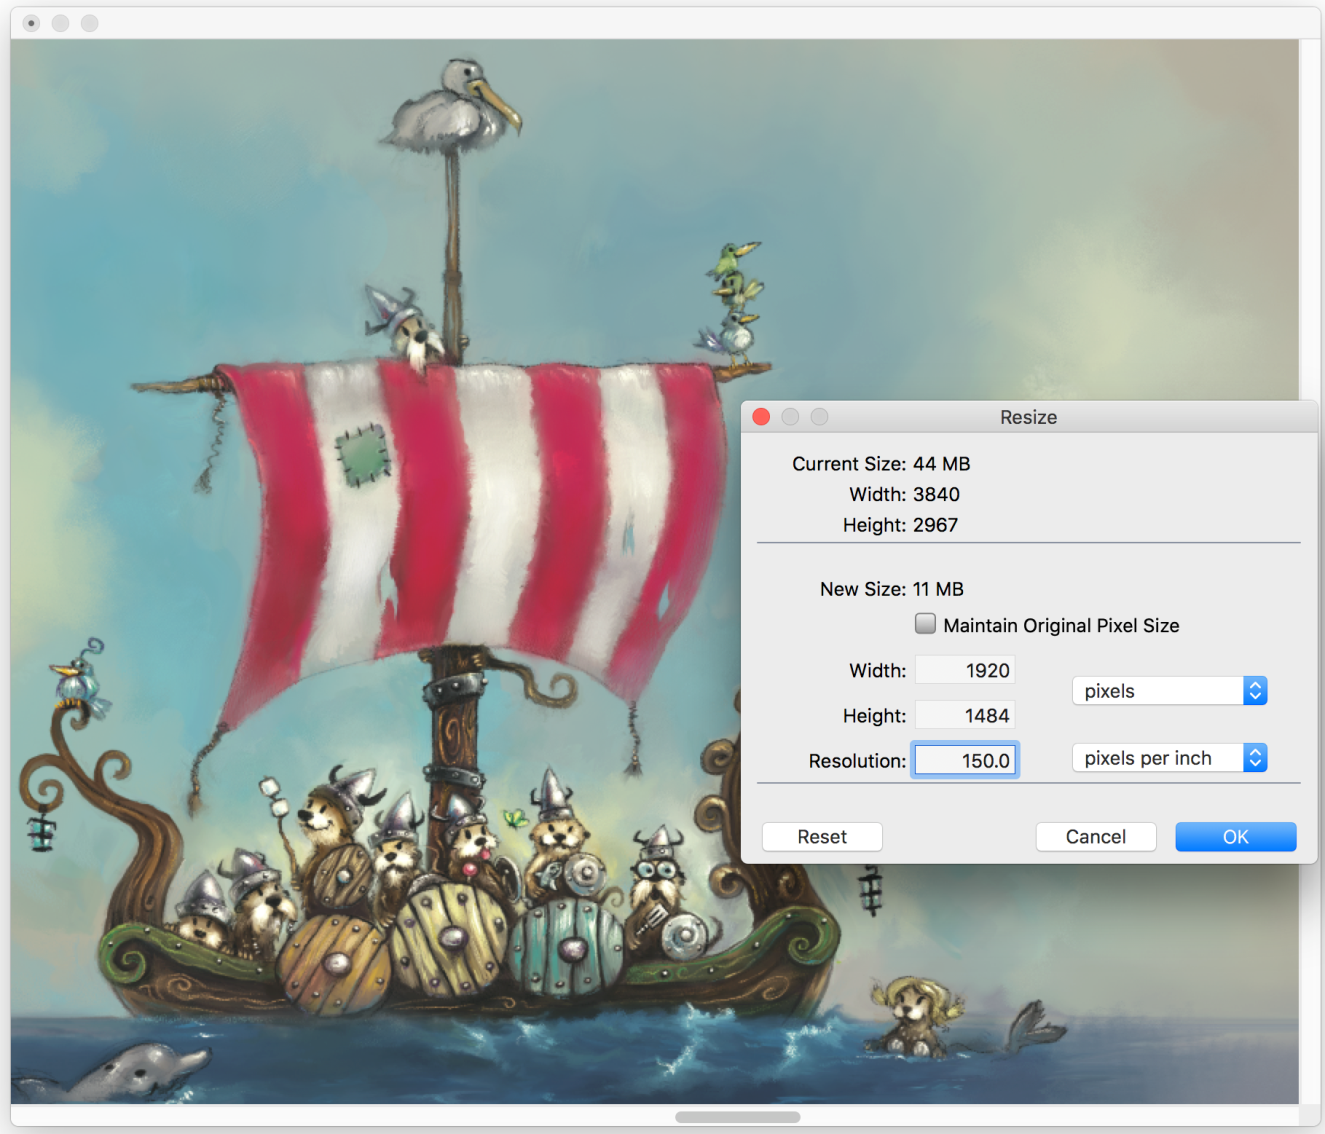
When you resize the canvas and image together, the image dimensions and resolution change, but the image appearance doesn’t change. For example, if you resize a 300 ppi image to 150 ppi, the image size is smaller, but it looks the same.
The image was resized by modifying the resolution. Artwork by Chris Melby.
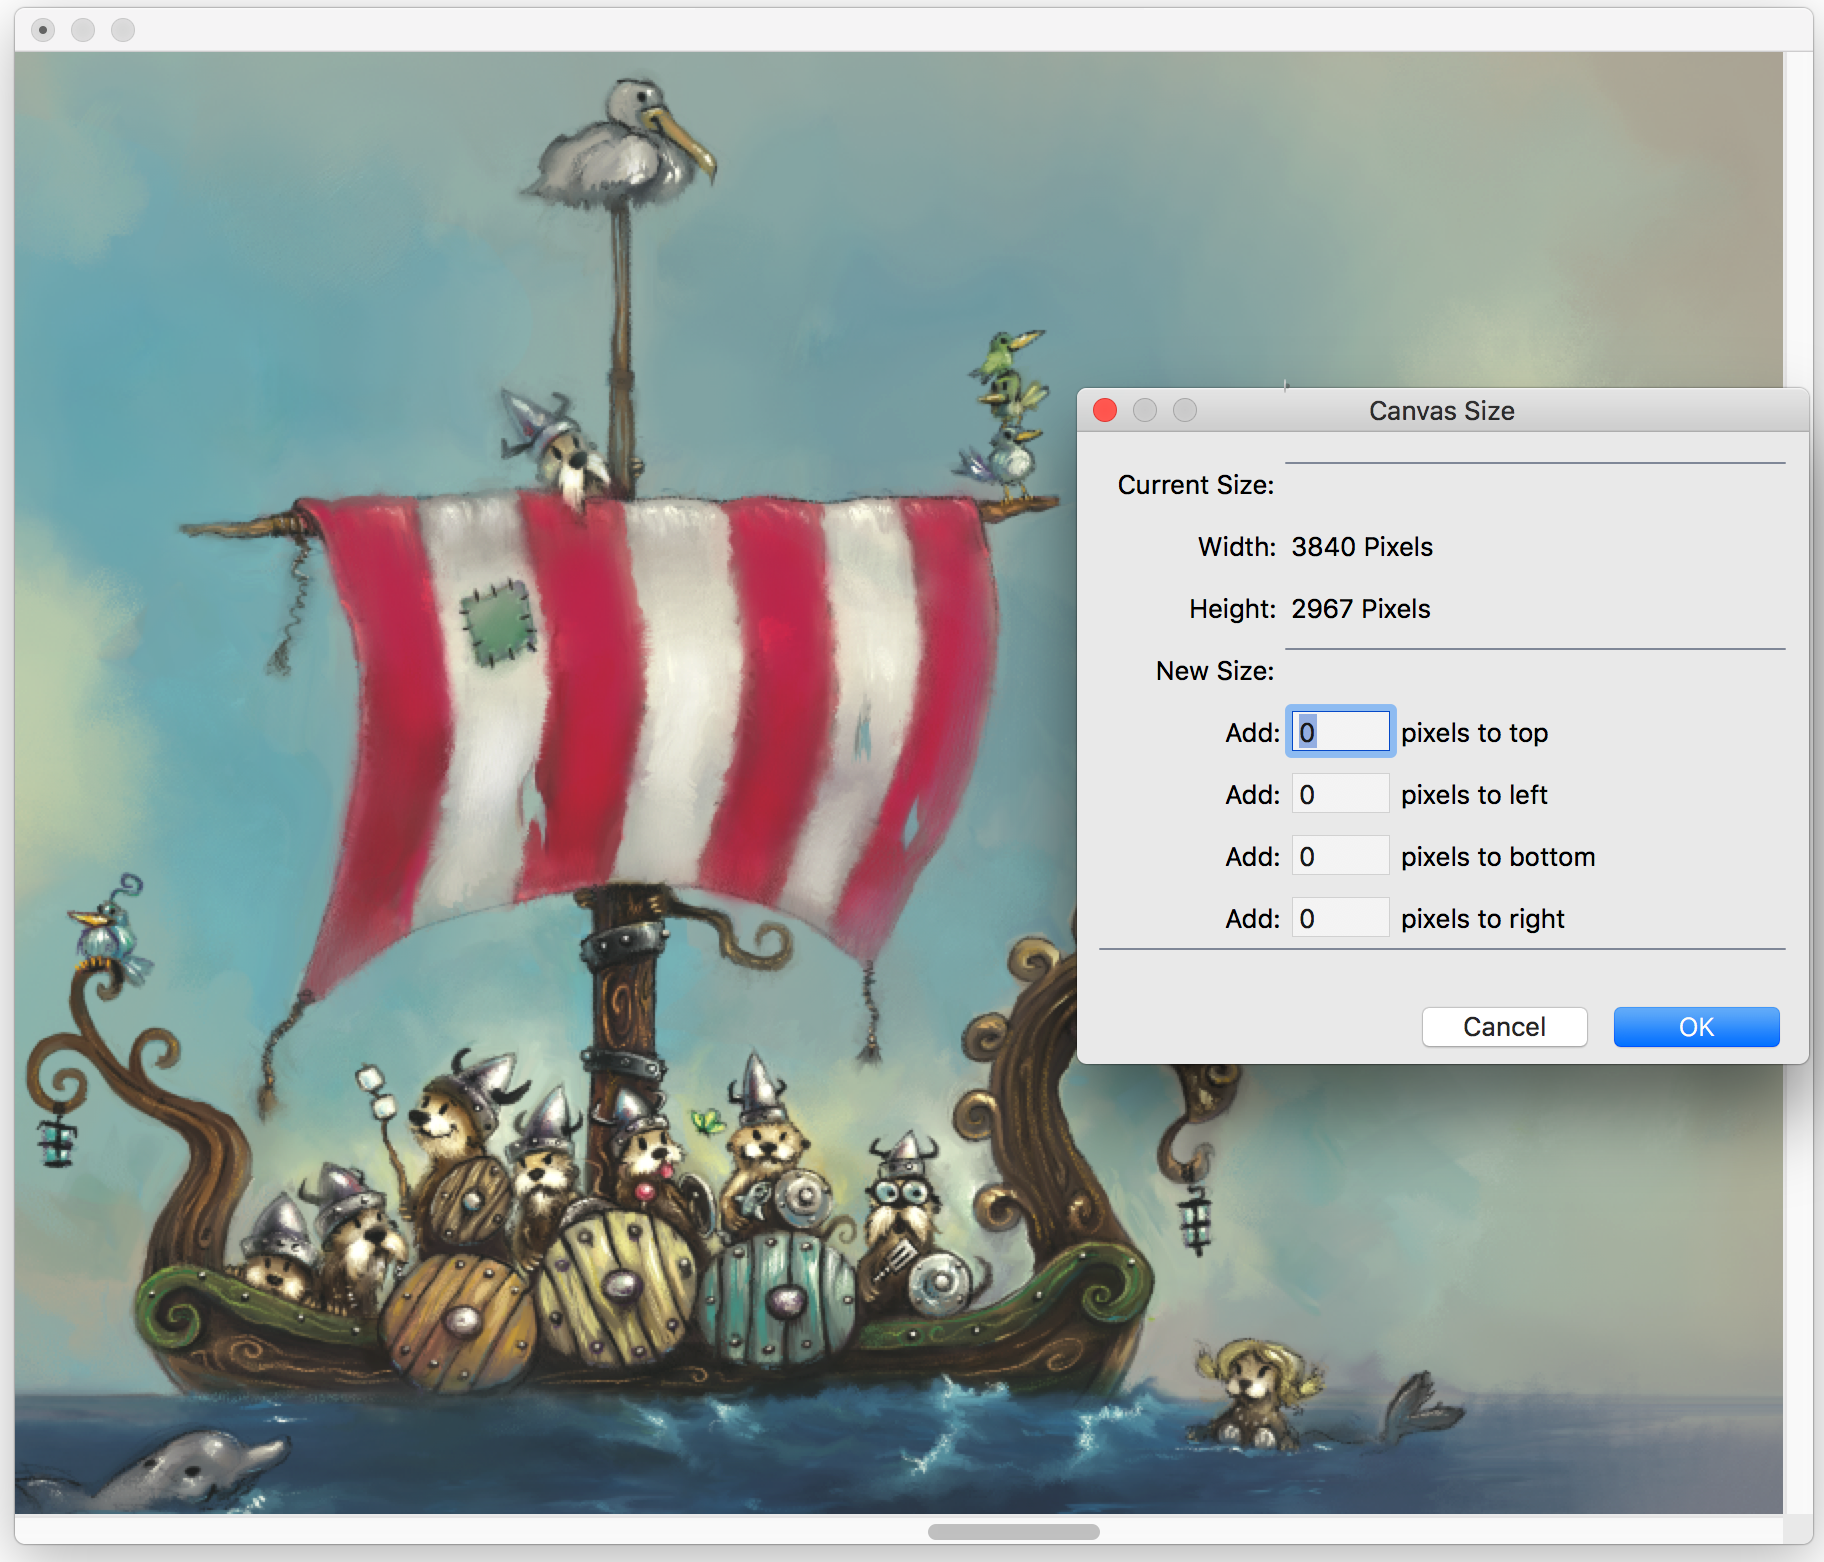
Alternatively, when you resize only the canvas area, both the image dimensions and appearance change. For example, if you increase the size of the canvas, a border appears around the image. If you decrease the size of the canvas, the edge of the canvas is trimmed. In addition, the image resolution is affected.
The canvas area is resized in order to apply an empty border around the edge of an image. Artwork by Chris Melby.
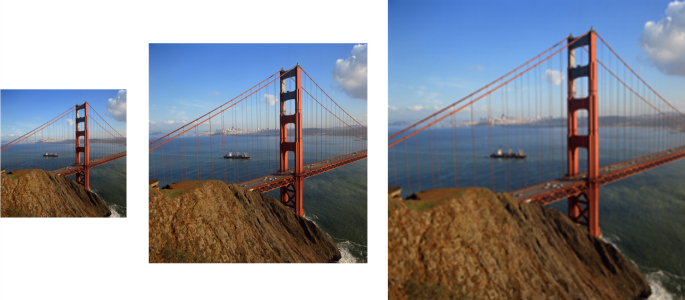
Changing the height and width of an image without changing the resolution results in quality loss. Left to right: image with smaller dimensions, original image, image with larger dimensions.
It is also important to note that the size of the onscreen image is affected by the pixel height and width of the image, the zoom level, and the monitor settings. As a result, an image may be displayed as a different size onscreen than when it is printed. For more information, see Understanding resolution and Creating documents.
To resize the canvas and image content together
Increasing the image dimensions significantly may cause the image to appear stretched and pixelated.


