|
1
|
|
3
|
Enter a file name and click Save. The movie file is saved in the current library.
|
|
1
|
Make sure that no clip is selected by clicking on the Timeline or by clicking Project in the Preview Window.
|
|
2
|
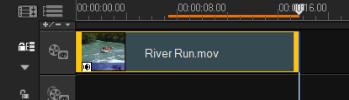
Select a preview range using the Trim Markers. You may also drag the triangle along the ruler then press [F3] and [F4] to mark the start and end points respectively.
|

|
3
|
|
5
|
|
6
|
|
7
|
|
|
|
1
|
|
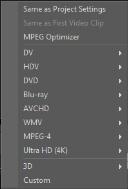
2
|
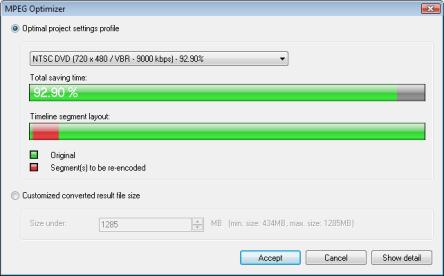
The MPEG Optimizer dialog box appears.
|
|
4
|
Click Accept.
|
|
1
|
|
3
|
Click Options to specify additional video file settings.
|
|
6
|
|
1
|
Click the
|
|
2
|
In Folder path, browse for the folder where you want to save your HTML5 video folder.
|
|
3
|
Enter a name in Project folder name.
|
|
4
|
In Project dimensions, choose the screen resolution and aspect ratio from the drop-down list.
|
|
5
|
Click OK. The program renders your project and automatically opens the folder you specified.
|
|
1
|
Click the
|
|
2
|
In Folder path, browse for the local folder of your preferred cloud-based storage service.
|
|
|
Was this page helpful? Send feedback.
(Internet connection required.)
|