Quick links to procedures on this page:
• |
• |
• |
• |
• |
• |
• |
• |
• |
• |
• |
• |
• |
• |
• |
• |
• |
• |
• |
• |
• |
• |
• |
• |
• |
Application commands are accessible through the menu bar, toolbars, toolbox, property bar, and dockers. The property bar and dockers provide access to commands that relate to the active tool or current task. The property bar, dockers, toolbars, and toolbox can be opened, closed, and moved around your screen at any time.
You can customize many of these workspace tools to suit your needs.
| Standard toolbar |
The standard toolbar, which appears by default, contains buttons and controls that are shortcuts to many of the menu commands. For information about customizing the position, contents, and appearance of toolbars, see Customizing toolbars.
| More about toolbars |
In addition to the standard toolbar, CorelDRAW has toolbars for specific kinds of tasks. For example, the Text toolbar contains commands relevant to using the Text tool. If you use a toolbar frequently, you can display it in the workspace at all times.
For information about customizing the position, contents, and appearance of toolbars, see Customizing toolbars.
The following table describes toolbars other than the standard toolbar.
To toggle between displaying and hiding a toolbar, click Window |
To lock all toolbars so that you don’t inadvertently change their position, click
Window |
| Exploring the toolbox |
The toolbox contains tools for drawing and editing images. Some of the tools are visible by default, while others are grouped in flyouts. Flyouts open to display a set of related CorelDRAW tools. A small flyout arrow in the lower-right corner of a toolbox button indicates a flyout. You can access the tools in a flyout by clicking the flyout arrow. After you open a flyout, you can easily scan the contents of other flyouts by hovering over any of the toolbox buttons which have flyout arrows. Flyouts function like toolbars when you drag them away from the toolbox. This lets you view all the related tools while you work.
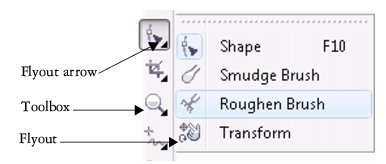
In the default workspace, clicking the flyout arrow on the Shape tool opens the Shape edit flyout.
The following table provides descriptions of the tools in the CorelDRAW toolbox.
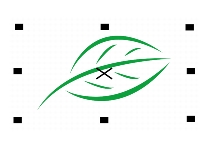
| Pick tool |
| Shape edit tools |
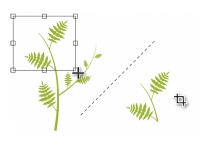
| Crop tools |
| Zoom tools |
| |
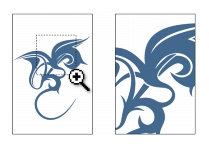
The Zoom tool lets you change the magnification level in the drawing window.
|
|
| |
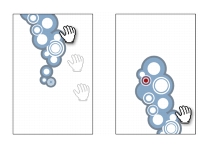
The Pan tool lets you control which part of the drawing is visible in the drawing window.
|
|
| Curve tools |
| Smart tools |
| |
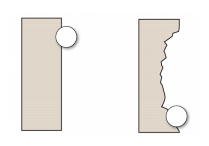
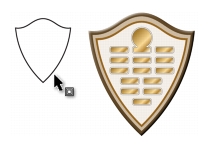
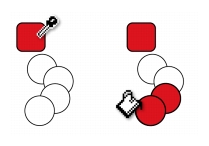
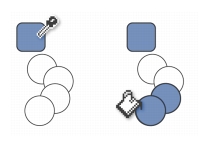
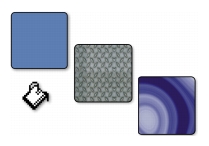
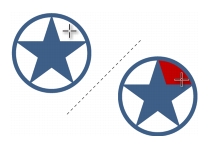
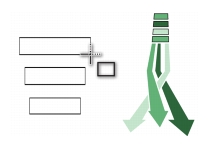
The Smart fill tool lets you create objects from enclosed areas and then apply a fill to those objects.
|
|
| |
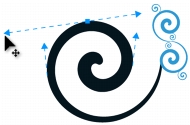
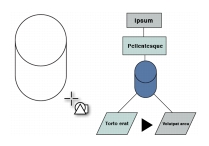
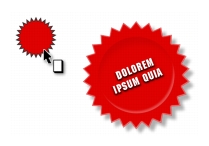
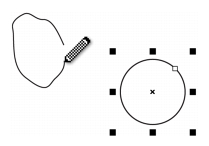
The Smart drawing tool converts your freehand strokes to basic shapes and smoothed curves.
|
|
| Rectangle tools |
| |
The Rectangle tool lets you draw rectangles and squares.
|
|
| |
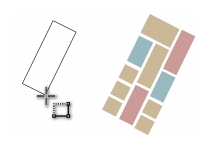
The 3-point rectangle tool lets you draw rectangles at an angle.
|
|
| Ellipse tools |
| |
The Ellipse tool lets you draw ellipses and circles.
|
|
| |
The 3-point ellipse tool lets you draw ellipses at an angle.
|

|
| Object tools |
| Basic Shapes tools |
| Text tool |
| Table tool |
| Dimension tools |
| Connector tools |
| Interactive tools |
| Eyedropper tools |
| Outline tool |
| |
The Outline tool opens a flyout that gives you quick access to items such as the Outline pen dialog box and Outline color dialog box.
|
|
| Fill tool |
| Interactive fill tools |
| |
The Interactive fill tool lets you apply various fills.
|
|
| |
The Mesh fill tool lets you apply a mesh grid to an object.
|
|
To toggle between displaying and hiding the toolbox, click Window |
| Property bar |
The property bar displays the most commonly used functions that are relevant to the active tool or to the task you’re performing. Although it looks like a toolbar, the property bar content changes depending on the tool or task.
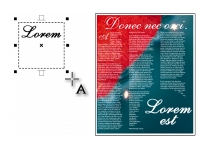
For example, when you click the Text tool in the toolbox, the property bar displays text-related commands. In the example below, the property bar displays text, formatting, alignment, and editing tools.
You can customize the contents and position of the property bar to suit your needs. For more information, see Customizing the property bar.
To toggle between displaying and hiding the property bar, click Window |
| Dockers |
Dockers display the same types of controls as a dialog box, such as command buttons, options, and list boxes. Unlike most dialog boxes, you can keep dockers open while working on a document, so you can readily access the commands to experiment with different effects. Dockers have features similar to palettes in other graphics programs. To access a docker, click Window ![]() Dockers, and click a docker.
Dockers, and click a docker.
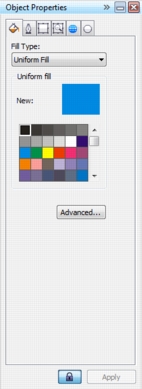
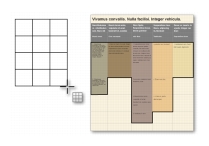
An example is the Object properties docker. When this docker is open, you can click an object in the drawing window and view formatting, dimensions, and other properties of the object.
Dockers can be either docked or floating. Docking a docker attaches it to the edge of the application window. Undocking a docker detaches it from other parts of the workspace, so it can be easily moved around. You can also collapse dockers to save screen space.
If you open several dockers, they usually appear nested, with only one docker fully displayed. You can quickly display a docker hidden from view by clicking the docker’s tab.
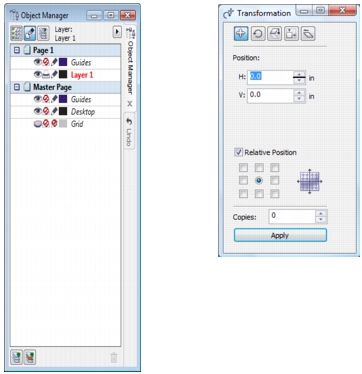
Left: Docked and nested dockers. Right: A floating docker. To dock a floating docker, click the docker’s title bar, and drag to position the pointer on the edge of the drawing window. To close a docker, click the X button at the top corner; to collapse or expand a docker, click the arrow button at the top corner.
| Status bar |
The status bar displays information about selected objects (such as color, fill type, and outline, cursor position, and relevant commands). It also displays document color information, such as the document color profile and color proofing status.
See Customizing the status bar for information about customizing the contents and appearance of the status bar.
|
|
Copyright 2010 Corel Corporation. All rights reserved.