CorelDRAW lets you adjust the color and tone of bitmaps. For example, you can replace colors and adjust the brightness, lightness, and intensity of colors.
By adjusting color and tone, you can restore detail lost in shadows or highlights, remove color casts, correct underexposure or overexposure, and generally improve the quality of the bitmaps. You can also correct color and tone quickly by using the Image Adjustment Lab. For more information, see Using the Image Adjustment Lab.
| To adjust color and tone automatically |
|
| 1 . | Select a bitmap. |
| 2 . | Click Bitmaps |
| To adjust the brightness, contrast, and intensity |
|
| 1 . | Select a bitmap. |
| 2 . | Click Effects |
| 3 . | Move the Brightness, Contrast, or Intensity sliders to adjust the brightness, contrast, or intensity, respectively. |
Brightness shifts all pixel values up or down the tonal range, lightening or darkening all colors equally.
Contrast adjusts the difference between light and dark colors.
Intensity brightens the light areas of the drawing or darkens the dark areas.
| To adjust the color balance |
|
| 1 . | Select a bitmap. |
| 2 . | Click Effects |
| 3 . | Perform a task from the following table. |
|
Enable the Shadows, Midtones, and Highlights check boxes, respectively.
|
|
|
Enable the Preserve luminance check box.
|
|
|
Move the Cyan-Red slider to the left or right, respectively.
|
|
|
Move the Magenta-Green slider to the left or right, respectively.
|
|
|
Move the Yellow-Blue slider to the left or right, respectively.
|
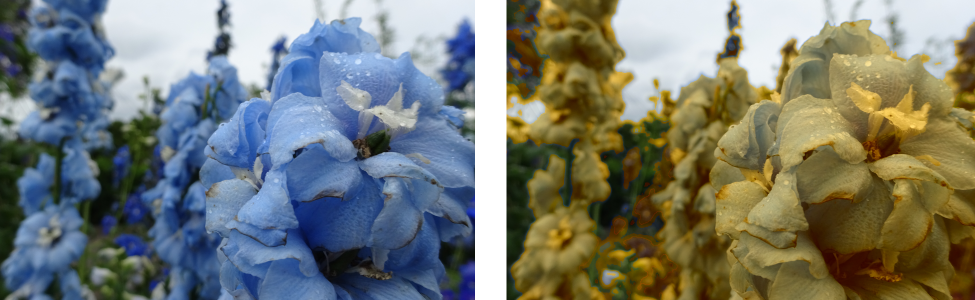
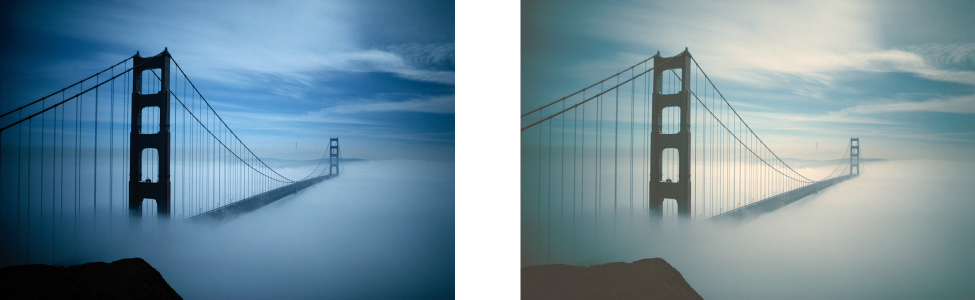
The Color balance effect has been used to shift the colors in the image from blue to yellow.
| To apply the Gamma effect |
|
| 1 . | Select a bitmap. |
| 2 . | Click Effects |
| 3 . | Move the Gamma value slider. |
| Higher values brighten midtones; lower values darken them. |
| To adjust hue, saturation, and lightness |
|
| 1 . | Select a bitmap. |
| 2 . | Click Effects |
| 3 . | Perform a task from the following table. |
|
Enable the Master option in the Channels area.
|
|
|
Enable the Red, Yellow, Green, Cyan, Blue, Magenta, or Grayscale option in the Channels area.
|
|
|
Move the Hue slider to redistribute the colors in an image.
|
|
|
Move the Saturation slider. A setting of -100 results in a grayscale image. A setting of 100 produces vibrant, unnatural colors.
|
|
|
Se the amount of white (positive values) or black (negative values)
|
Move the Lightness slider.
|
| The Before and After color ribbons help you compare the original colors and the new colors |
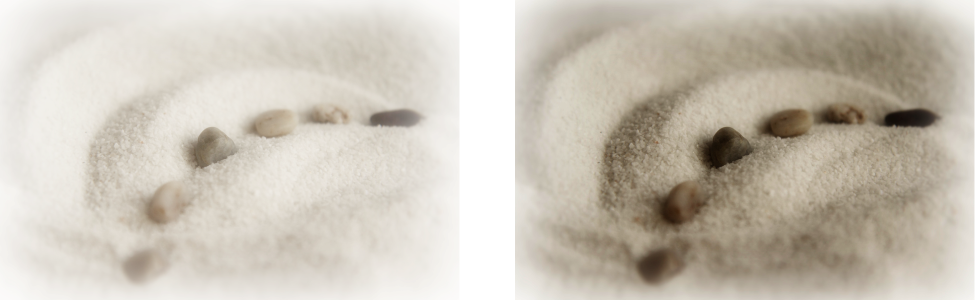
Use the Hue/saturation/lightness effect to change the colors in an image.
| To replace colors |
|
| 1 . | Select a bitmap. |
| 2 . | Click Effects |
| 3 . | Click the Old color picker and choose the color that you want to replace. |
| Tip: You can pick color from the bitmap by clicking the Eyedropper tool |
| 4 . | Click the New color picker, and choose a replacement color. |
|
Move the Hue, Saturation, and Lightness sliders, respectively.
|
|
|
Enable the Ignore grayscale check box.
Note: Disabling the Ignore grayscale check box replaces gray pixels based on saturation and lightness values alone.
|
|
|
Move the Range slider.
|
|
|
Enable the Single destination check box.
|
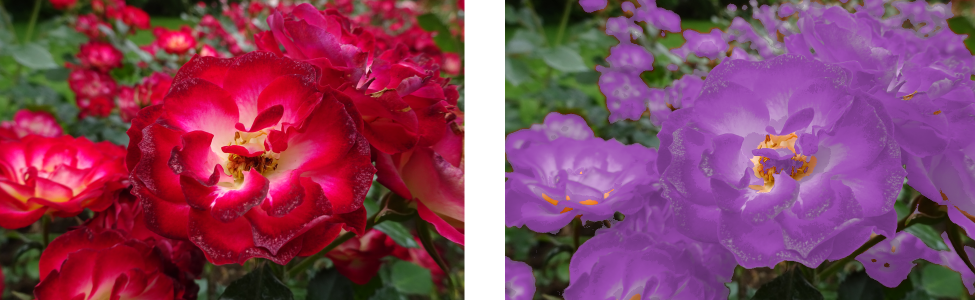
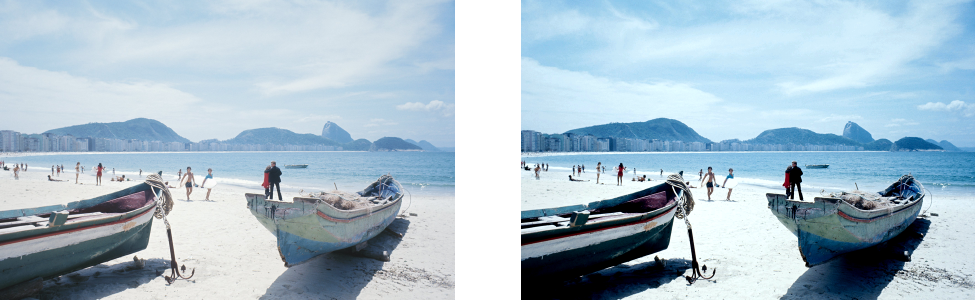
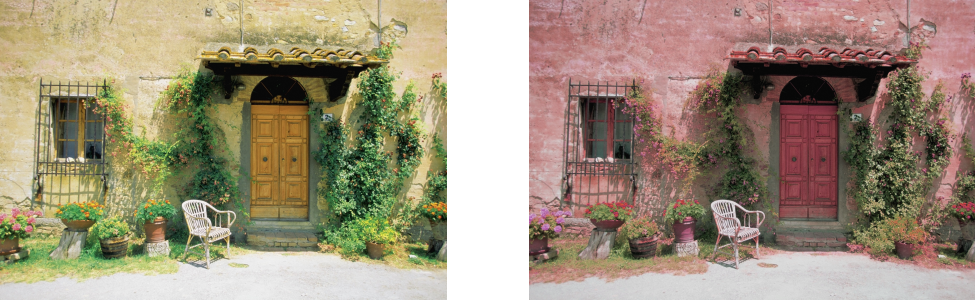
The Replace colors effect has been applied to replace all instances of the color red with purple.
| To apply the Sample/target balance effect |
|
| 1 . | Select a bitmap. |
| 2 . | Click Effects |
| 3 . | Choose a color channel from the Channel list box. |
| The color channels that appear in the Channel list box depend on the color mode of the bitmap. There is one composite channel and one channel for each color component. If you want to adjust all color channels, even when viewing only one channel, enable the Always adjust all channels check box. |
| 4 . | Click the Low-point |
| 5 . | Double-click the target color for the shadows, midtones, or highlights, and choose a new color. |
Enable the Clip automatically check box to set the range of the histogram display and ensure that all spikes fit on the chart. When the Clip automatically check box is disabled, use the Clipping box to set the percentage of brightness values that are ignored when identifying the light and dark colors in the histogram.
![]()
Not all suite components documented in this Help are available in our Trial, Academic, and OEM versions. Unavailable components may include Corel applications, product features, third-party utilities, and extra content files.
Copyright 2018 Corel Corporation. All rights reserved.