| • | To add an impact effect |
| • | To add and remove effect boundaries |
| • | To adjust additional settings |
| • | To edit an impact effect as a vector object |
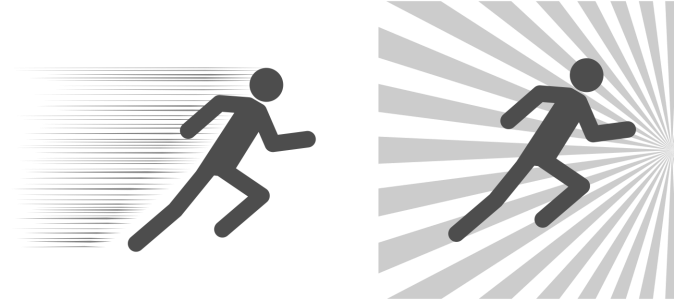
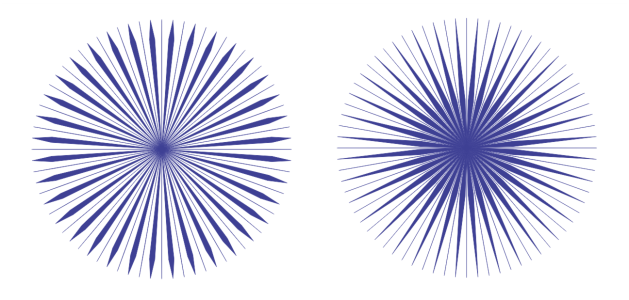
Impact effects: Parallel (left) and Radial (right)
The effects are vector objects and can be edited with other tools in CorelDRAW. For example, you can distort or reshape the effect lines, and you can change the effect color.
| To add an impact effect |
|
| 1 . | Click the Impact tool |
| 2 . | On the property bar, choose Radial or Parallel from the Effect style list box. |
| 3 . | Drag in the drawing window. |
| To resize the effect, drag the blue node along its edge. |
| 4 . | Adjust any settings on the property bar. |
| For information about adding boundaries, see To add and remove effect boundaries. |
| For information about line and line spacing settings, see To adjust additional settings. |
| To add and remove effect boundaries |
|
| 1 . | Select the effect. |
| 2 . | Position the effect behind the reference objects, exactly where you want the effect to appear. |
| To place the effect behind the objects, you can use an appropriate command from the Object |
| 3 . | Perform a task from the following table. |
|
Click the Inner boundary button
|
|
|
Click the Remove inner boundary button
|
|
|
Click the Outer boundary button
|
|
|
Click the Remove outer boundary button
|


| To adjust additional settings |
|
The controls on the property bar let you customize the lines and line spacing in the effect.
Angle of rotation: Type a value to specify the angle of the lines in the effect (parallel style) or rotate the lines around the inner edge (radial style). Note that rotation can be applied to radial effects only if there is an inner boundary to rotate the lines against.
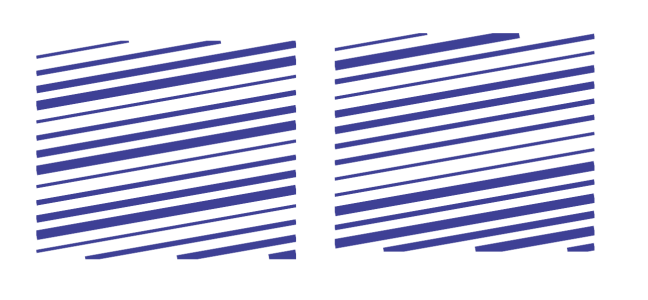
Random start and end points ![]() : This button lets you start and end lines randomly within the boundaries of the effect. Click the button, and enable any of the following check boxes: Random start points and Random end points. When these check boxes are disabled, all effect lines start and end at the boundary edges.
: This button lets you start and end lines randomly within the boundaries of the effect. Click the button, and enable any of the following check boxes: Random start points and Random end points. When these check boxes are disabled, all effect lines start and end at the boundary edges.

From left to right: Before and after randomizing the start and end points of an effect
Line width: Type values in the Min and the Max box to set the minimum and maximum width for the lines in the effect. The minimum value cannot exceed the maximum value.
Width steps: Set the number of steps between the minimum and maximum width. When the value is 0, there are only two types of lines in the effect: of maximum width and of minimum width. Higher numbers add lines of increasing width between the thinnest and the thickest lines. For example, a value of 2 adds two lines between each line of minimum and maximum width.
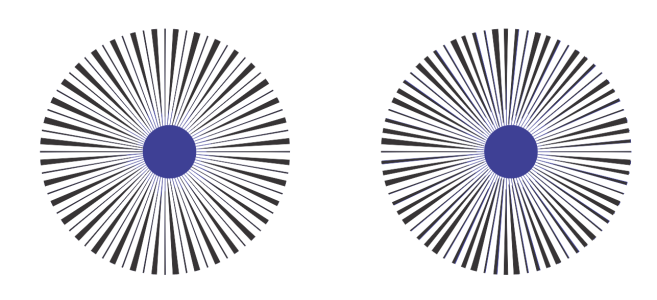
Randomize: Click this button to randomize the order of lines in the effect. Lines will no longer appear in a repeating pattern from thinnest to thickest.
From left to right: Before and after randomizing the order of lines.
Line spacing: Type values in the Min and Max box to set the minimum and maximum amount of space between the lines in the effect. The minimum value cannot exceed the maximum value.
Spacing steps: Set the number of steps between the minimum and maximum line spacing. With a value of 0, there are only two types of spacing between lines: maximum and minimum. Values of 1 and higher create additional types of line spacing.
Randomize spacing order: Enable this check box to randomize the order of the additional spacing between the minimum and maximum line spacing.
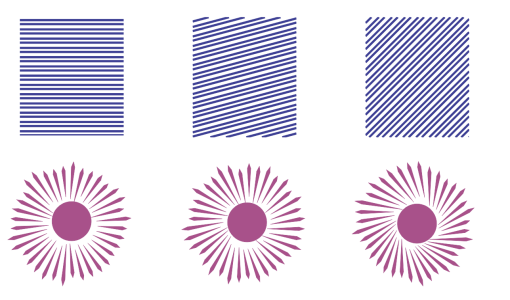
Line style: This list box lets you choose a line shape.

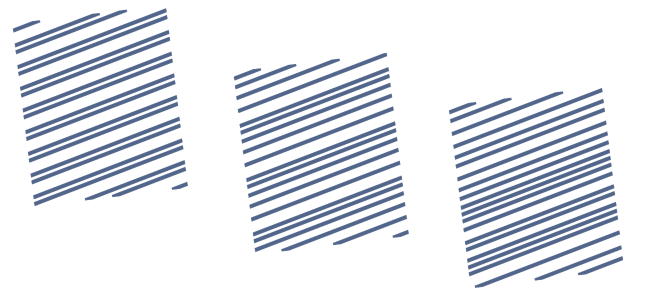
The same impact effect with four different line styles applied
Widest point: Available for line styles that have varying width, this box lets you set the position of the widest line point. The higher the value, the closer the widest points are to the end points of the lines.
From left to right: A high and a low value of the Widest point setting
| To edit an impact effect as a vector object |
|
You can resize, transform, and move an effect the way you would resize, transform, and move any other object in CorelDRAW. You can also use the Shape tool to edit individual lines in the effect. In addition, you can change the line and outline color of the effects.
| 1 . | Select the effect by using the Pick tool |
| 2 . | Perform a task from the following table. |
|
Edit lines by using the Shape tool
|
Click Object
|
Each time you adjust a setting on the property bar of the Impact tool, the effect is redrawn, and some of the changes you made with the vector-editing tools may be lost. That is why we recommend that you make additional changes only after you finish adjusting the settings of the impact effect.
![]()
Not all suite components documented in this Help are available in our Trial, Academic, and OEM versions. Unavailable components may include Corel applications, product features, third-party utilities, and extra content files.
Copyright 2018 Corel Corporation. All rights reserved.