| • | To fit objects to a path |
| • | To choose Fit Objects to Path settings |
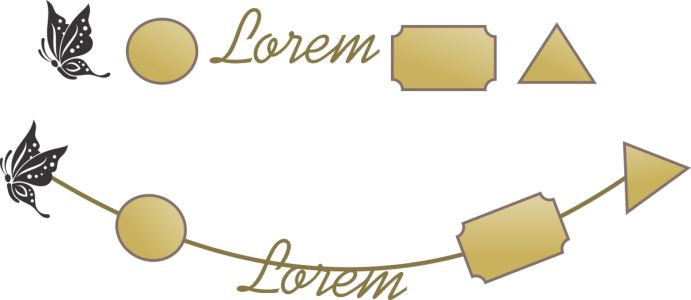
The Fit Objects to Path feature lets you fit any type and number of objects to a path of your choice. Smart distribution and rotation settings help you customize the placement of objects on the path.
| To fit objects to a path |
|
| 1 . | Using the Pick tool, select the objects that you want to fit to a path. |
| 2 . | Holding down Shift, click the path. |
| If you do not select a path, the last object you selected in step 1 is used as a path. |
| 3 . | Click Objects |
| 4 . | In the Fit Objects to Path docker, choose any settings you want. |
| 5 . | Click Apply. |
To use B-splines and connector lines as paths, you must convert them to curves first.
You can also access the Fit Objects to Path docker from the Window ![]() Dockers menu, or you can access it by clicking the Quick customize button of any docker and enabling the Fit Objects to Path check box.
Dockers menu, or you can access it by clicking the Quick customize button of any docker and enabling the Fit Objects to Path check box.
To fit a blend to a path, we recommend that you use an alternative method. Click the Blend tool, click the Path properties button on the property bar, choose New path, and then click a path.
| To choose Fit Objects to Path settings |
|
Use the controls in the Fit Objects to Path docker (Objects ![]() Fit Objects to Path) to customize how objects are placed on the path and create unique effects.
Fit Objects to Path) to customize how objects are placed on the path and create unique effects.
Keep originals: Enable this check box to fit copies of the objects to the selected path and keep the original objects in place.
Duplicates: Fit Objects to Path can automatically create extra copies of the selected objects and place them on the path. Specify the number of additional copies to be fit to the path in the Duplicates box.
Group all objects: Enable this check box if you want the objects to be grouped after they are placed on the path. The path is not included in the group so that you can move it or delete it easily.
Treat as contiguous: This option has an effect when you want to fit objects to closed paths or to paths that consist of open subpaths.
Order: This list box lets you choose the order in which the selected objects appear on the path. The objects can be placed in the order in which they were selected or in reverse order. You can also place them based on their size, width, or height.
Distribution: This list box lets you choose a distribution method. You can distribute objects by inserting equal space between them (Uniform object spacing). You can also distribute objects by spacing evenly the reference points that you select.
The Uniform object spacing method places equal gaps between the objects on the path.
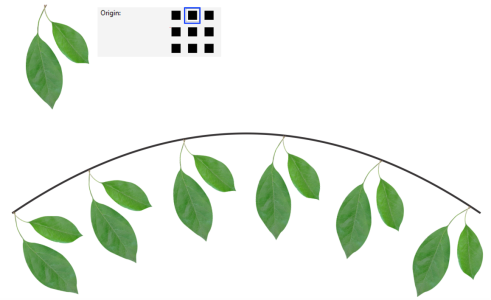
Reference points: An object is anchored (fit) to the path by its reference point. The Reference list box lets you choose the center of rotation of each object or the object origin as a reference point. The object origin, also known as "anchor point", can be the center of an object or any one of eight other points on the object’s bounding box. To change the origin point, simply click another point on the Origin control.
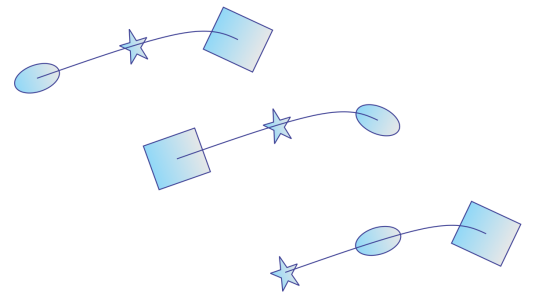
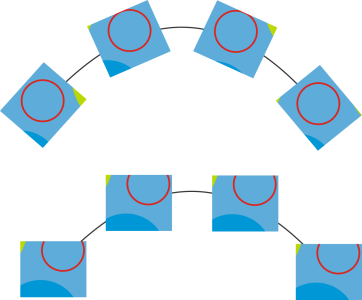
Follow path: Enabling this check box rotates the objects so that they follow the curve of the path. In more technical terms, each object’s angle of rotation matches the tangential angle of the location on the curve where the object is placed.
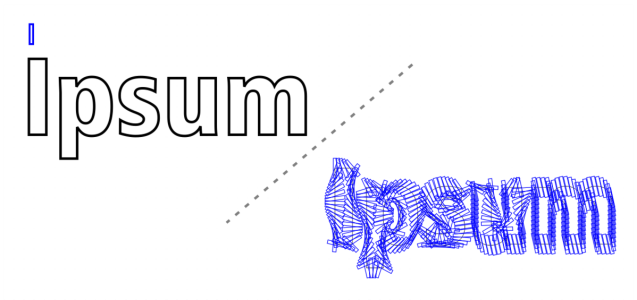
Ignore initial rotation: This control lets you clear all previous rotations applied to the objects before they were placed on the path.
The following controls let you enhance object rotation along the path.
Style: Choose from several rotation styles to create various rotation effects. The Uniform style lets you add the same rotation to each object along the path by specifying a value in the Start angle box. The Progressive style works together with the Start angle and Spin angle boxes to add a rotation that changes along the path. If you want to create a more organic rotation effect with angles of rotation varying randomly, you can choose Jitter or Progressive jitter. You can specify the range of the random rotations.
Direction: By default, added rotation is applied counterclockwise. To change the direction, enable the Clockwise check box.
Start angle: Add an angle of rotation to each object.
Spin angle: This control works together with the Progressive and Progressive jitter styles. It allows you to add an angle of rotation to each object, ranging from 0º to the specified value. Suppose that you want to fit an object and three duplicates to a path, and you specify a spin angle of 180º. This spin angle applies an additional rotation of 0º to the first object, 60º to the second object, 120º to the third object, and 180º to the last object.
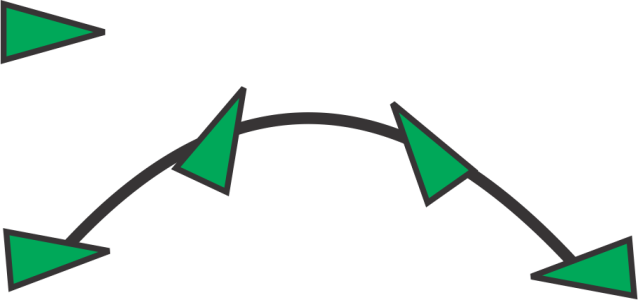
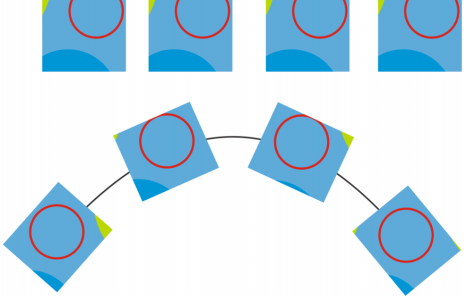
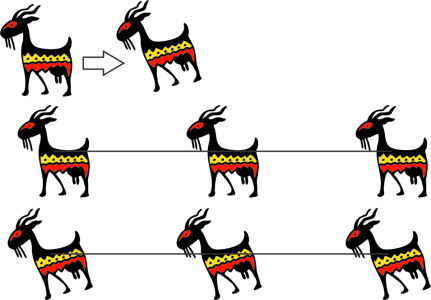
Progressive rotation style with a start angle of 5º and a spin angle of 180º
Revolutions: An alternative way of adding rotation to the objects on the path progressively. One revolution equals 360º.
Range: This control is available when the Jitter and Progressive jitter styles are selected. Specify a value range for random rotations used to create jitter. For example, with a value of 15º, the angles of rotation vary between 15º and -15º.
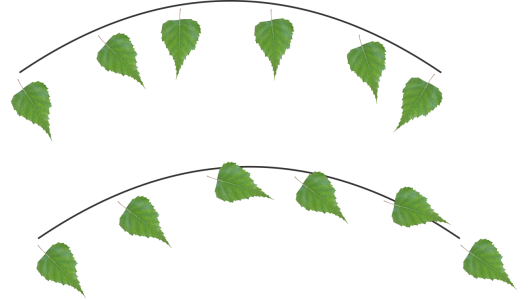
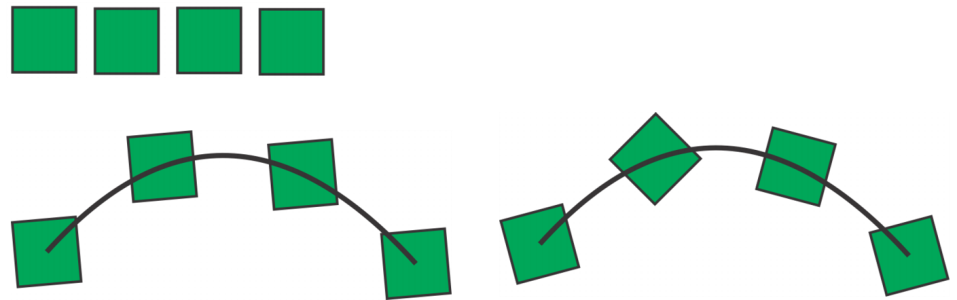
Examples of Jitter (top) and Progressive jitter (bottom) rotation styles with range of 30º
![]()
Not all suite components documented in this Help are available in our Trial, Academic, and OEM versions. Unavailable components may include Corel applications, product features, third-party utilities, and extra content files.
Copyright 2018 Corel Corporation. All rights reserved.