Quick links to procedures on this page:
• |
• |
• |
You can change the look of a table by modifying both table and cell borders. For example, you can change the table border width or color.
You can modify both table and table cell borders.
In addition, you can change the table cell margins and cell border spacing. The cell margins let you increase the space between the cell borders and the text in the cell. By default, table cell borders overlap to form a grid. However, you can increase the cell border spacing to move the borders away from each other. As a result, the cells do not form a grid, but appear as individual boxes (also known as “separated borders”).
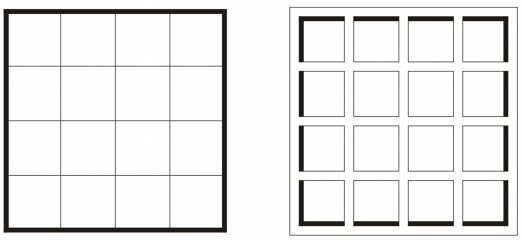
You can modify an existing table (left) by applying separated borders (right).
To modify table borders and cell borders
1. |
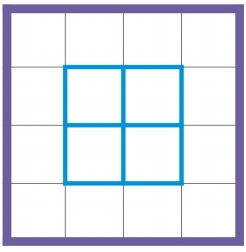
Select the table or table area that you want to modify.
|
A table area can include a cell, a group of cells, rows, columns, or the entire table. |
2. |
Click the Border selection button
|
3. |
Perform a task from the following table.
|
| To modify cell margins in tables |
1. |
Click the Table tool
|
2. |
Select the cells that you want to modify.
|
3. |
Click Margins on the property bar.
|
4. |
Type a value in the Top margin box.
|
By default, the value in the top margin box is applied to all margins, so that equal margins are created. |
If you want to apply different values for the margins, click the Lock margins button to unlock the margin boxes, and type values in the Top margin, Bottom margin, Left margin, and Right margin boxes. |
5. |
Press Enter.
|
| To modify cell border spacing in tables |
1. |
Click the Table tool
|
2. |
Click Options on the property bar.
|
3. |
Enable the Separated cell borders check box.
|
4. |
Type a value in the Horizontal cell spacing box.
|
By default, the vertical cell spacing is equal to the horizontal cell spacing. |
If you do not want equal cell spacing, click the Lock cell spacing button to unlock the Vertical cell spacing box, and then type values in both the Horizontal cell spacing and Vertical cell spacing boxes. |
5. |
Press Enter.
|
|
|
Copyright 2013 Corel Corporation. All rights reserved.