Quick links to procedures on this page:
• |
• |
• |
• |
• |
• |
You can adjust the appearance of an object by changing the characteristics of its edges. You can blend the edges of an object with the background by feathering, defringing, and removing black and white edges. To emphasize a certain object in an image, you can define its edges by sharpening them. You can also customize the object marquee.
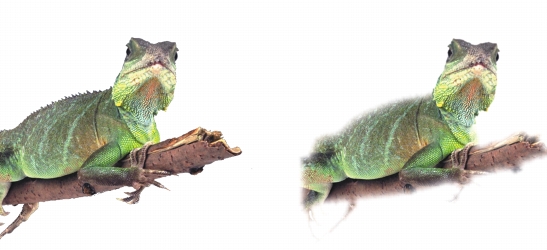
Feathering softens the edges of an object by gradually increasing the transparency of the edge pixels. You can specify the width of the feathered section of the object and the transparency gradient you want to use.
The object on the right has been feathered to soften its edges.
An object created from an editable area sometimes includes stray pixels along its edges. This is apparent when the editable area is surrounded by pixels of a different brightness or color. Defringing replaces the color of the stray pixels with a color from the object so that the object blends with the background.
You can remove black or white edges from a feathered object by making pixels along the edges more transparent or more opaque.
Sharpening defines the edges of an object by making the edges crisp. You can do this by specifying the grayscale threshold for the pixels located along the object’s edges. The edges become sharper as the pixels below the threshold become transparent and the pixels within the threshold become opaque.
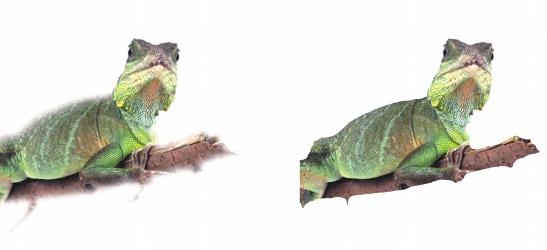
The object on the right has been sharpened to define its edges and make them more crisp.
You can customize the appearance of the object marquee by changing its color and threshold value. Changing the marquee threshold value modifies the location of the visual boundary of the active object. You can also change the color of the object marquee to make it more visible against the image background.
You can also hide the object marquee.
| To feather the edges of an object |
1 |
Select an object.
|
2 |
Click Object |
3 |
Type a value in the Width box.
|
4 |
From the Edges list box, choose one of the following:
|
• |
Linear — changes the edge transparency in even increments from the beginning
to the end of the feathered section
|
• |
Curved — results in small transparency increments at the beginning of the
feathered edge, larger transparency increments in the middle, and small
transparency increments at the end
|
If you want to view the effect in the image window, click Preview |
| To defringe an object |
1 |
Select an object.
|
2 |
Click Object |
3 |
Type a value in the Width box.
|
Higher values create a more gradual transition between the edges of the object and the background. |
| To remove black or white edges from an object |
1 |
Select an object.
|
2 |
Click Object |
• |
• |
Remove white matte — makes edge pixels more opaque
|
| To sharpen the edges of an object |
1 |
Select an object.
|
2 |
Click Object |
3 |
Type a value from 1 to 255 in the Level box.
|
Higher values include fewer semitransparent pixels. |
| To change the object marquee |
1 |
Click Tools |
2 |
In the Workspace list of categories, click Display.
|
3 |
Type a value from 1 to 255 in the Object threshold box.
|
Lower values enclose more of the object's pixels. |
4 |
Open the Object marquee color picker, and click a color.
|
| To hide the object marquee |
• |
Click Object |
|
|
Copyright 2010 Corel Corporation. All rights reserved.