Quick links to procedures on this page:
• |
• |
• |
• |
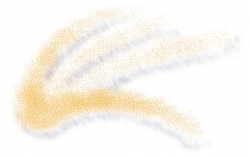
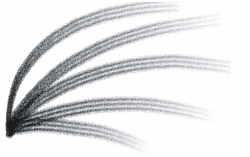
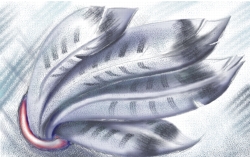
Paint tools let you imitate a variety of painting and drawing media. For example, you can apply brushstrokes that imitate watercolors, pastels, felt markers, and pens. By default, brushstrokes are added to the active object or background. Brushstrokes can also be rendered as separate objects. For information about objects, see Creating objects.
Merge modes control the way the foreground colors blend with base colors. Merge modes let you combine these colors in various ways to create new colors and effects. For more information about merge modes, see Understanding merge modes.
The paint tool and brush type you choose determines the appearance of the brushstroke on the image. When you paint with a preset brush, the brush attributes of the paint tool are predetermined.
The color of the brushstroke is determined by the current foreground color, which is displayed in the color control area. You can also choose a foreground color by taking a color sample from an image. For more information about choosing colors, see Working with color.
In addition to painting with color, you can apply images and textures by painting with a fill. You can also apply a brushstroke to a path. For more information, see Applying brushstrokes to paths.
| To paint with a preset brush |
1. |
In the toolbox, click the Paint tool |
2. |
Open the Brush category picker on the property bar, and choose a brush category.
|
3. |
Choose a preset brush type from the Brush type list box on the property bar.
|
4. |
In the color control area of the toolbox, double-click the Foreground color swatch,
and choose a color.
|
5. |
Drag in the image window.
|
If you want to constrain the brush to a straight horizontal or vertical line, hold down Ctrl while you drag, and press Shift to change direction. |
The property bar provides options for changing the attributes of a preset brush.
After you change an attribute, the brush name changes to Custom art brush.
For more information about custom brushes, see Creating custom brushes.
|
You can use this procedure to create an object by clicking Object |
You can also choose a preset brush by clicking on a brushstroke sample in the
Artistic media docker. If the Artistic media docker is not open, click
Window |
You can quickly choose a square or round brush shape by clicking the Round
nib button |
| To paint with a color sample from an image |
1. |
Click the Eyedropper tool |
2. |
Click a color in the image window.
|
3. |
In the toolbox, click the Paint tool |
4. |
Open the Brush category picker on the property bar, and choose a brush category.
|
5. |
Choose a preset brush type from the Brush type list box on the property bar.
|
6. |
Drag in the image window.
|
| To paint with a fill |
1. |
In the toolbox, click the Fill tool |
2. |
On the property bar, choose a fill type.
|
3. |
In the toolbox, click the Clone tool |
4. |
On the property bar, open the Brush category picker, and click the Clone from
fill tool |
5. |
Drag in the image window.
|
You can paint with any type of fill. For information about fills, see Filling
images.
|
| To change the merge mode |
1. |
In the toolbox, click a paint tool.
|
2. |
Choose a merge mode from the Merge mode list box on the property bar.
|
For more information on merge modes, see Understanding merge modes.
|
|
|
Copyright 2012 Corel Corporation. All rights reserved.