Quick links to procedures on this page:
• |
Gradient fills let you create a gradual blend between colors in an area. They are similar to fountain fills, but they can be adjusted directly in the image window. Gradient fills can be flat, linear, elliptical, radial, rectangular, square, or conical. They can also be made up of bitmaps or texture patterns.
When you apply a gradient fill to an image, a gradient arrow, which marks the transition from one color to another, appears in the image window. Each color in the gradient fill is represented by a square node on the gradient arrow. You can change and add colors or adjust the transparency of individual colors. You can also adjust the size of the gradient fill.
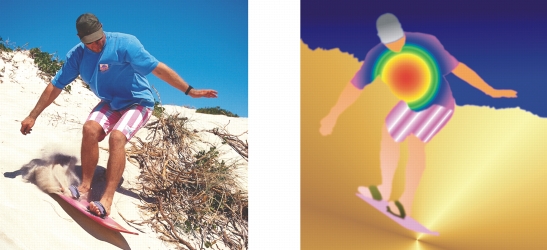
Gradient fills can be used to enhance an image. You can adjust gradient fills in the image window.
| To apply a gradient fill |
1. |
In the toolbox, click the Interactive fill tool |
If you want to fill an object, you must select it by using the Object pick tool |
2. |
Choose a gradient type from the Fill type list box on the property bar.
|
3. |
Choose Custom from the Fill style list box on the property bar.
|
4. |
Drag in the image window to set the gradient arrow.
|
5. |
Drag a color swatch from the color palette to a color node on the gradient arrow. A
black arrow appears to indicate that the color swatch is in position.
|
If a color palette is not displayed, click Window |
If you are adding a gradient fill to an object, you must click the Lock object
transparency button |
When you choose a flat, bitmap, or texture fill type from the Fill type list box,
color nodes do not display in the image window; the current foreground color
determines the color of the flat fill, and the last settings for the bitmap fill or
texture fill are applied.
|
To apply a fill to a text object, you can first render the text as an editable area
by selecting the text object with the Text tool |
|
|
Copyright 2012 Corel Corporation. All rights reserved.