Quick links to procedures on this page:
• |
• |
| Premium feature |
In Corel PHOTO-PAINT, you can apply several new camera effects to adjust the color and tone of photos. You can also define an area of focus with the Bokeh Blur effect. For more information about special effects, see Applying special effects.
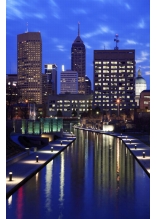
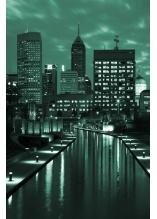
The Time machine effect recreates photographic styles from the past.
The new special effects are
• |
Bokeh blur — lets you control the amount of blur applied to the outside of an
editable area and adjust the transition between the area in focus and the blurred
area. You can also choose between circular and hexagonal aperture shapes. The
aperture shape can affect light patterns that appear in the out-of-focus areas. This
effect is most noticeable in small pinpoints of light on a dark background. For
example, it can be used to simulate the way a camera lens handles lights that are
out of focus. This effect can also be used effectively in combination with the Planar
mask tool. For more information, see Using the Planar Mask tool.
|
• |
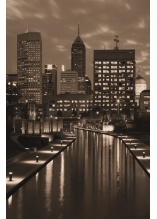
Colorize — lets you replace all colors in an image with a single color (or hue) to
create a duotone image. You can then adjust the saturation or vividness of the color.
A color with 100% saturation contains no white. A color with 0% saturation
corresponds to a shade of gray. With this effect, you can create various single-color
images. For example, a brownish hue can create a sepia effect, simulating the color
of old photographs.
|
• |
Sepia toning — simulates the look created when you take a photo with sepia film.
Sepia-toned images are similar to black-and-white photos (also known as grayscale
photos), except the tones are brown instead of gray.
|
• |
Time machine — lets you walk your image back through history to recreate some
popular photographic styles from the past. You can choose from seven styles, which
range from the year 1839 to the 1960s.
|
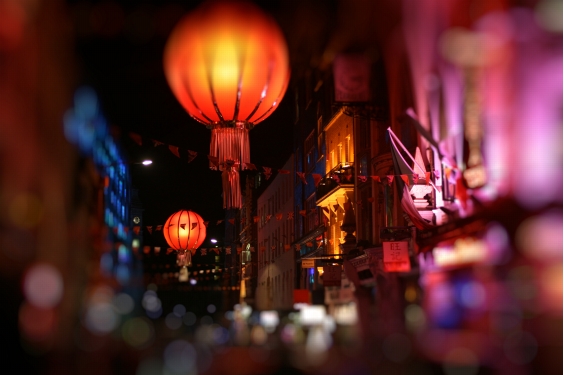
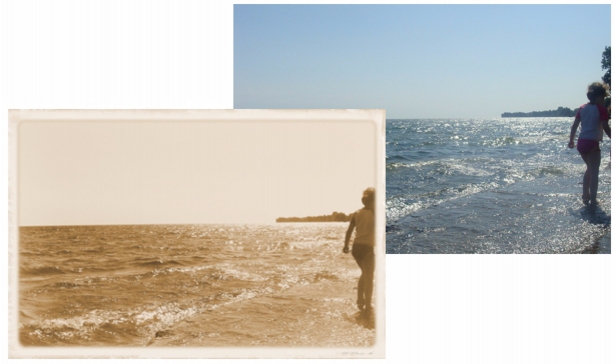
The Bokeh blur effect has been used to define an area of focus in the middle, leaving the rest of the photo out of focus.
| To apply the Bokeh Blur effect |
1. |
Using a mask tool, select the area of the image that you want to keep in focus.
|
2. |
Click Effects |
3. |
In the Bokeh blur dialog box, perform a task from the following table.
|
Make your selection slightly larger than the area you want to keep in focus, and
then fine-tune the edge of the selection by using the Focus range slider.
|
| To apply camera effects |
1. |
Click Effects |
• |
Colorize
|
• |
Sepia toning
|
• |
Time machine
|
2. |
In the dialog box, specify the settings you want.
|
|
|
Copyright 2012 Corel Corporation. All rights reserved.