Quick links to procedures on this page:
You can create a freehand selection by painting with the Selection Brush tool  or any brush variant that uses the Selection method. Use Corel Painter’s interactive and dynamic brush shapes to quickly generate new, additive, or subtractive selections.
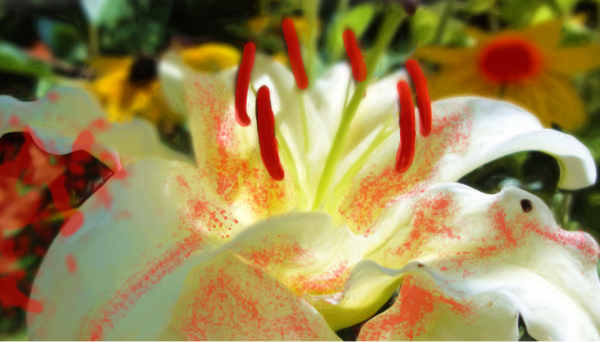
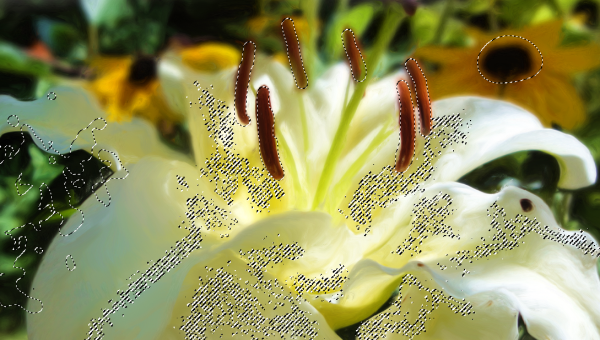
Examples of selections created with Selection brush variants using different dab types
You can choose a Selection brush from the preset selection brushes available in Corel Painter or create your own custom brush from any brush that uses the following dab types: Circular, Computed Circular, Captured, Single-Pixel, Static Bristle, Dynamic Speckle Bristle, and Dynamic Speckle Particle types (Flow, Gravity, and Spring). Selection brushes support grain and opacity, and work with all other selection tools.
You can customize Selection brushes by using brush controls. For more information, see Adjusting brushes with brush controls.
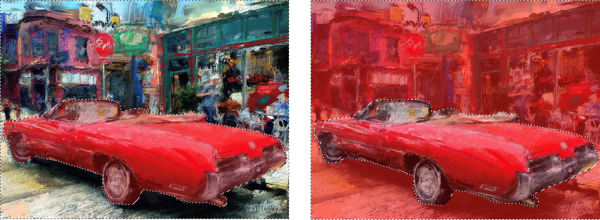
As you brush over an image to make a selection, a color overlay appears, to help you distinguish selected areas from protected areas. By default, the overlay is a red-tinted, transparent sheet. However, if your underlying brushstrokes are red, you can change the overlay color so that the overlay can be seen clearly against the image colors. You can adjust the overlay opacity, and you can also choose to display the overlay over selected or protected areas.
You can display the overlay over selected (left) or protected (right) areas. Artwork by Jeremy Sutton
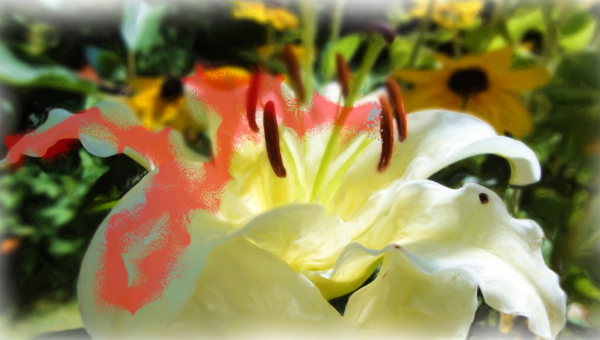
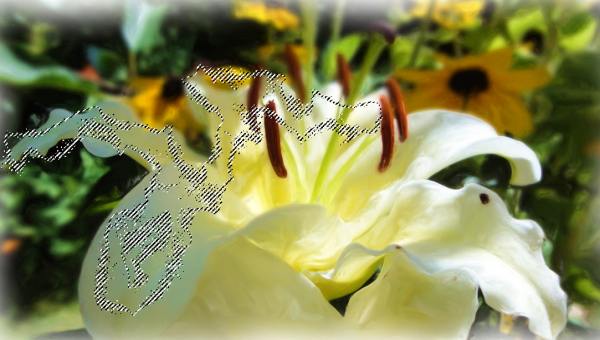
By default, the overlay is no longer visible after you complete a selection. Instead, a dashed outline — marquee — appears around the selection to indicate the border separating the selected area from the protected area. If you find it useful to have the color overlay visible at all times, you can easily display it.
The overlay that appears as you paint (top) and the marquee that appears when you complete the selection (bottom) help you distinguish protected areas from editable areas.
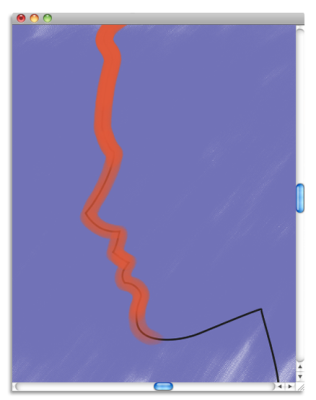
When painting with a Selection brush, you can automatically align brushstrokes to a curve. For more information about aligning brushstrokes to paths and shapes, see Aligning brushstrokes to paths and shapes.
An example of a selection aligned to a curve
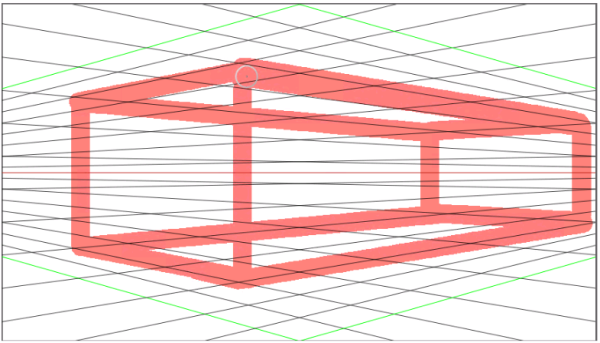
When painting with a Selection brush, you can align brushstrokes to perspective guides. For more information about perspective guides, see Using perspective guides.
An example of a selection aligned to perspective guides
|
|
|
|
|
Click the Dab Options button  on the property bar, and choose a dab profile.
|
|
|
Move the Opacity slider on the property bar.
Note: If you are painting with a brush that uses the Add to Selection (Glazing) method, brushstrokes with opacity lower than 50% produce no marks.
|
|
|
Move the Grain slider on the property bar.
|

To save a selection, click the Save Selection button  on the property bar. For more information about saving selections, see Saving selections as alpha channels.
To replace the active selection, click the New Selection button  on the property bar.
You can also add to or subtract from a selection. For information, see Adding to or subtracting from selections.
| 1 . |
In the Brush Selector panel (Window  Brush Selector Panel (Full View)), choose a brush with one of the following dab types: Circular, Computed Circular, Captured, Single-Pixel, Static Bristle, Dynamic Speckle Bristle, and Dynamic Speckle Particle types (Flow, Gravity, and Spring). Brush Selector Panel (Full View)), choose a brush with one of the following dab types: Circular, Computed Circular, Captured, Single-Pixel, Static Bristle, Dynamic Speckle Bristle, and Dynamic Speckle Particle types (Flow, Gravity, and Spring). |
| 2 . |
In the General panel (Window Brush Control Panels General), choose Selection from the Method list box. |
| 3 . |
From the Subcategory list box, choose one of the following categories: |
|
• |
Add to Selection — As the dab opacity builds up quickly, pixels are added quickly to a selection. |
|
• |
Add to Selection (Glazing) — The dab opacity never exceeds the maximum value that you have specified, regardless of how many times you brush over the same area in a single brushstroke or how many brushstrokes you apply to the same area. If the opacity is below 50%, no pixels are selected. |
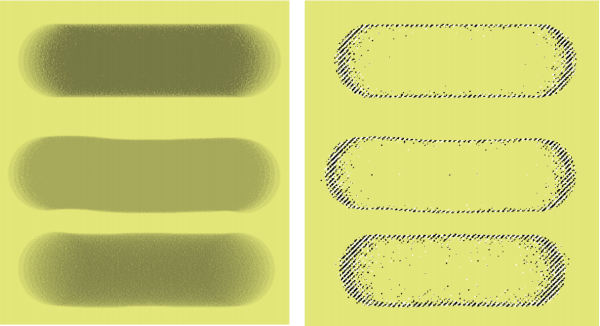
Brushstrokes (left) and resulting selections (right) created with a Selection brush using the following methods: Add to Selection (top), Add to Selection (Glazing) (middle), Add to Selection (Alpha Blend) (bottom). Opacity is set to 55%; Spacing is set to 14%; Grain is at 100%.
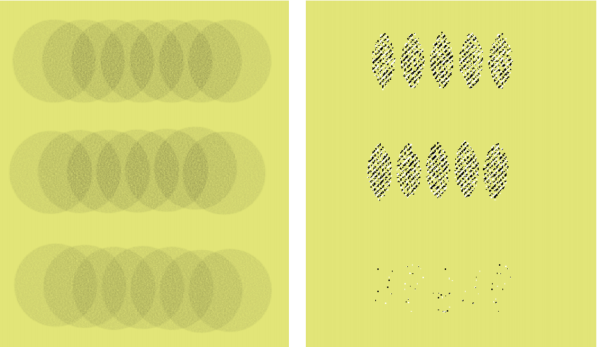
When the dabs are spaced out, pixels are selected only in the areas where the dabs overlap. Brushstrokes (left) and resulting selections (right) created with a Selection brush using the following methods: Add to Selection (top), Add to Selection (Glazing) (middle), Add to Selection (Alpha Blend) (bottom). Opacity is set to 55%; Spacing is set to 70%; Grain is at 100%.
| 1 . |
Click the Selection Display Options button  on the property bar. on the property bar. |
|
|
|
|
|
|
|
|
|
|
|
Choose Selected area from the Overlay list box.
|
|
|
Choose Masked area from the Overlay list box.
|
|
|
Disable the Hide Overlay check box.
|
| 2 . |
Click the Quick Curve tool  in the toolbox, and drag to create a curve. in the toolbox, and drag to create a curve. |
| 3 . |
In the Brush Selector panel (Window Brush Selector Panel (Full View)), click a Selection brush. |
| 4 . |
Click the Stroke Options flyout button  on the property bar, and click the Align to Path button on the property bar, and click the Align to Path button  . . |
| 3 . |
Click the Perspective Guides check box on the property bar. |
| 5 . |
In the Brush Selector panel (Window Brush Selector Panel (Full View)), click a Selection brush. |

To turn off snapping to perspective guides, hold down Shift as you paint.