Airbrush controls
The Airbrush controls allow you to adjust the amount and the displacement of the media that is applied by an airbrush.
Feature lets you set the maximum size of the individual droplets.
Flow controls how much media is applied by an airbrush stroke. The Flow control acts like the needle control on a real airbrush. Because the airbrush dab types deposit many small dabs to create their spray-paint look, you might need to cut down on the flow to speed up the airbrush.
You can also link the Flow and Feature controls to a specific stylus or mouse movement. You can choose different Expression settings for each. For example, you can link Flow to the Pressure expression and link Feature to the Tilt expression. In addition, you can link the Flow and Feature controls to audio input from your microphone, or internal audio such as streaming music. For more information, see Audio Expression.
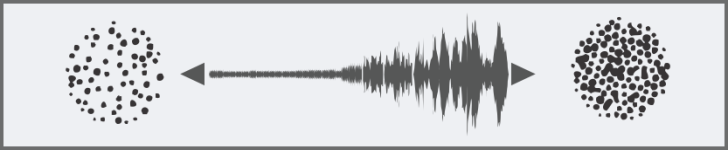
Using Audio Expression to vary Flow
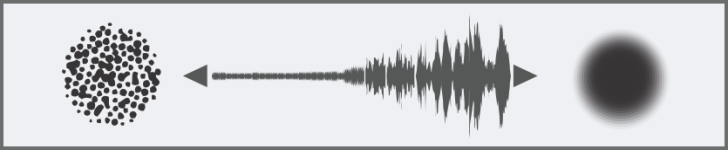
Using Audio Expression to vary Feature
You can also adjust the Min setting to specify the range of variability that you want the expression to apply. The Min Flow and Min Feature settings represent a percentage of the Flow and Feature settings and they must be linked to an expression to have an effect. For example, if you link the Pressure expression to the Flow control, set the Flow slider to 40% and set the Min Flow slider to 50%, the amount of flow will vary from 20% to 40% every time you apply pressure with the stylus.
Spread controls how paint spreads out as it is applied. In other words, it sets the size of the cone of spread from the tip of the airbrush or spray can. A good range for the Spread setting is 30% to 40%. Narrow settings for Spread and Angle can cause problems. Narrow settings for Spread and Tilt can cause paint to be deposited away from the cursor.
Flow Jitter and Feature Jitter let you adjust the amount of variation that you want these controls to apply when using the airbrush, which produces more realistic results. You can use the Smoothness sliders to smooth the jitter for a more organic look.
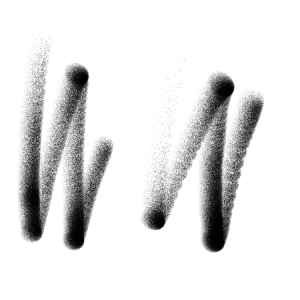
Brushstrokes without Flow Jitter (left) and with Flow Jitter (right)
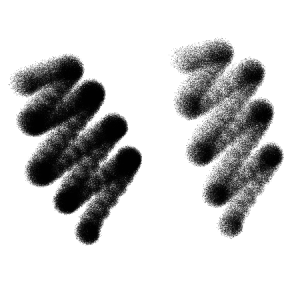
Brushstrokes without Feature Jitter (left) and with Feature Jitter (right)
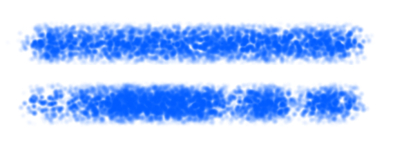
Flow Jitter applied to a brushstroke without jitter smoothing (top) and with jitter smoothing (bottom)
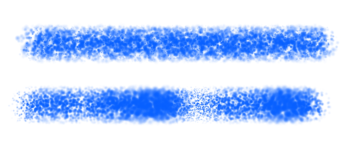
Feature Jitter applied to a brushstroke without jitter smoothing (top) and with jitter smoothing (bottom)
You can set some Airbrush options on the property bar. For more information, see To choose a dab profile using the property bar.
For a list of sample Airbrush brushstrokes, see Airbrushes.
To set the size of individual droplets
When adjusting Feature Jitter, make sure the Min Feature slider is not set to 100%. Setting the Min Feature to 100% stops Feature Jitter from occurring.
To set paint spread
To set the amount of media to apply with a brushstroke
When adjusting Flow Jitter, make sure the Min Flow slider is not set to 100%. Setting the Min Flow to 100% stops Flow Jitter from occurring.