Applying, displaying, and clearing impasto
Before applying Impasto brushstrokes, you need to set the canvas to display the impasto depth and lighting information. The canvas stores the impasto information for the entire image, which includes the Impasto brushstrokes that you apply to individual layers. If the impasto information is hidden, the brushstrokes appear smooth and flat.
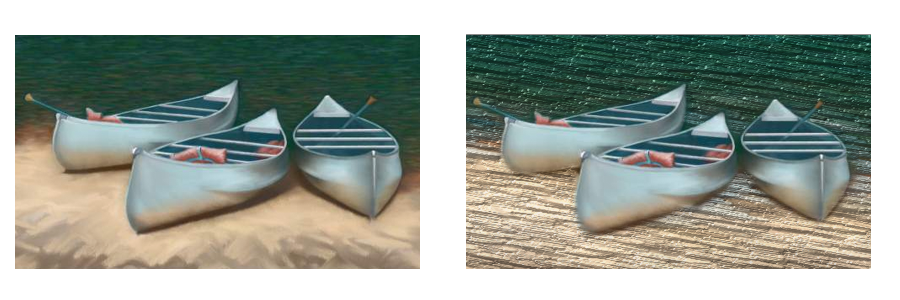
An image with impasto information hidden (left) and displayed (right)
You can choose one of the available Impasto brush variants from the Impasto brush category. You can also transform other brush variants into Impasto brushes. For more information, see Adjusting and creating Impasto brushes.
You can clear the impasto information from the canvas at any time. You can also hide the impasto information before clearing it in order to preview the end result.
To display or hide impasto information
You can also activate the impasto view by choosing Canvas ![]() Surface Lighting, and enabling the Enable Impasto check box.
Surface Lighting, and enabling the Enable Impasto check box.
To quickly apply an Impasto brushstroke
If you save a file that contains Impasto brushstrokes on multiple layers to the Adobe Photoshop (PSD) format, do not drop the layers to the canvas before saving. If you drop the layers before saving, you may lose some of the impasto information.