Creating a 1-Rank nozzle
To create a 1-Rank nozzle, first you create the images that you want to include in the nozzle. Each image must be created on a separate layer. You can then select and group the individual layers and save the nozzle file in the RIFF format. To use the new 1-Rank nozzle, you load it in the nozzle library. For more information, see Loading and managing nozzle files.
In a 1-Rank nozzle, the images do not need to be in one line. Corel Painter wraps images onto several lines to create a document of reasonable shape. Corel Painter follows a mathematical rule in reconstructing the rank of images. This rule is contained in the nozzle definition. For more information, see To build a 2-Rank nozzle.
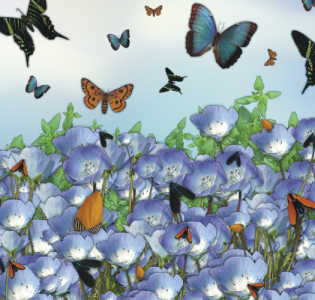
Nozzles are most useful when they deliver similar images with some irregularity — for example, butterflies on flowers.
To create a 1-Rank nozzle from layers

1
Choose
Window  Layers
.
2
Click the
New Layer button

.
3
Create an image element to be used as a nozzle.
The alignment of layers in the document doesn’t affect the nozzle-building process.
4
Repeat steps 2 and 3 to create additional image elements.
Rearrange the layer hierarchy to create the progression you want in the nozzle. The top layer on the list will be the first element in the nozzle sequence. Moving down the list advances through the element progression.
5
Hold down the
Shift key, and select the layers that you want to add to the nozzle.
6
Click the
Layer Commands button

, and choose
Group Layers.
All items are now part of the same group.
7
Choose
Window Media Panels Nozzles.
8
In the
Nozzles panel, click the Nozzle options button

, and choose
Make Nozzle From Group.
Corel Painter creates a new, untitled image. This is your nozzle file.
9
From the menu bar, choose
File Save.
Save the file to the RIFF format.
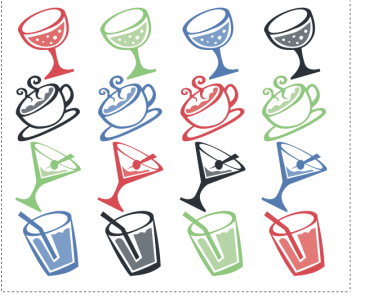
Creating a nozzle from layers