Restoring detail to paintings
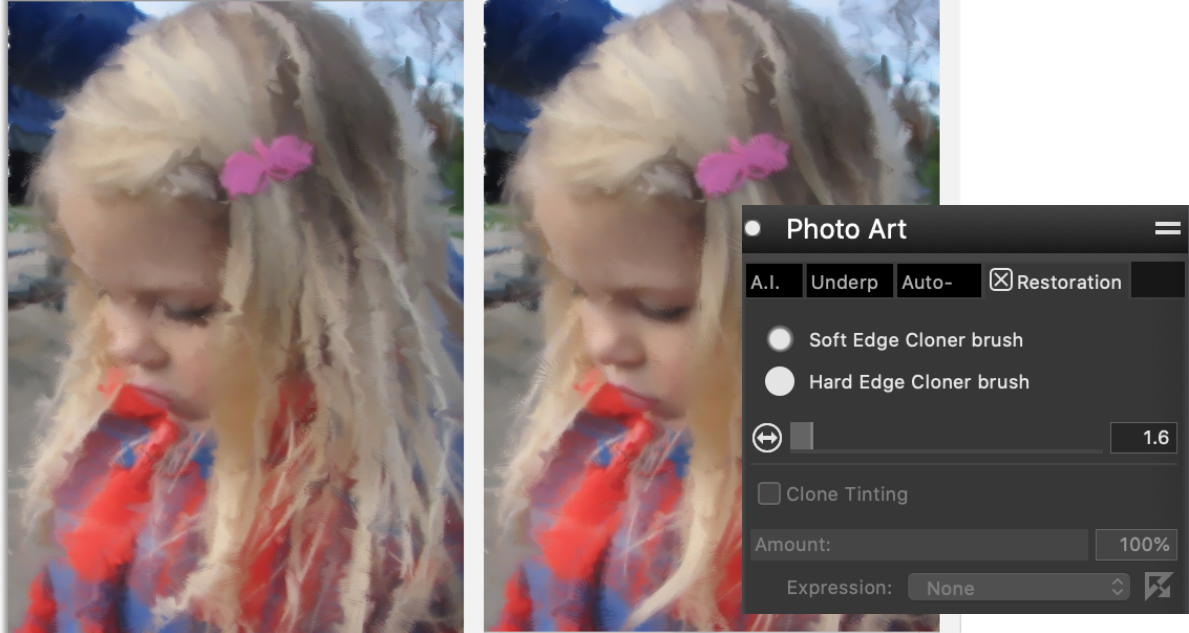
After the auto-painting process is complete, you can use the Restoration panel to recover detail from the original photo, if necessary. For example, the Restoration panel is ideal for restoring some detail in the area of a subject’s eyes in a portrait.
You can restore detail from the original photo by using brushes in the Restoration panel.
The Restoration panel gives you access to two cloner brushes, which you can use in specific areas of your photo to restore detail. You can adjust the settings for these brushes on the property bar. You can paint in the clone colors or use tinting to mix a color with your clone source. For more information about clone tinting, see Cloning brushes and controls.
To restore photo detail

1
Choose
Window  Photo Art Panels
  Restoration
.
2
In the
Restoration panel, click one of the following buttons:
•
Soft Edge Cloner Brush 
— activates the
Soft brush variant from the
Cloners : Touch-up category, which restores detail gradually
•
Hard Edge Cloner Brush 
— activates the
Hard brush variant from the
Cloners : Touch-up category, which restores detail quickly with a few brushstrokes
3
Move the
Brush Size slider

.
4
Paint over the area in which you want to restore detail.
To preview and fine-tune the painting, you can turn off and on tracing paper by pressing
Command + T (macOS) or
Ctrl + T (Windows).
|
|
|
Mix a color with your clone source |
Enable the Clone Tinting check box. Press Alt (Windows) or Option (macOS), and click in the document window to sample a color from the image or choose a color in the color wheel. |
