Choosing a painting workflow

Corel Painter includes a wide array of tools and features that allow you to create original artwork. The purpose of this topic is to introduce you to the two most-common Corel Painter workflows and refer you to Help topics that provide more information about each of these workflows.

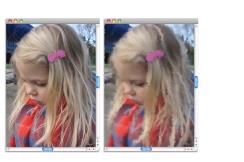
Workflow 1: Start with a photo

Using Corel Painter’s powerful cloning tools, you can quickly transform a digital photo into a painting.

photo painting

The photo (left) was cloned (right) to begin the painting process.


*

You can also create a photo-painting by using the Auto-painting feature. For more information, see Auto-painting photos.

Workflow 2: Start with a sketch

In Corel Painter, you can quickly create a sketch of a photo so you can use it as a guide for applying color. To maintain the integrity of the sketch, you should apply color to layers, and not directly to the sketch. In addition, depending on the desired effect, using layers gives you the option of incorporating the sketch markings in the final image. If you don’t want the sketch to be visible in the final image, you can delete the sketch by clearing the canvas. When you’re done, you can drop the layers to the canvas.

sketch workflow

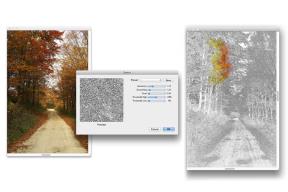
The photo (left) was transformed into a sketch (right) to begin the painting process.


Workflow 3: Start with a blank canvas

You can also start a project from scratch by choosing a paper texture and a brush, and applying color to the canvas.

You can start with a blank canvas (left) and use your imagination, and the Corel Painter tools, to create a work of art.


Feedback
Was this page helpful? Send feedback. (Internet connection required.)

Copyright 2014 Corel Corporation. All rights reserved.