Blend objects
CorelDRAW lets you create blends, such as straight-line blends, blends along a path, and compound blends. Blends are often used for creating realistic shadows and highlights in objects.
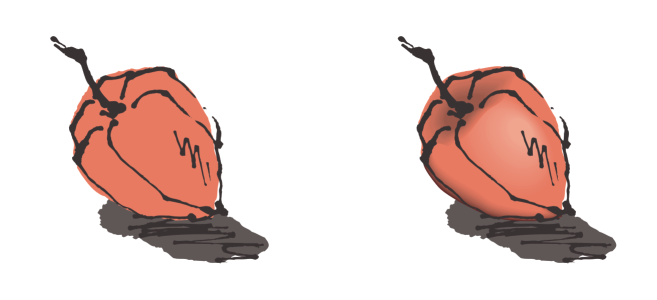
The highlights and shadows in the object on the right were created by using blends.
A straight-line blend shows a progression in shape and size from one object to another. The outline and fill colors of the intermediate objects progress along a straight-line path across the color spectrum. The outlines of intermediate objects show a gradual progression in thickness and shape.
After you create a blend, you can copy or clone its settings to other objects. When you copy a blend, the object takes on all the blend-related settings, except for the outline and fill attributes. When you clone a blend, changes you make to the original blend (also called the master) are applied to the clone.
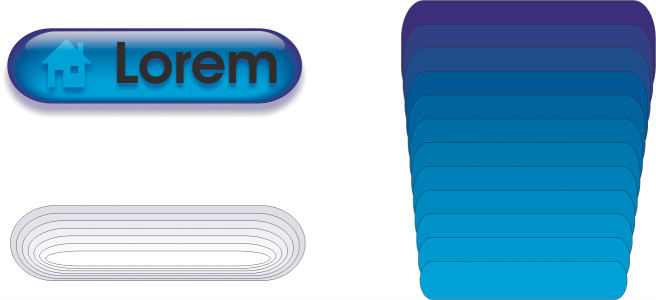
Straight-line blends can be used to create graphics with a glass-like appearance. The rollover button (left) contains a blend of tightly overlapped blended objects.
You can fit objects along part or all of a path’s shape, and you can add one or more objects to a blend to create a compound blend.
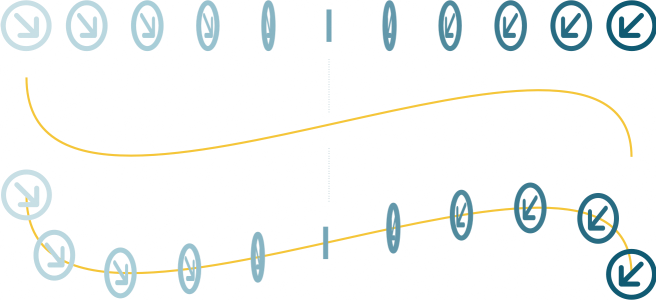
The straight-line blend (top) is fitted to a curved path (bottom).
You can change the appearance of a blend by adjusting the number and spacing of its intermediate objects, the blend’s color progression, the nodes the blends map to, the blend’s path, and the start and end objects. You can fuse the components of a split or compound blend to create a single object.

This compound blend consists of three blends.
You can also split and remove a blend.
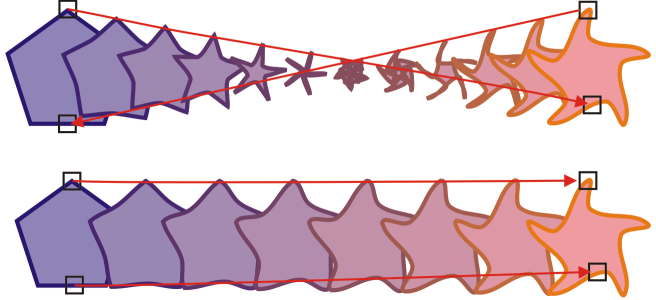
By mapping nodes, you can control the appearance of a blend. Two nodes on the polygon are mapped to two nodes of a star shape, showing a more gradual transition (bottom).
When blended objects are brought into Focus mode, the objects and the blend are brought into focus together. Once in Focus mode, you can select and edit the objects and the blend separately. For more information about Focus mode, see Edit objects in Focus mode.
To blend objects
You can also blend objects by using the Blend docker (Effects ![]() Blend).
Blend).
To copy or clone a blend
You can’t copy or clone a compound blend.
You can also use the Attributes eyedropper tool ![]() to copy a blend. For more information, see To copy effects from one object to another.
to copy a blend. For more information, see To copy effects from one object to another.
To set the number of intermediate objects in a blend
You can set object and color acceleration rates by clicking the Object and color acceleration button ![]() on the property bar and moving the corresponding slider.
on the property bar and moving the corresponding slider.
To set the distance between objects in a blend that is fit to a path
If you have used the Blend along full path command, the Blend spacing button is unavailable.
You can set object and color acceleration rates by clicking the Object and color acceleration button ![]() on the property bar and moving the corresponding slider.
on the property bar and moving the corresponding slider.
To set the color progression in a blend
You can’t create color progressions by using blended objects filled with bitmaps, texture, pattern, or PostScript fills.
You can set how fast the object’s colors transform from the first to the last object by clicking the Object and color acceleration button ![]() on the property bar and moving the corresponding sliders.
on the property bar and moving the corresponding sliders.
To map the nodes of a blend
To work with the start or end objects in a blend
You can reverse the direction of the blend by clicking Object ![]() Order
Order ![]() Reverse order.
Reverse order.
To change the blend path
To select the blend path, click the Path properties button ![]() , and click Show path.
, and click Show path.
To split a blend
You can’t split a blend at the intermediate object that is immediately adjacent to the start or end object.
To remove a blend
You can also remove a selected blend by clicking Clear Blend on the property bar.