Create bevel effects
A bevel effect adds 3D depth to a graphic or text object by making its edges appear sloped (cut at an angle). Bevel effects can contain both spot and process (CMYK) colors, so they are ideal for printing.
You can remove a bevel effect at any time.
Bevel effects can be applied only to vector objects and artistic text, not to bitmaps.
You can choose from the following bevel styles:
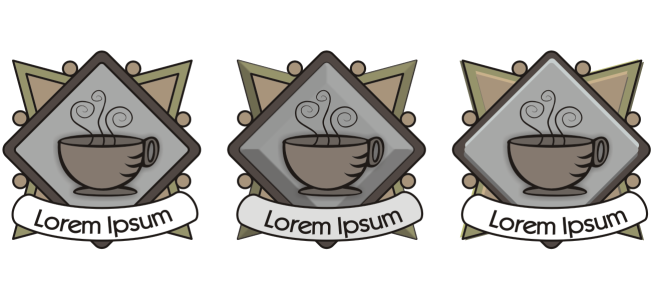
Left to right: Logo without a bevel effect, with a Soft Edge bevel effect, and with an Emboss bevel effect
You can control the intensity of the bevel effect by specifying the width of the beveled surface.
An object with a bevel effect appears lit by white ambient (surrounding) light and a spotlight. The ambient light is of low intensity and cannot be changed. The spotlight is also white by default, but you can change its color, intensity, and location. Changing the spotlight color affects the color of the beveled surfaces. Changing the spotlight’s intensity lightens or darkens the beveled surfaces. Changing the location of the spotlight determines which beveled surfaces appear lit.
You can change the location of the spotlight by specifying its direction and altitude. Direction determines where the light source is located in the plane of the object (for example, to the left or right of an object). Altitude determines how high the spotlight is located in relation to the object’s plane. For example, you can place the spotlight flush with the horizon (altitude of 0°) or directly above the object (altitude of 90°).
In addition, you can change the color of the beveled surfaces that are in shadow by specifying a shadow color.
When an object with a bevel effect is brought into Focus mode, the object and the effect are brought into focus together. Once in Focus mode, you can select and edit the object and the effect separately. For more information about Focus mode, see Edit objects in Focus mode.
To create a Soft Edge bevel effect
Bevel effects can be applied only to artistic text. You can convert paragraph text to artistic text by selecting the text using the Pick tool and then clicking Text ![]() Convert to artistic text.
Convert to artistic text.
The lowest altitude value (0°) places the spotlight on the plane of the object; the highest altitude value (90°) places the spotlight directly above the object.
The effect of the shadow color is most apparent when the spotlight is located close to the object’s plane (low altitude value).
Using a given altitude value, you can change the spotlight’s location by changing the direction value. For example, at an altitude of 45°, the following direction values change the spotlight location as noted:
To create an Emboss effect
The Emboss bevel effect is achieved by creating two duplicates of the object. The duplicates are offset in opposite directions: one toward the light source and the other away from the light source. The color of the duplicate placed toward the spotlight is a blend of the spotlight and object colors and depends on the light intensity. The color of the duplicate placed away from the spotlight is a 50 percent blend of the shadow and object colors.
The Altitude slider is disabled for the Emboss bevel style.