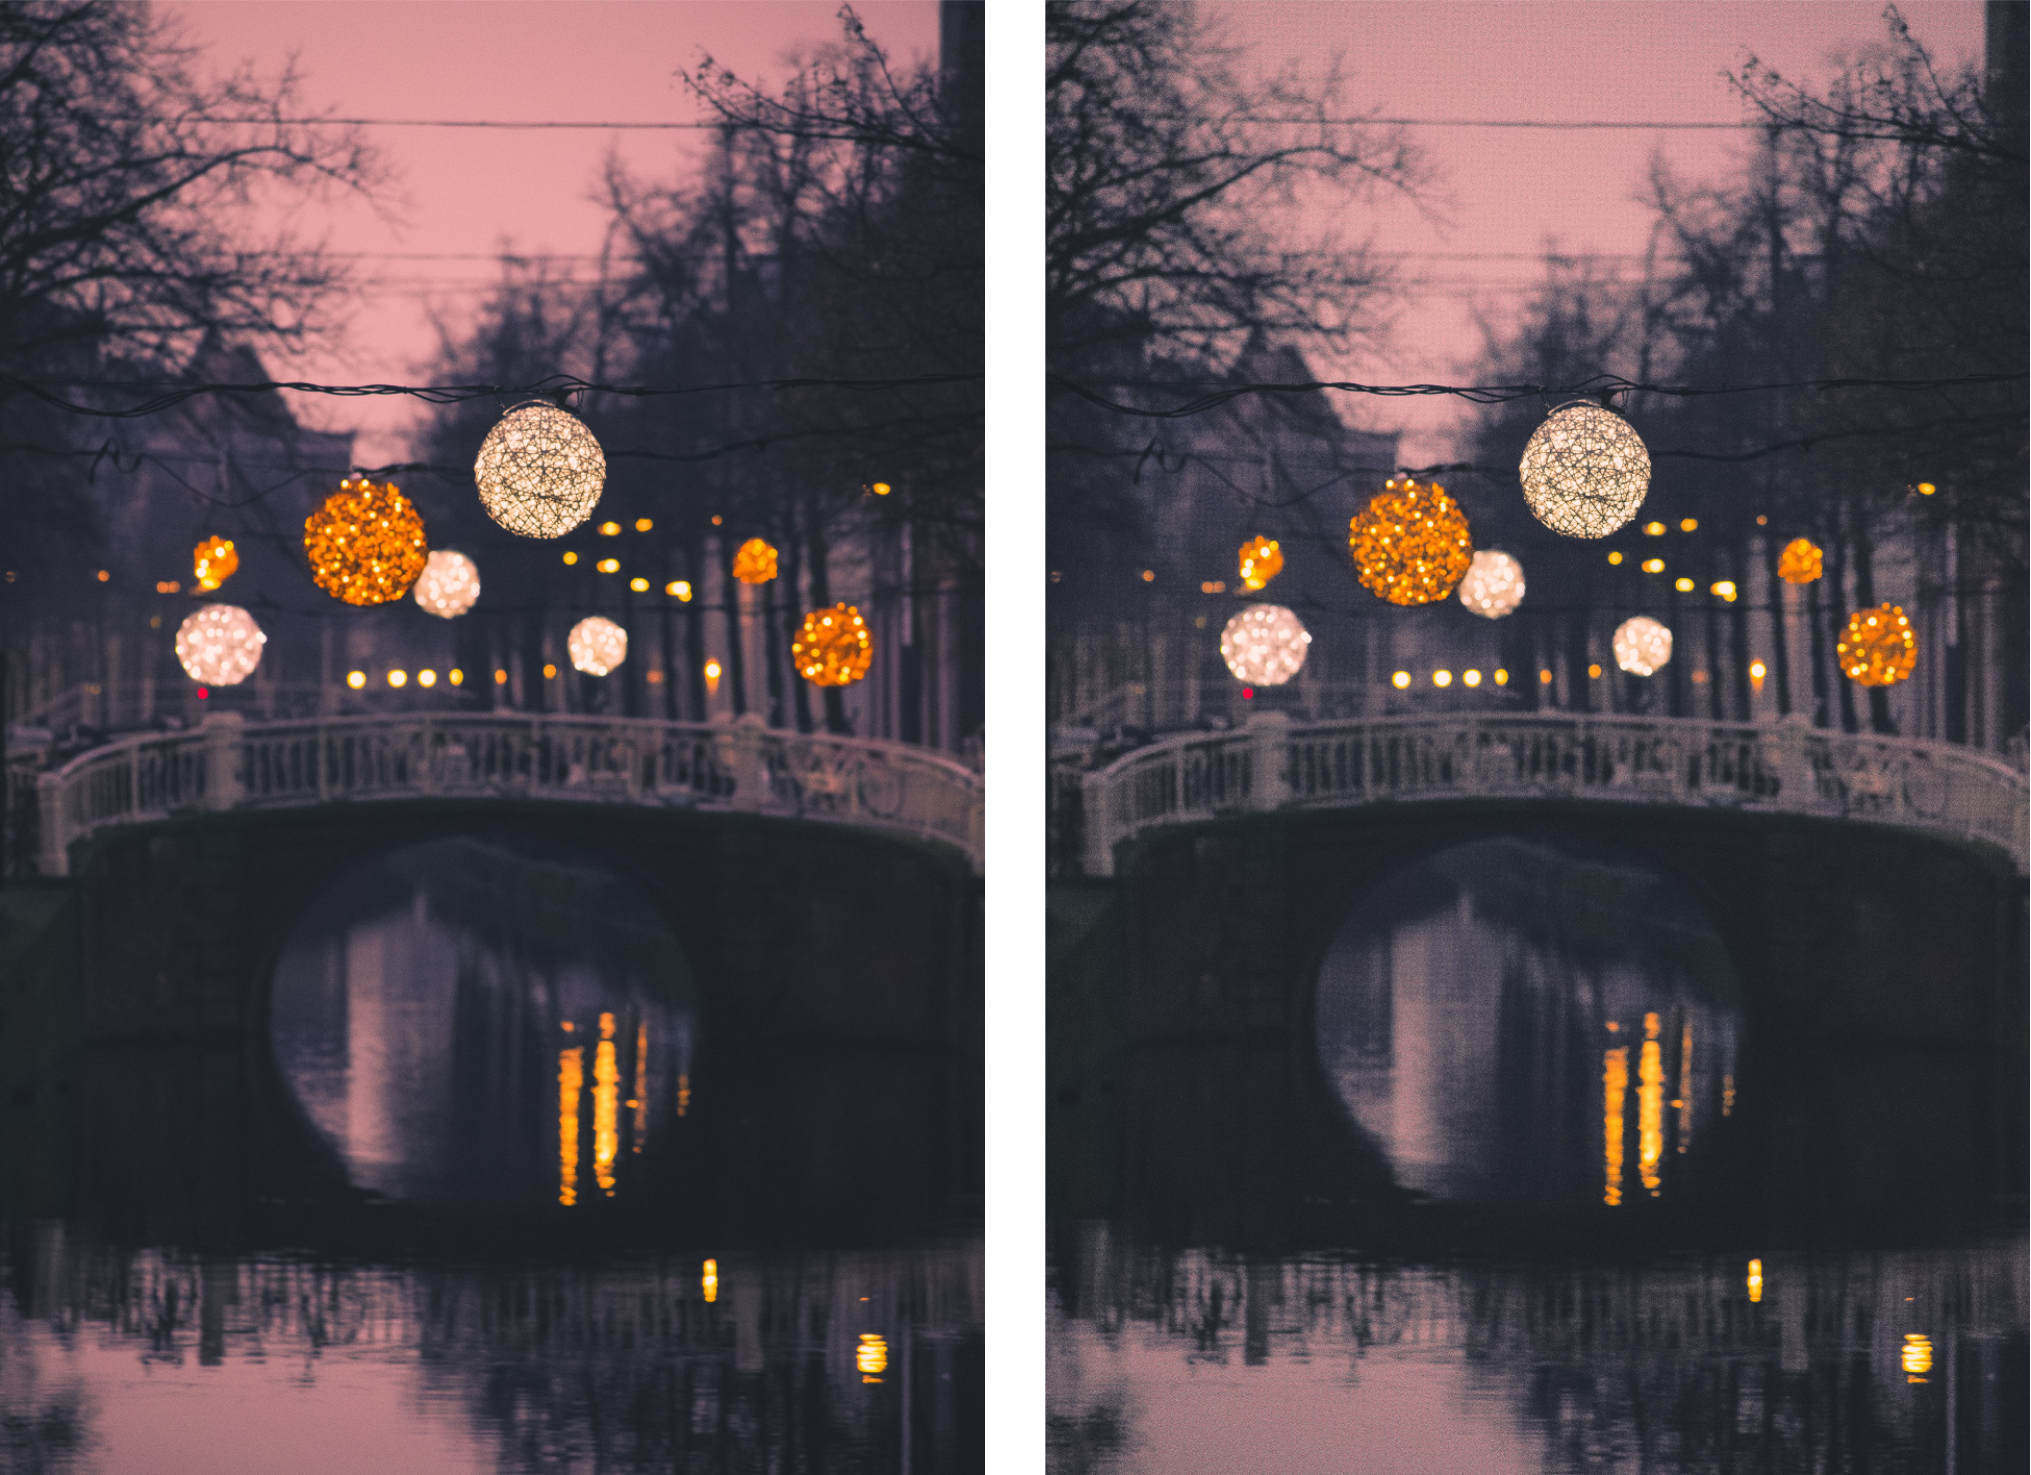
Sharpen images
You can sharpen images to increase contrast, enhance image edges, or reduce shading. To sharpen an image, or an editable area of an image, you can use filters or brushstrokes. Filters can also be applied using a lens. For more information about lenses, see Create lenses. Sharpening is usually done after adjusting the color and tone of an image and after resampling or resizing.
You can reveal more image detail by sharpening an image.
To sharpen an image by applying a filter
The Unsharp Mask filter provides best results for most photographs.
Most sharpen filters support all color modes except 48-bit RGB, 16-bit grayscale, paletted, and black-and-white. The Sharpen filter supports all color modes except paletted and black-and-white.
You can access each of the sharpen filters individually by clicking Effects ![]() Sharpen, and clicking a filter.
Sharpen, and clicking a filter.
You can use this procedure to sharpen an editable area of an image.
To sharpen selected areas by applying brushstrokes
You can quickly choose a square or round brush shape by clicking the Round nib button or the Square nib button
on the property bar.
You can apply the sharpening effect with symmetrical patterns by clicking Window ![]() Toolbars
Toolbars ![]() Symmetry, and choosing the settings you want on the Symmetry bar before dragging in the image window. For more information on the Symmetry bar, see To paint symmetrical patterns.
Symmetry, and choosing the settings you want on the Symmetry bar before dragging in the image window. For more information on the Symmetry bar, see To paint symmetrical patterns.
