Quick links to procedures on this page:
• |
• |
• |
• |
• |
• |
Drop shadows simulate light falling on an object from one of five particular perspectives: flat, right, left, bottom, and top. You can add drop shadows to most objects or groups of objects, including artistic text, paragraph text, and bitmaps.
Drop shadows created in Corel DESIGNER are ideal for printed outputs, but are not appropriate for output to devices such as vinyl cutters and plotters. Cuttable shadows are needed for such projects. To add a cuttable shadow to an object, you need to duplicate the object, fill the duplicate with a dark color, and then place it behind the original object. When you add a drop shadow, you can change its perspective, and you can adjust attributes such as color, opacity, fade level, angle, and feathering.
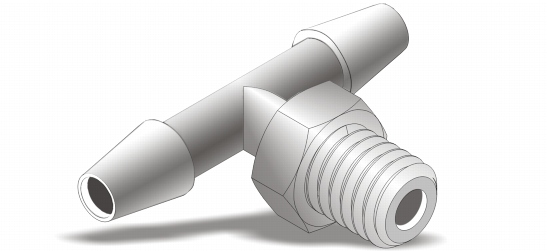
A drop shadow applied to an object
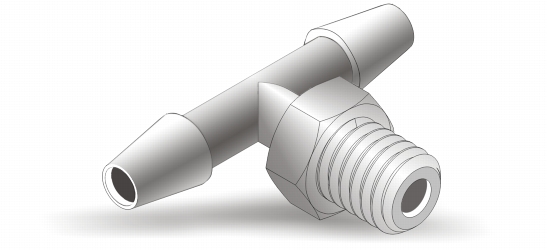
The feathered effect softens the edges of a drop shadow.
After you create a drop shadow, you can copy it or clone it to a selected object. When you copy a drop shadow, the original and copy have no connection and can be edited independently. With cloning, the master object’s drop shadow attributes are automatically applied to its clone.
By separating a drop shadow from its object, you gain more control over the drop shadow itself. For example, you can edit the drop shadow as you would edit a transparency. For information about editing a transparency, see Applying transparencies.
As with transparencies, you can apply a merge mode to a drop shadow to control how the color of the drop shadow blends with the color of the object underneath.
You can remove a drop shadow.
| To add a drop shadow |
1. |
Click the Interactive tools button, and click the Drop shadow tool
|
2. |
Click an object.
|
3. |
Drag from the center or side of the object until the drop shadow is the size you
want.
|
4. |
Specify any attributes on the property bar.
|
Drop shadows cannot be added to linked groups, such as blended objects,
contoured objects, beveled objects, extruded objects, objects created with the
Linear pattern brush tool
|
| To add a cuttable shadow |
1. |
Select an object.
|
2. |
Click Edit |
3. |
Click a dark color on the onscreen color palette.
|
4. |
Click Arrange |
5. |
Adjust the position of the duplicate.
|
| To copy or clone a drop shadow |
1. |
Select the object to which you want to copy or clone a drop shadow.
|
2. |
Click Effects and click one of the following:
|
• |
Copy effect |
• |
Clone effect |
3. |
Click the drop shadow of an object.
|
You can also use the Attributes eyedropper tool
|
| To separate a drop shadow from an object |
1. |
Select an object’s drop shadow.
|
2. |
Click Arrange |
3. |
Drag the shadow.
|
| To apply a merge mode to a drop shadow |
1. |
Click the Interactive tools button, and click the Drop shadow tool
|
2. |
Select an object with a drop shadow, and choose a merge mode from the
Transparency operation list box on the property bar.
|
The default merge mode Multiply produces natural-looking drop shadows.
|
| To remove a drop shadow |
1. |
Select an object’s drop shadow.
|
2. |
Click Effects |
You can also remove a drop shadow from an object by clicking the Clear drop
shadow button
|
|
|
Copyright 2013 Corel Corporation. All rights reserved.